
>>

Sweet and salty layered bars with buttery caramel and a chocolate-butterscotch-peanut butter topping—easy to make, perfect for parties and lunchbox treats.
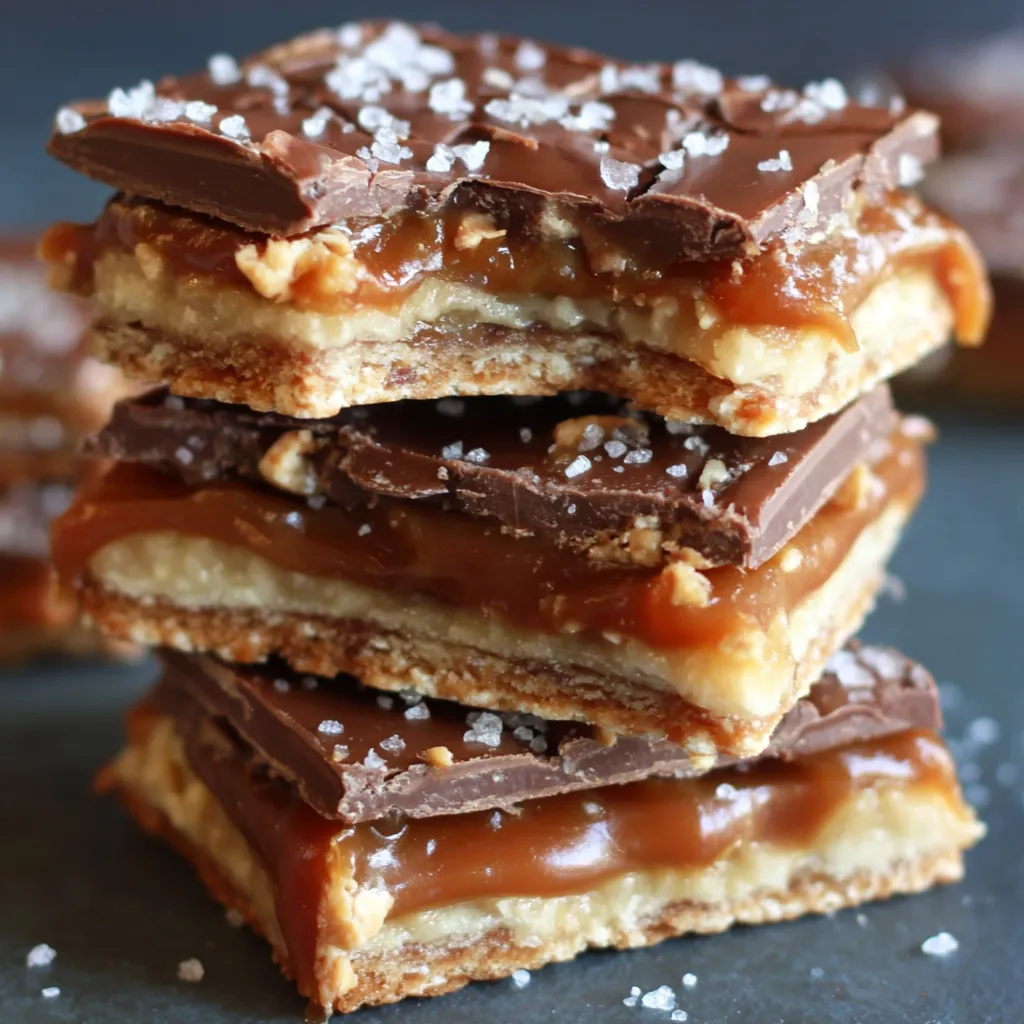
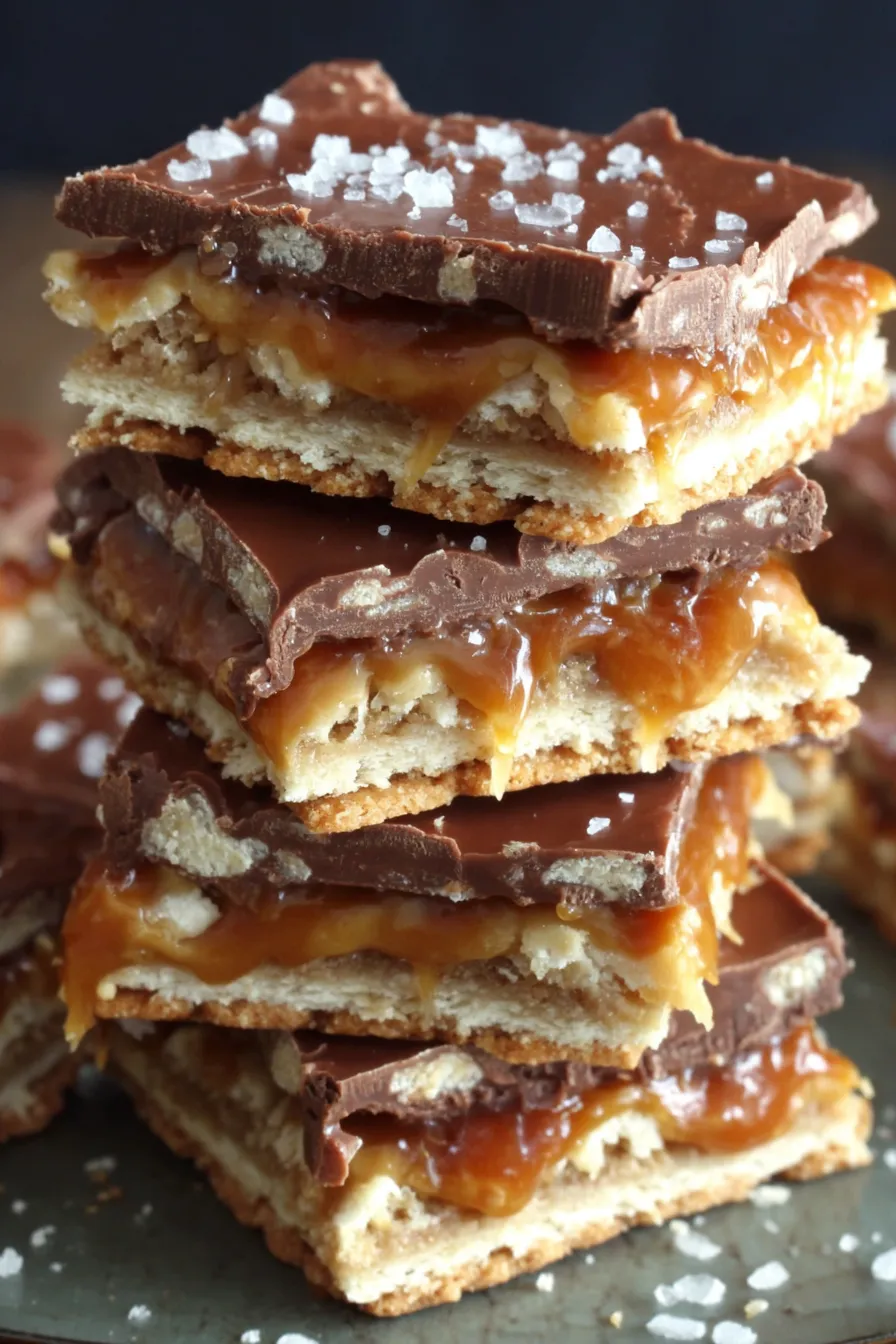
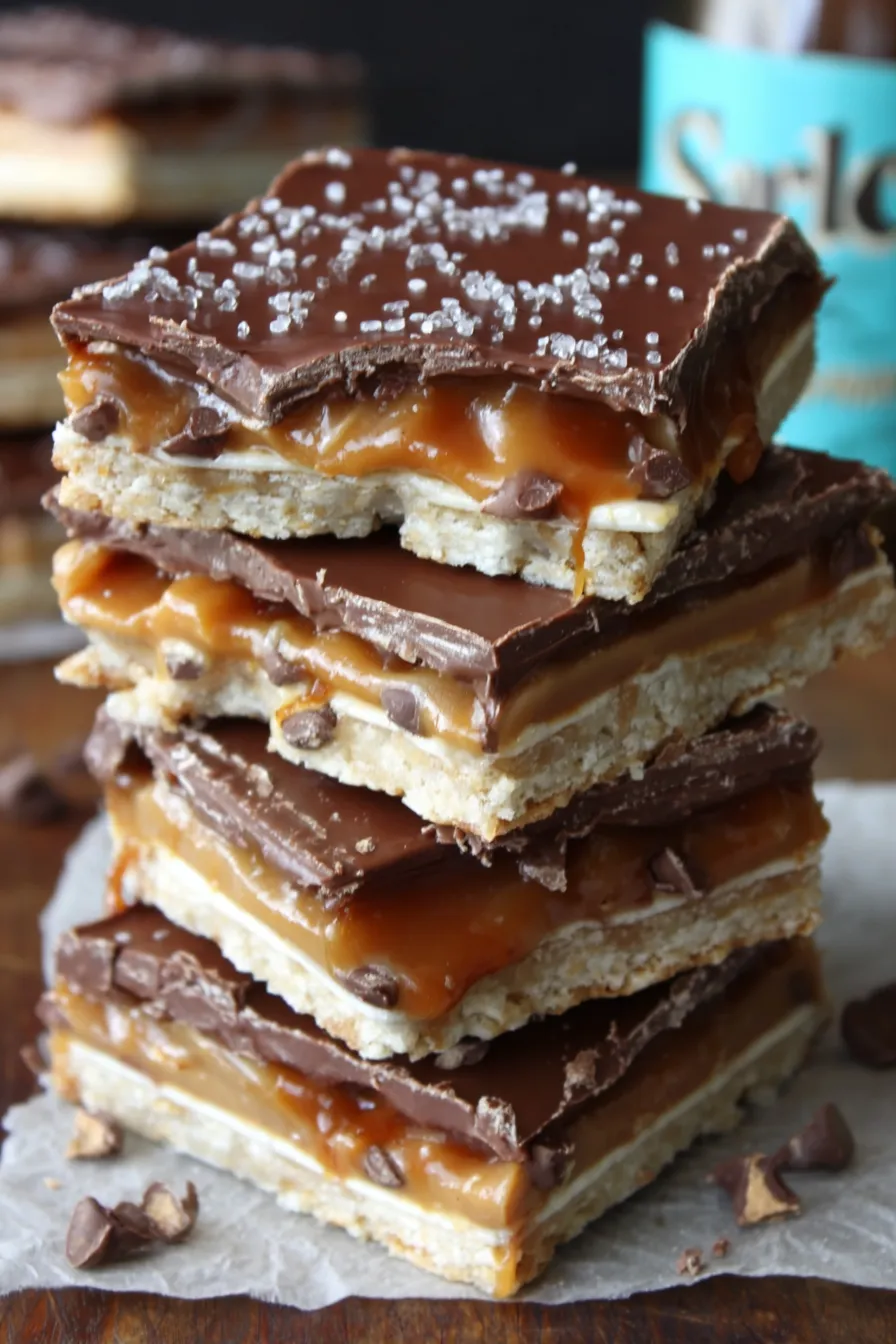
This batch of salted caramel cracker bars has been my go-to when I want something nostalgic, gooey, and utterly irresistible. I first learned this method during a holiday bake swap; someone brought a tray and I watched neighbors line up for seconds. The contrast of crisp club crackers with a hot, sticky caramel that soaks the edges—then a glossy chocolate-butterscotch top—creates a texture that’s both crunch and melt. It’s the kind of sweet that reminds me of childhood potlucks and late-night chats over coffee.
I now make these whenever I need a crowd-pleasing treat that stores well and travels beautifully. They’re quick to assemble, and the technique is forgiving: a steady simmer for the caramel, gentle stirring for the topping, and a quick chill to set. The balance of salted brown sugar caramel and the nutty hint from peanut butter keeps the flavor from becoming cloying. Serve chilled for clean slices or slightly warmed for an oozy experience—both are wonderful.
When I first shared these bars at a summer picnic, people asked for the recipe on the spot. Over the years I’ve tweaked the balance—using packed brown sugar for deeper molasses notes and adding a little vanilla to round the caramel. Family members argue about whether the bars are better chilled or slightly warm; both sides have valid points, which is why I often make two pans!
My favorite thing about these bars is how they transform humble pantry staples into something celebratory. Friends often ask if I used a secret ingredient; it’s just technique—proper boiling and patience while setting. The salt from the crackers and the savory edge from peanut butter make the sweetness sing, so they never feel overwhelmingly sugary even in large servings.
Store the bars in an airtight container in the refrigerator to maintain the crisp-cracker texture and keep the topping firm; they last about 7 days chilled. For longer storage, wrap the slab tightly in plastic wrap and aluminum foil before freezing—individual bars can also be wrapped. To thaw frozen bars, move them to the refrigerator overnight to avoid condensation on the topping. If you want a quick serving, bring a refrigerated bar to room temperature for 10–15 minutes or microwave a single piece for 8–10 seconds to soften the caramel a touch without melting the topping.
If you need to adjust the flavor or accommodate allergies, there are easy swaps. For a nut-free topping, replace peanut butter with sunflower seed butter—use the same amount but choose a creamy variety. Swap chocolate chips for dark chocolate if you prefer less sweetness; reduce butterscotch chips to 2/3 cup if using very dark chocolate. For a gluten-free option, use certified gluten-free crackers and graham crumbs; note the texture will vary slightly. To reduce sweetness, use light brown sugar or reduce the packed brown sugar by 1/4 cup, but be aware that caramel set may be softer.
Serve chilled squares on a dessert platter garnished with a light sprinkle of flaky sea salt to emphasize the salted-caramel profile. Pair with strong coffee or a simple vanilla ice cream scoop for an elegant contrast of temperatures. For a party, cut into one-bite pieces and arrange with fresh berries to cut the sweetness. These bars also travel well in containers for potlucks—place parchment layers between stacks to prevent sticking and keep chilled until serving.
Layered cracker bars like these are rooted in American potluck tradition—simple, portable sweets assembled from pantry staples. Variations have circulated for decades under names like "cracker toffee" or "salty-sweet bars," often featuring a toffee or caramel middle and a candy topping. The use of club crackers provides a flaky, salty backbone reminiscent of English shortbread pairings, while butterscotch chips add a classic North American toffee flavor. This hybrid of textures and flavors reflects home baking’s inventive nature—turning a few humble items into something greater than the sum of its parts.
For efficient prep, crush graham crackers and measure chips the day before. Assemble multiple pans back-to-back if you’re feeding a crowd—use a slightly larger 10x15-inch pan for thinner bars when you want more pieces per slab. If you plan to freeze portions, slice the chilled slab into individual pieces before freezing; flash-freeze on a tray for an hour, then bag portions to maintain shape. Label containers with the date and intended use; frozen bars defrost best in the refrigerator overnight and will taste freshest within three months.
Whether you’re making these for a holiday spread, a bake sale, or a cozy family night, these salted caramel cracker bars are reliably delicious. They’re flexible, forgiving, and full of the sweet-salty contrast that keeps everyone reaching for one more piece.
When boiling the caramel, stir constantly to prevent scorching and ensure even thickening.
Line the pan with parchment or foil with an overhang to lift the slab out for easy slicing.
Warm your knife under hot water and dry between cuts for clean, glossy slices.
For a firmer set, chill in the freezer for 10–20 minutes; for a softer bar, chill in the refrigerator.
This nourishing salted caramel cracker bars recipe is sure to be a staple in your kitchen. Enjoy every moist, high protein slice — it is perfect for breakfast or as a wholesome snack any time.
Yes—use a freezer-safe container and they keep up to 3 months. Thaw overnight in the refrigerator.
Boil the caramel for the full 7 minutes while stirring constantly; this ensures the caramel thickens and sets correctly.
This Salted Caramel Cracker Bars recipe makes perfectly juicy, tender, and flavorful steak every time! Serve with potatoes and a side salad for an unforgettable dinner in under 30 minutes.
Line a 9x13-inch pan with parchment paper or foil with an overhang. Arrange one layer of club crackers side by side so they touch; trim as needed to fill the pan.
In a medium saucepan, combine butter, packed brown sugar, crushed graham crackers and milk. Bring to a boil over medium heat, stirring constantly. Maintain a rolling boil for 7 minutes, stirring to prevent scorching and to thicken the mixture.
Remove caramel from heat and stir in vanilla. Pour half the caramel over the first cracker layer, add a second cracker layer, pour the remaining caramel, then top with a final cracker layer and press gently.
Melt milk chocolate chips, butterscotch chips and peanut butter over low to medium-low heat, stirring constantly until smooth and glossy. Avoid high heat to prevent graininess.
Pour the frosting over the top layer and spread evenly. Chill in the freezer 10–20 minutes or refrigerate until firm. Lift out using the parchment overhang and slice into bars with a warm, dry knife.
Last Step: Please leave a rating and comment letting us know how you liked this recipe! This helps our business to thrive and continue providing free, high-quality recipes for you.
Leave a comment & rating below or tag
@forkelle on social media!

Thick, fudgy chocolate chunk brownies crowned with gooey mini marshmallows and a quick-set chocolate frosting for an irresistible, crowd-pleasing treat.

Buttery shortbread meets a gooey, brown-sugar pecan topping in these quick pecan pie bars. Just 10 minutes to prep and perfect for sharing.

Silky, crack-free pumpkin cheesecake with warm spice, buttery graham crust, and optional caramel and rum-kissed whipped cream. Your effortless holiday showstopper.
Leave a comment & rating below or tag @forkelle on social media!
Enjoyed this recipe? Share it with friends and family, and don't forget to leave a review!
This recipe looks amazing! Can't wait to try it.
Comments are stored locally in your browser. Server comments are displayed alongside your local comments.

Join to receive our email series which contains a round-up of some of our quick and easy family favorite recipes.
