
>>

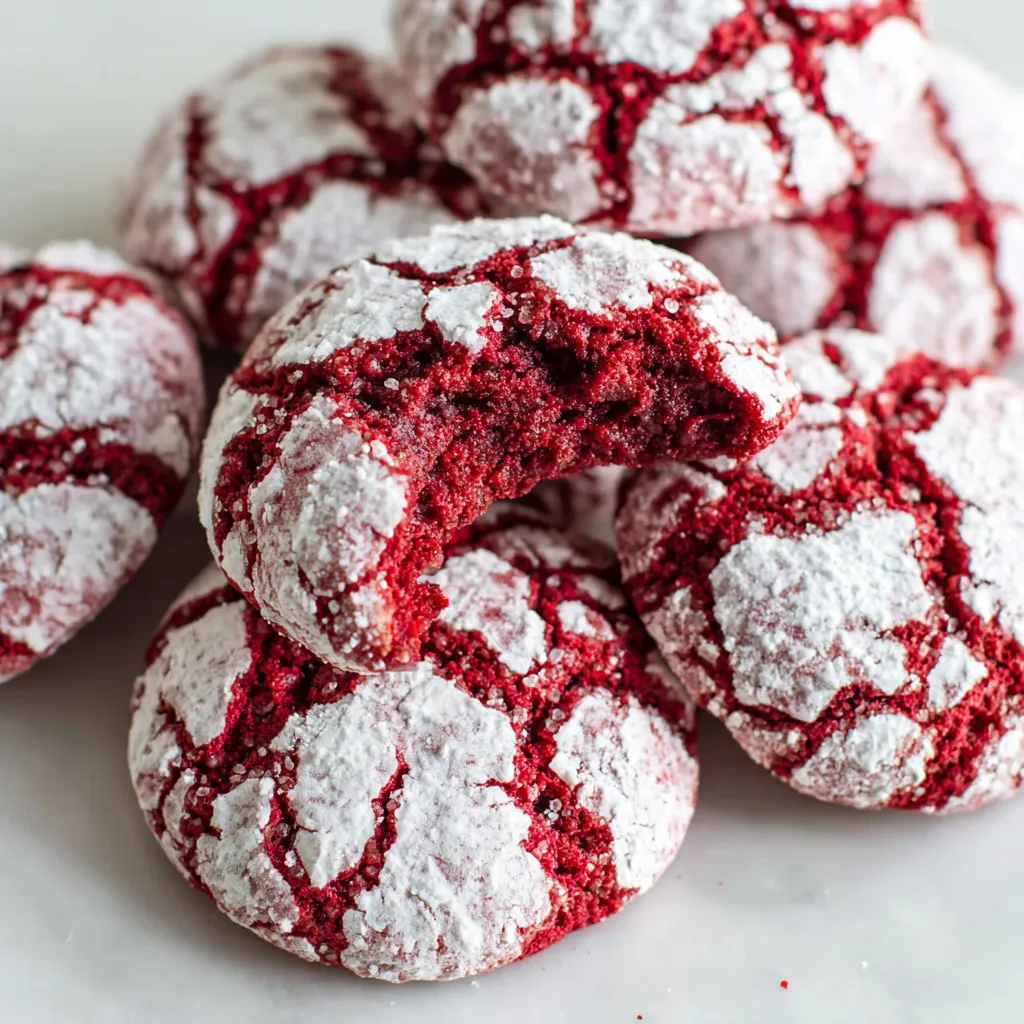
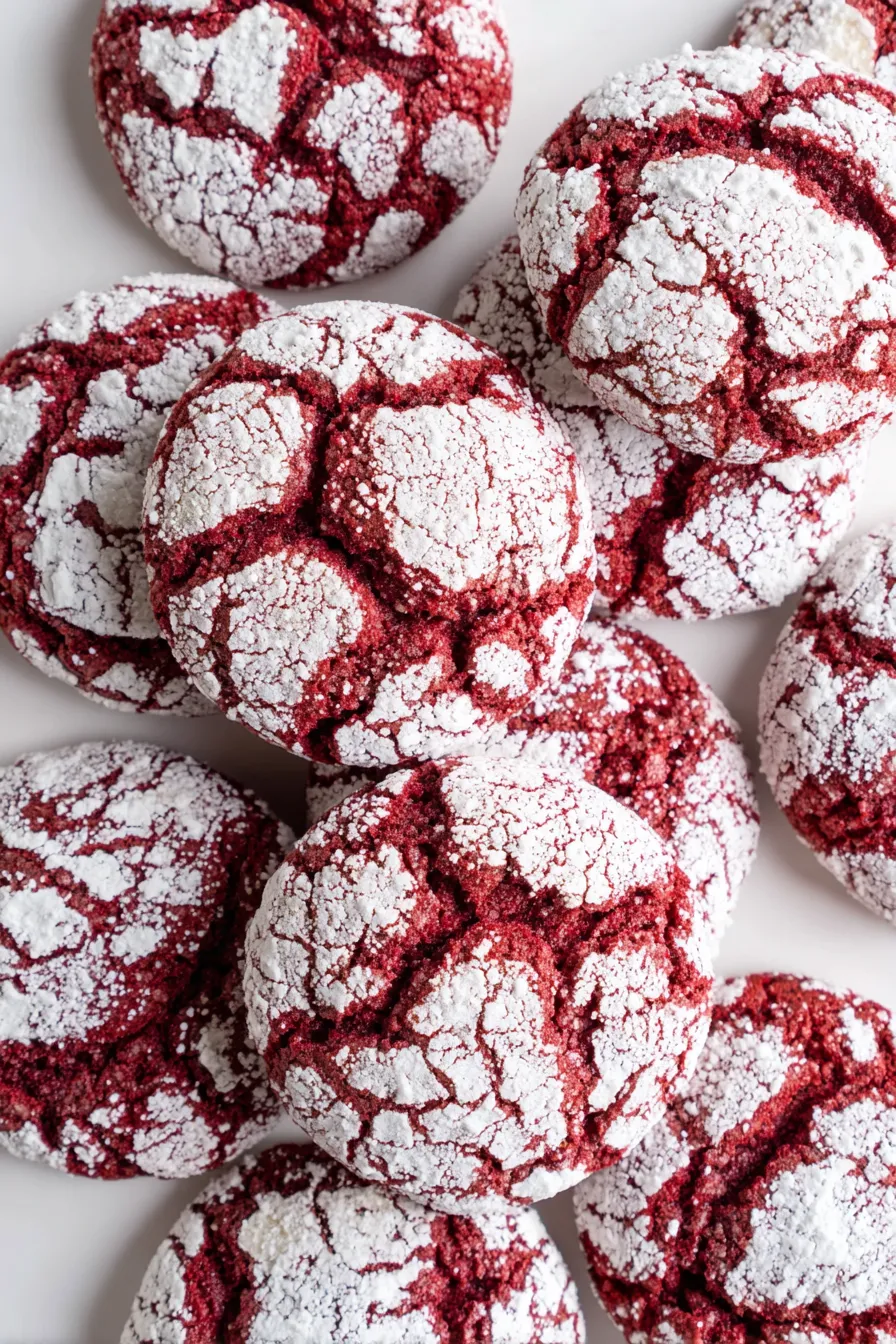
Soft, tender red velvet crinkle cookies made in a single bowl and ready in about 20 minutes—rolled in granulated and powdered sugar for a striking cracked finish.
This recipe for One Bowl 20 Minute Red Velvet Crinkle Cookies was the sort of discovery that turned a simple afternoon of baking into a repeated ritual. I first came across the combination on a rainy weekend when I wanted something festive but fuss-free: bold color, a tender cocoa kiss, and a crackled powdered sugar exterior without elaborate chilling or multiple bowls. The first batch disappeared within an hour—friends were surprised these were so quick and kept asking whether I’d cheated and used store-bought dough. The beauty is in its simplicity: everything goes into one bowl, and the dough responds immediately to a gentle whisk and a few folds.
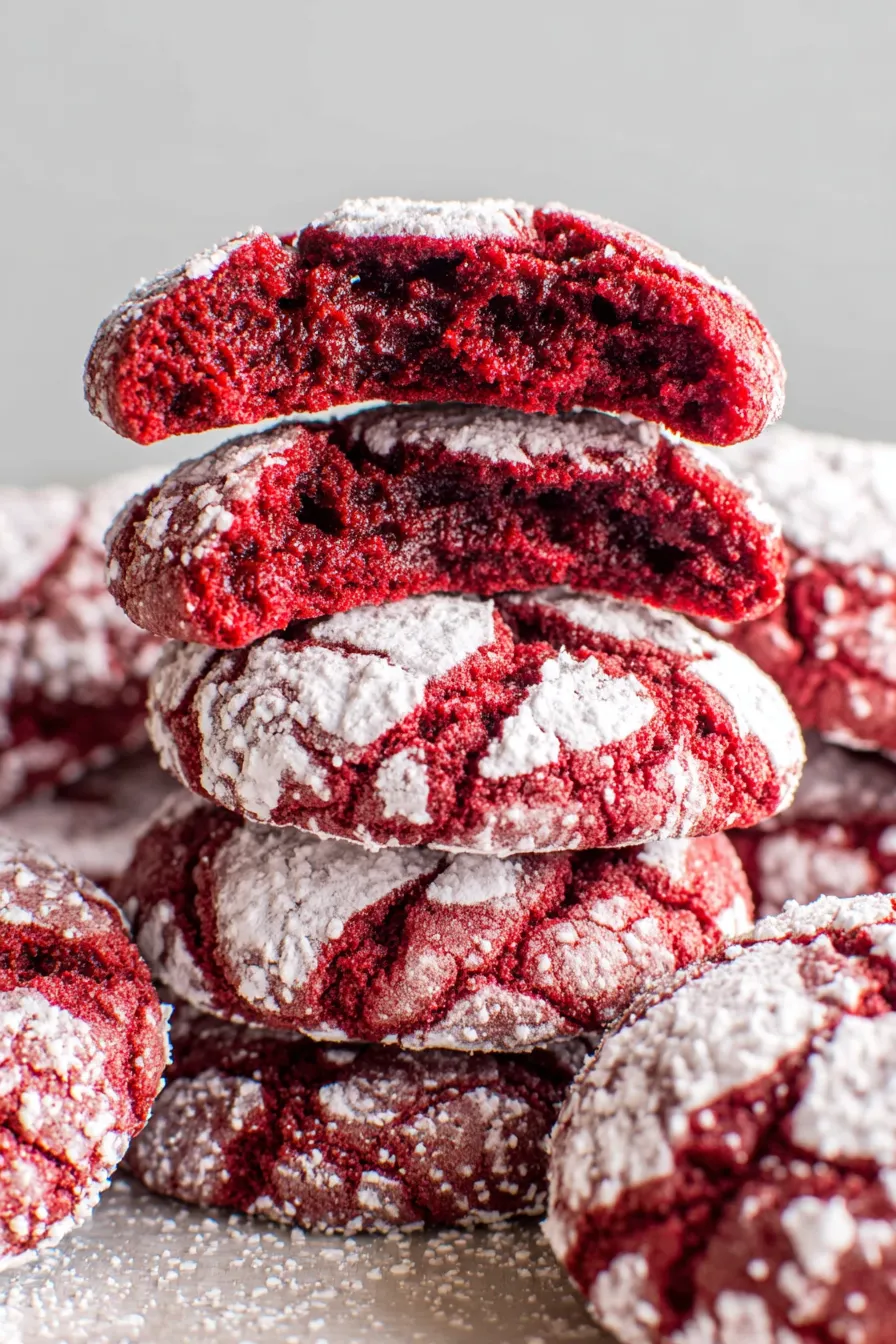
What makes them special is the balance between the deep, mild cocoa that anchors the red color and the luxuriously soft crumb from oil instead of butter. The cookies bake up slightly crinkled, sugar-kissed, and tender in the center. They’re the kind of treat that feels festive enough for holidays yet practical enough for an after-school baking session. I often bring a tin to potlucks because they travel well and remain tender for days when stored correctly.
On the first holiday I served these, neighbors asked for the recipe—kids loved the color and adults loved how the texture felt like a tiny cake in cookie form. The recipe is forgiving: even if the dough seems oily at first, the final result is tender and never greasy when baked properly.
My favorite part is how forgiving these are: the dough looks loose and almost too soft, but the final cookie is tender, cakey, and reliably crinkled. Years of testing taught me to trust the texture at the mixing stage—don’t keep adding flour; you’ll lose the delicate interior.
Store cooled cookies in an airtight container at room temperature up to five days. If stacking, separate layers with parchment to protect the powdered sugar finish. For longer storage, flash-freeze cookies in a single layer for about an hour, then transfer to a labeled freezer bag for up to three months. To thaw, leave in the bag at room temperature for 30–60 minutes; for a just-baked warmth, microwave one cookie on a microwave-safe plate for 7–10 seconds.
If you don’t have gel food coloring, use standard liquid red food coloring but expect to need more and a slightly softer hue; gel is stronger and won’t affect dough consistency. To make these nut-free and dairy-free, verify powdered sugar contains no dairy; most do not. For a richer flavor swap half the oil for melted butter (not dairy-free then) but decrease to 1/4 cup plus 1 tablespoon melted butter to avoid greasiness. You can also replace 2 tablespoons of flour with an equal-weight almond flour for a nuttier note, though texture will be slightly cakier.
Serve these warm with a cup of coffee or milk for a nostalgic pairing. For a festive platter, dust additional sifted cocoa around the plate and garnish with a few whole raspberries or a sprig of mint. They pair beautifully with vanilla bean ice cream as a mini-sandwich or alongside a pot of hot chocolate on chilly evenings.
Red velvet has roots in Southern American baking traditions, traditionally showcasing a subtle cocoa tang and vivid red color. Its history traces back to early 20th-century velvet cakes—named for their soft crumb—and evolved into the modern red velvet craze with striking contrasts of white cream cheese frosting or powdered sugar. These crinkle cookies borrow that flavor profile and transform it into a portable, single-bite dessert.
For winter holidays, add 1/4 teaspoon ground cinnamon to the dry mix for a warming note. In spring, fold in a tablespoon of lemon zest to the wet ingredients to lift the cocoa and bring brightness. For Valentine’s Day, swap the granulated sugar rolling step for colored sanding sugar before the powdered sugar to add sparkle—just be mindful that extra sugar can alter the crinkle pattern slightly.
Double the dough and store half uncooked in the refrigerator for 24–48 hours; bring to room temperature and re-scoop before rolling. For easy gifting, freeze baked cookies for up to three months and thaw in the packaging—this keeps them looking fresh for cookie exchanges and care packages.
There’s a simple joy in pulling a tray of these warm, crimson cookies from the oven and watching hands reach for more. I encourage you to try the one-bowl method—it’s fast, forgiving, and reliably delicious. Share a tin or keep them all to yourself; either way, they’re worth making and making again.
Use gel food coloring for the most vibrant color without changing dough hydration; add it to the wet mix and whisk until uniform.
Sift cocoa and flour into the bowl to avoid lumps and ensure an even crumb; fold gently to prevent developing too much gluten.
Allow cookies to cool 10–15 minutes on the pan; this finishes setting the interior and prevents breakage when transferring to a rack.
This nourishing one bowl 20 minute red velvet crinkle cookies recipe is sure to be a staple in your kitchen. Enjoy every moist, high protein slice — it is perfect for breakfast or as a wholesome snack any time.
Yes. You can freeze baked cookies in a single layer for an hour, then transfer to a freezer bag for up to three months. Thaw at room temperature.
The dough is slightly oily by design; do not add extra flour. If you must, add no more than 1 tablespoon to avoid drying the cookies.
This One Bowl 20 Minute Red Velvet Crinkle Cookies recipe makes perfectly juicy, tender, and flavorful steak every time! Serve with potatoes and a side salad for an unforgettable dinner in under 30 minutes.
Preheat oven to 325°F and line 1–2 sheet pans with parchment paper. Allow oven to fully reach temperature before baking for even results.
In a medium bowl, whisk together 1/3 cup neutral oil, 1/2 cup packed brown sugar, 1/4 cup granulated sugar, 1 large room-temperature egg, 1 teaspoon vanilla, and 1 teaspoon red gel coloring for about 45–60 seconds until slightly thickened and combined.
Sift and add 1 1/3 cups all-purpose flour, 1/4 cup sifted cocoa powder, 1/2 teaspoon kosher salt, and 1/4 teaspoon baking soda. Fold with a rubber spatula until just combined; the dough will be soft and slightly oily—this is expected.
Use a #40 cookie scoop (about 2 tablespoons or 40 g) to portion dough. Roll each portion in granulated sugar, then in powdered sugar, squeezing gently to adhere the powdered sugar.
Place dough balls about 2 inches apart on the sheet. Bake for 12–13 minutes until edges look set and tops are puffed. Cool on the pan 10–15 minutes, then transfer to a wire rack to cool completely.
Last Step: Please leave a rating and comment letting us know how you liked this recipe! This helps our business to thrive and continue providing free, high-quality recipes for you.
Leave a comment & rating below or tag
@forkelle on social media!

Thick, fudgy chocolate chunk brownies crowned with gooey mini marshmallows and a quick-set chocolate frosting for an irresistible, crowd-pleasing treat.

Buttery shortbread meets a gooey, brown-sugar pecan topping in these quick pecan pie bars. Just 10 minutes to prep and perfect for sharing.

Silky, crack-free pumpkin cheesecake with warm spice, buttery graham crust, and optional caramel and rum-kissed whipped cream. Your effortless holiday showstopper.
Leave a comment & rating below or tag @forkelle on social media!
Enjoyed this recipe? Share it with friends and family, and don't forget to leave a review!
This recipe looks amazing! Can't wait to try it.
Comments are stored locally in your browser. Server comments are displayed alongside your local comments.

Join to receive our email series which contains a round-up of some of our quick and easy family favorite recipes.
