
>>

Spooky yet irresistibly creamy Oreo truffles dipped in colored white chocolate, decorated with candy eyes and sprinkles—an easy no-bake Halloween treat.
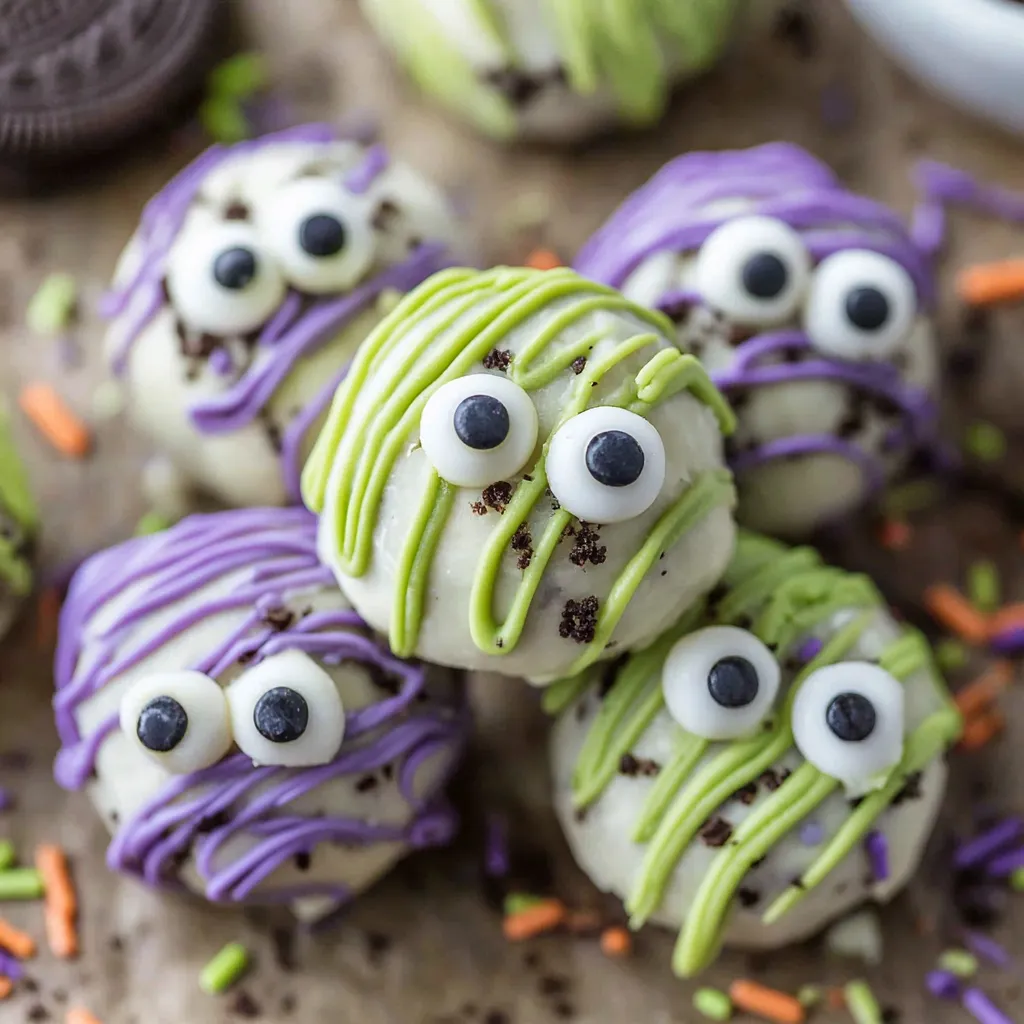
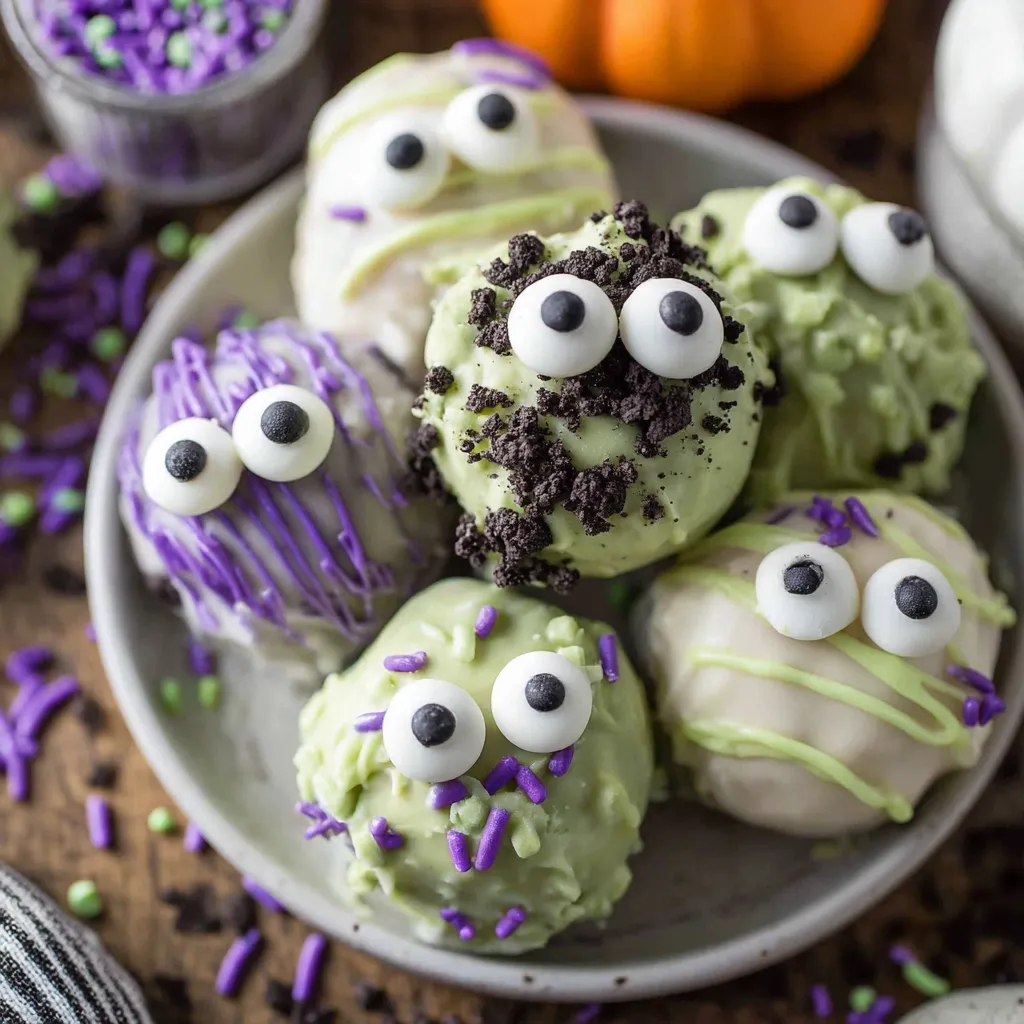
This batch of No Bake Monster Truffles has become my haunted-house staple every October. I discovered this playful twist on classic cookie truffles during a chilly October afternoon when I wanted something fast, festive, and not too fussy. The combination of crushed sandwich cookies and softened cream cheese creates an ultra-creamy center that contrasts perfectly with a crisp chocolate shell. The colorful white chocolate coating—tinted green and purple—lets you play with monster-like designs, and the candy eyes always get a giggle from guests young and old.
What makes these especially memorable is how simple they are to make and how impressive they look on a dessert table. I first made them for a small neighborhood gathering and they disappeared within minutes. The texture is exactly what you want from a truffle: dense and fudgy inside, with a thin, smooth coating outside that snaps when bitten. Because there’s no baking required, they’re perfect for last-minute party prep or making with kids. Over the years I’ve tweaked the chilling times and dipping technique; the method below reflects those little improvements so your truffles come out polished and predictable every time.
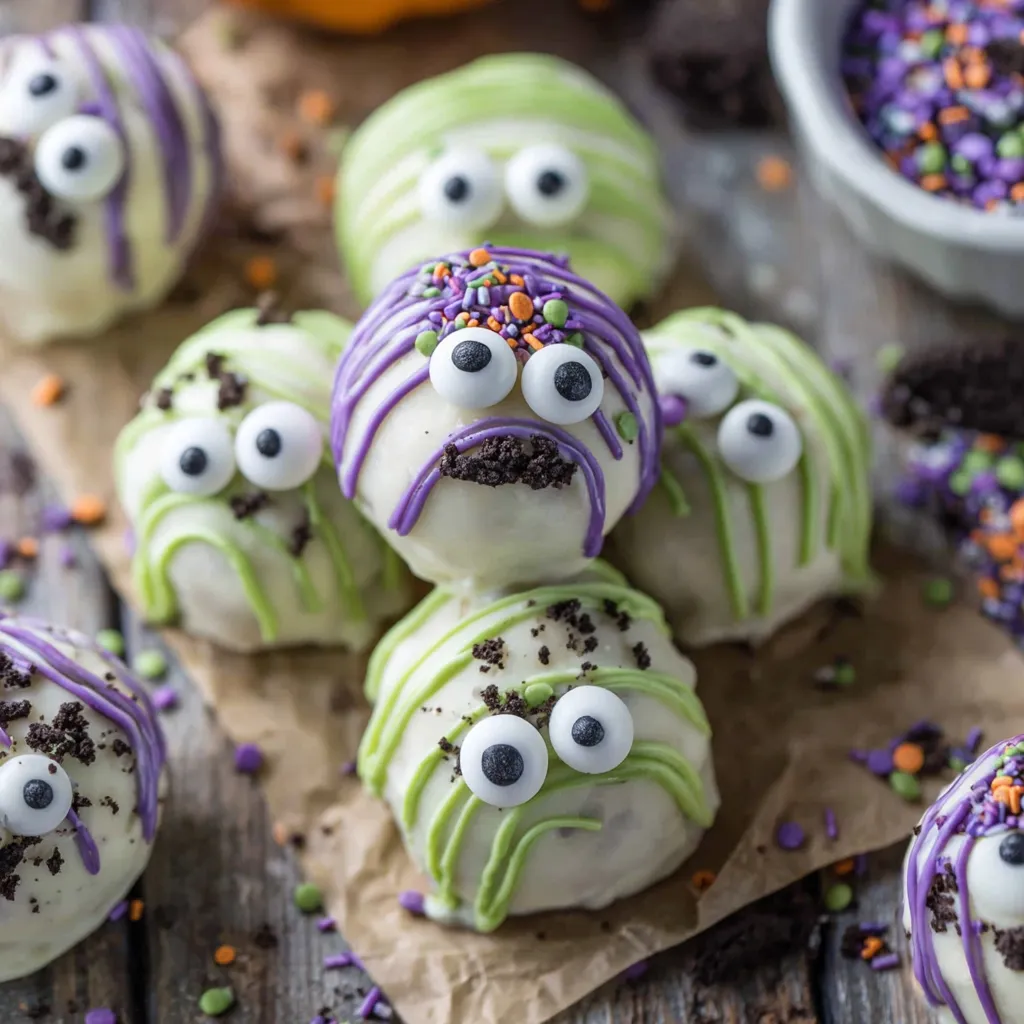
I always bring at least a dozen to every Halloween gathering because people love the cute factor as much as the flavor. The first time I added two eyes to a truffle it felt like giving it personality; by the end of the night a whole troop of little monsters had formed on the dessert table. Family members now request a double batch whenever we host a Halloween movie night.
My favorite thing about these is how forgiving they are: imperfections disappear under sprinkles and a few eyes. One Halloween I made them late into the night and still had time to add quirky mouths with extra drizzle. Guests love the surprise of a creamy center beneath a colorful shell—children especially adore picking their favorite monster.
Store finished truffles in an airtight container in the refrigerator for up to 7 days. Layer parchment between rows to prevent sticking. For longer storage, freeze truffles on a tray until solid then transfer to a freezer-safe container for up to 3 months. To thaw, place in the refrigerator for a few hours—avoid leaving frozen truffles at room temperature for long to prevent condensation that can dull the chocolate shine.
If you prefer dark chocolate coating, use 16 ounces of semisweet melting wafers instead and tint with oil-based colors designed for chocolate. Vegan cream cheese can replace dairy cream cheese, but texture will change slightly; use stabilized vegan cream cheese for best results. For a gluten-free version use certified gluten-free chocolate sandwich cookies—measure 24 cookies for a nearly identical outcome.
Arrange truffles on a tiered tray with other bite-sized sweets for a Halloween dessert table. Pair with hot cocoa or a spiced cider for a cozy Halloween gathering. Garnish the plate with extra candy eyes and loose sprinkles, and label each batch with flavor notes if you make variations—guests love sampling different colors and decorations.
Truffles like these evolved from classic European chocolate truffles but morphed into cookie-based balls in American home baking where sandwich cookies and cream cheese became convenient and beloved ingredients. Dipping cookies in melted chocolate and decorating for holidays has become a regional craft and a joyful way to introduce children to baking techniques without turning on the oven.
For other holidays, change the coating colors and sprinkles—red and green for Christmas, pastel shades for spring, or orange for Thanksgiving. Swap candy eyes for themed toppers like tiny candy pumpkins or heart sprinkles depending on the season. You can also flavor the interior with a small amount of flavored extract (peppermint, orange) for a seasonal twist.
Make the cookie-cream mixture up to three days in advance and keep it refrigerated. Portion and freeze preformed balls on a tray, then transfer to a container; when you’re ready to finish, dip directly from frozen—just add a minute or two to the melting time if needed. Pack truffles in single layers when preparing gift boxes and include a small cooling pack to keep them stable during transport.
These monster truffles are perfect for bringing people together: quick to make, endlessly adaptable, and always a conversation starter. Try them once and you’ll understand why they’re my favorite no-bake Halloween indulgence—fun to assemble, satisfying to eat, and just the right amount of spooky.
Chill the formed balls thoroughly before dipping to prevent cracking and to achieve a smooth shell.
Use gel-based food coloring to tint white chocolate; oil or liquid colors can seize the coating.
Work in small batches when dipping so the chocolate stays warm and fluid for an even coating.
If the coating becomes too thick, gently reheat in the microwave for 10 to 15 seconds and stir thoroughly.
Place eyes and sprinkles onto the wet coating immediately; they won’t adhere once the chocolate has fully set.
This nourishing no bake monster truffles (halloween oreo balls) recipe is sure to be a staple in your kitchen. Enjoy every moist, high protein slice — it is perfect for breakfast or as a wholesome snack any time.
Yes. Freeze on a tray until solid then transfer to a freezer-safe container for up to 3 months. Thaw in the refrigerator.
Use gel food coloring to avoid seizing the chocolate. Liquid food coloring can change texture.
This No Bake Monster Truffles (Halloween Oreo Balls) recipe makes perfectly juicy, tender, and flavorful steak every time! Serve with potatoes and a side salad for an unforgettable dinner in under 30 minutes.
Pulse 24 Oreo cookies in a food processor until sand-like. Add 4 ounces softened cream cheese and pulse until a cohesive dough forms, scraping bowl as needed. Alternatively crush cookies by hand and mix with cream cheese in a bowl.
Scoop the mixture into 24 equal balls using a small ice cream scoop or 2 tablespoons, roll briefly to smooth, place on parchment, and freeze for 20 minutes until firm.
Melt 12 ounces of white melting chocolate in a microwave-safe bowl in 30-second intervals, stirring each time until smooth. Stir in 3-4 drops of green gel coloring and keep warm for dipping.
Dip chilled truffles into the green chocolate using a fork, tapping off excess and returning to the parchment. Work quickly so chocolate remains fluid and smooth.
Melt remaining 4 ounces of white chocolate, tint purple, and drizzle over truffles. Add candy eyes and sprinkles while coating is wet. Let set at room temperature or refrigerate briefly until firm.
Last Step: Please leave a rating and comment letting us know how you liked this recipe! This helps our business to thrive and continue providing free, high-quality recipes for you.
Leave a comment & rating below or tag
@forkelle on social media!

Thick, fudgy chocolate chunk brownies crowned with gooey mini marshmallows and a quick-set chocolate frosting for an irresistible, crowd-pleasing treat.

Buttery shortbread meets a gooey, brown-sugar pecan topping in these quick pecan pie bars. Just 10 minutes to prep and perfect for sharing.

Silky, crack-free pumpkin cheesecake with warm spice, buttery graham crust, and optional caramel and rum-kissed whipped cream. Your effortless holiday showstopper.
Leave a comment & rating below or tag @forkelle on social media!
Enjoyed this recipe? Share it with friends and family, and don't forget to leave a review!
This recipe looks amazing! Can't wait to try it.
Comments are stored locally in your browser. Server comments are displayed alongside your local comments.

Join to receive our email series which contains a round-up of some of our quick and easy family favorite recipes.
