
>>

Festive, bite-sized cheesecake treats dipped in red and green candy melts — effortless to make, perfect for holiday parties and last-minute gifts.
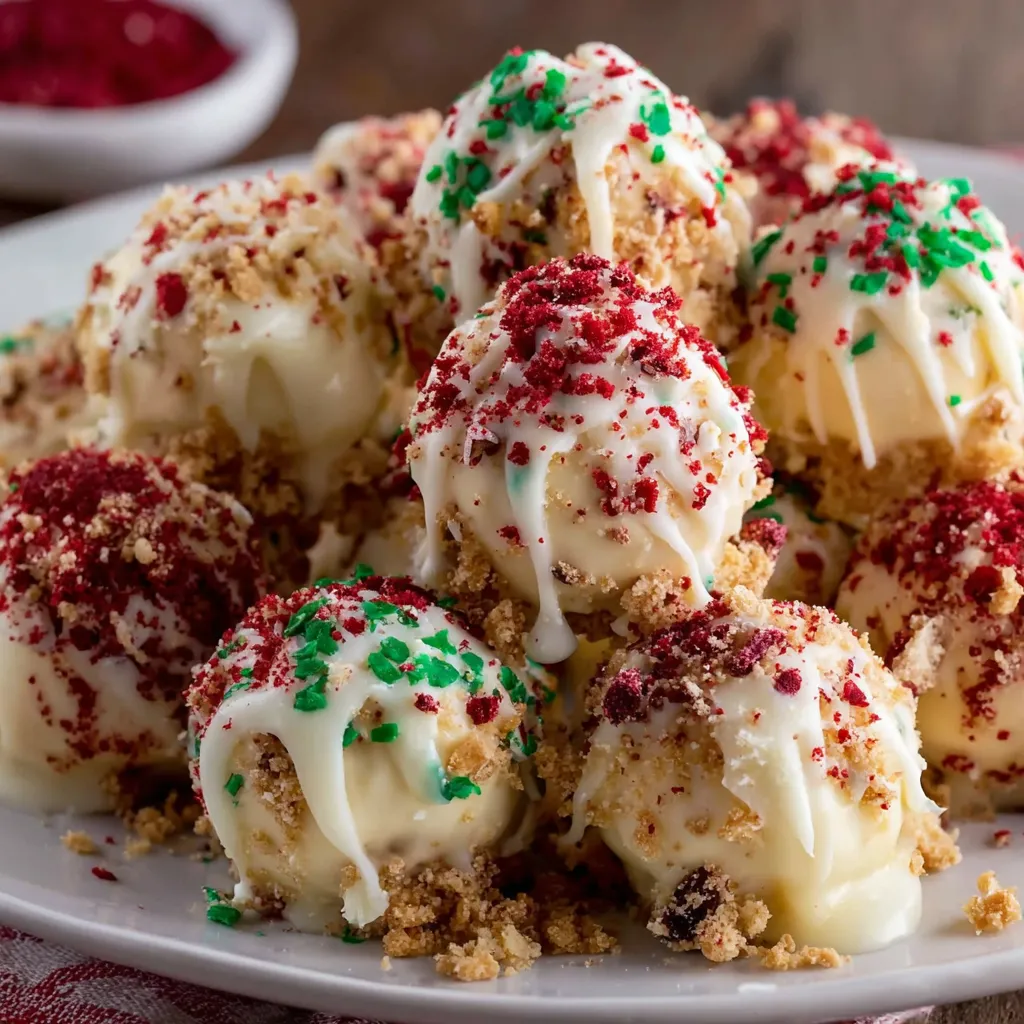
This batch of no-bake Christmas cheesecake bites is the holiday treat I reach for when I want something that feels special but doesn’t demand an oven or hours of hands-on time. I first developed this formula during a December when a surprise snowstorm canceled our neighborhood cookie swap; I wanted something that looked festive, tasted rich and creamy, and could be assembled quickly. The result was exactly that—smooth cream cheese folded with white chocolate, a little crunch from graham crumbs, and a glossy candy coating in holiday colors. They slice through the usual party spread with bright, cheerful pops of red and green, and become the first things people reach for.
What I love most is the contrast of textures and the simplicity of the technique. Each bite starts with ultra-creamy filling, tempered by a faint graham cracker nuttiness, then finished with a thin shell of colored chocolate that gives a delicate snap. These bites are perfect when you want a homemade gift, a last-minute offering for a potluck, or an elegant platter for a holiday coffee morning. They hold up well for a few days in the fridge and travel nicely when packed in a single layer with parchment—my neighbors now expect a tin every December.
When I served these at my first holiday brunch, they vanished so quickly someone asked if I’d accidentally made more in the kitchen. Family and friends responded to the bright colors and the clean, sweet flavor—kids loved the candy coating and adults appreciated the restrained sweetness of white chocolate paired with the tang of cream cheese. They’re a small treat that feels celebratory without being fussy.
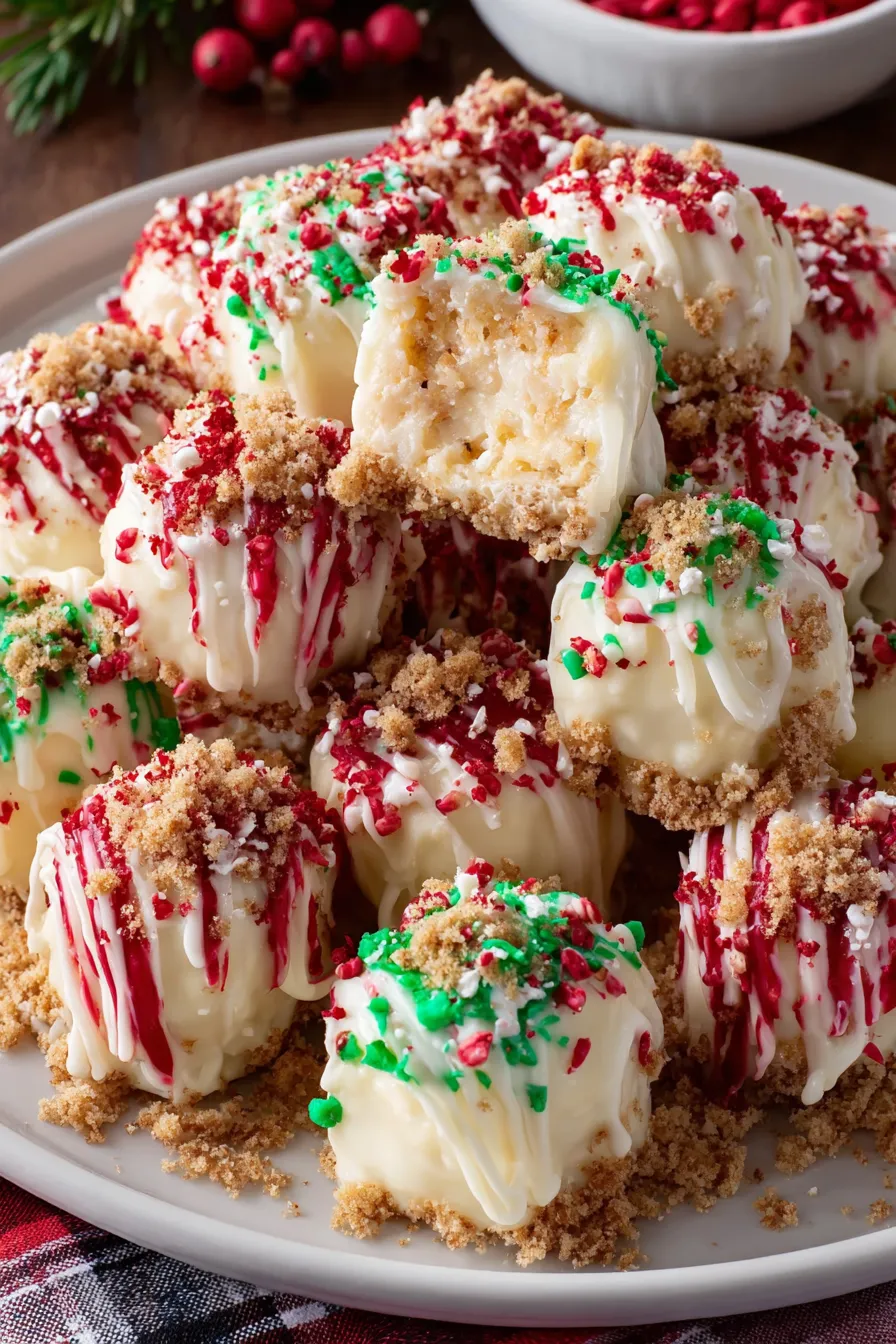
My favorite part about serving these bites is the collector’s reaction when someone breaks through that glossy shell to reveal the creamy center. They’re deceptively simple—most guests assume they were complicated to make—and that surprise gives me a small kick every time. The color contrast on a white platter makes a striking holiday display that pairs beautifully with coffee, mulled cider, or a sparkling beverage.
Store finished bites in a single layer or in stacked layers separated by parchment in an airtight container in the refrigerator. They will stay fresh for up to 5 days; after that the texture may begin to firm and the candy shell can bloom. To freeze, flash-freeze on a tray for 1 hour, then transfer to a freezer-safe container with parchment between layers. Thaw in the refrigerator for several hours before serving. Reheat is unnecessary—serve cold or at cool room temperature for best flavor and texture.
If you prefer a lighter filling, substitute half of the cream cheese with mascarpone for a silkier texture, or use full-fat Greek yogurt strained in cheesecloth to reduce richness (use a 3:1 ratio of cream cheese to strained yogurt). For dairy-free versions, try coconut-based cream cheese and a dairy-free white coating; note that flavor and texture will change and coatings may require different melting behavior. Swap graham crackers for crushed ginger snaps for a spicier holiday note or Oreo crumbs for a cookies-and-cream variation.
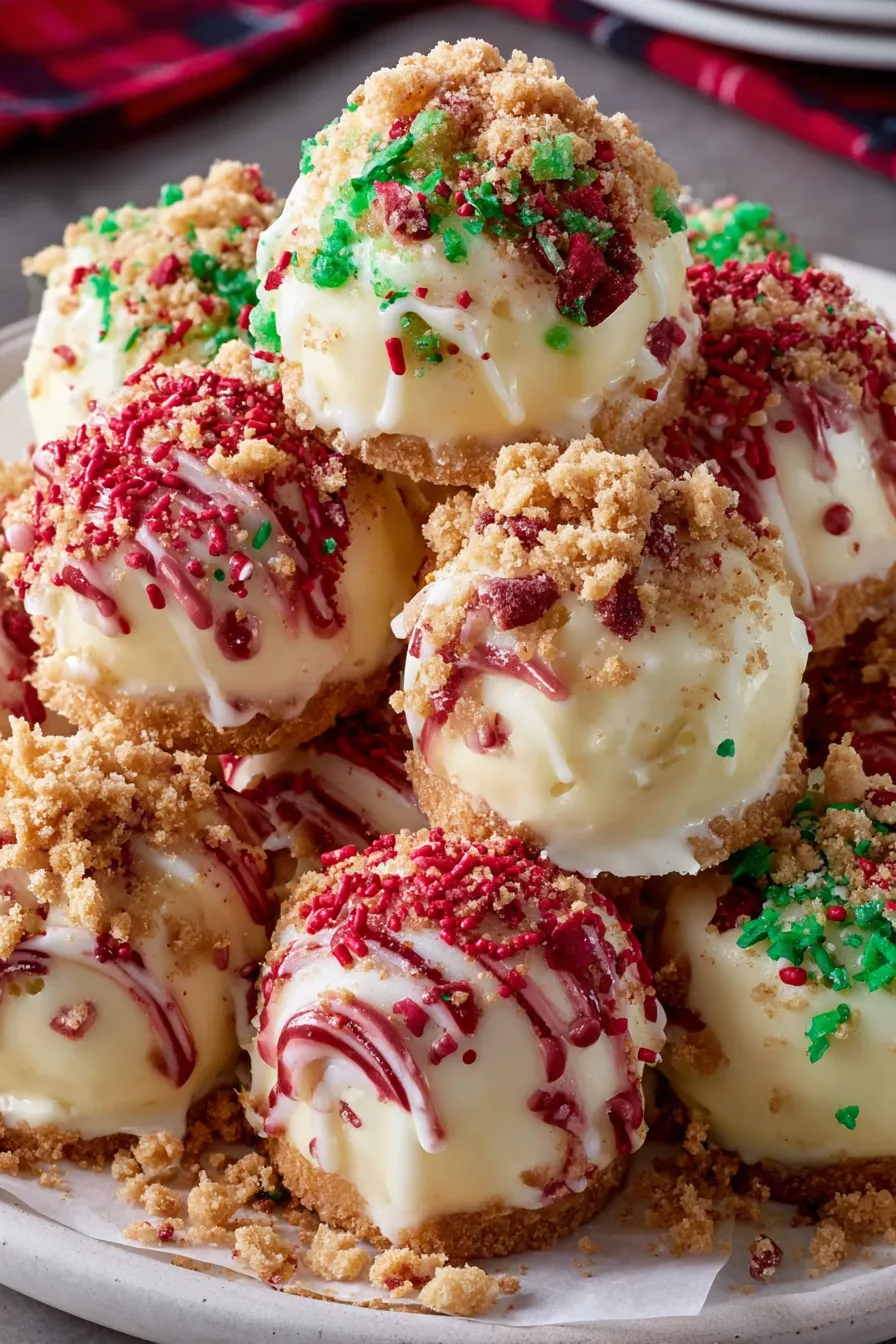
Arrange bites on a tiered platter for a festive centerpiece or present them in small candy cups for individual servings. Garnish with edible gold dust or a tiny holly leaf sugar decoration for a refined look. They pair well with coffee, espresso, hot chocolate, or sparkling wine; for family gatherings, add a plate of mixed nuts and citrus slices for a balance of flavors. For gift boxes, line tins with parchment and separate layers with decorative tissue to protect the coating.
Miniature cheesecake confections are an American holiday favorite, evolving from classic cheesecake into hand-held party bites. These no-bake variations have gained popularity for their speed and adaptability, borrowing techniques from candy making—such as dipping and using candy melts—to create colorful seasonal treats. The use of graham crackers nods to traditional cheesecake crusts while the candy coating reflects modern festive presentation trends seen at holiday markets and neighborhood parties.
In winter, add a pinch of ground cinnamon or nutmeg to the filling for warmth; in summer, swap the candy coating for a thin layer of tempered dark chocolate and top with freeze-dried strawberry powder. For Valentine’s Day, use pink and white melts and heart-shaped sprinkles; for St. Patrick’s Day, opt for green and gold finishes. Adjust the crumb base with seasonal cookies—peppermint bark crumbs in December or lemon shortbread in June—to echo seasonal flavors.
Make the filling up to two days ahead and keep it chilled to save time on the day of serving. Shape and freeze the balls on a tray, then dip straight from the freezer—this minimizes condensation and gives a smoother coating. Pack finished bites with chilled gel packs for transport and keep a small container of extra melted candy on hand for quick repairs if any shells crack during transit.
These little bites are simple to scale, forgiving to technique, and full of holiday cheer. Whether you’re gifting them or serving them at a party, they make the season feel a bit more joyful and a lot more delicious—so roll up your sleeves, pick your colors, and have fun with the finishing touches.
Soften the cream cheese at room temperature for 30–45 minutes for a lump-free filling.
Cool melted white chocolate slightly before mixing with cream cheese to prevent separation.
Chill the shaped balls before dipping to minimize melting and to achieve a smooth coating.
Use a 1-inch cookie scoop for uniform size and consistent coating coverage.
This nourishing no-bake christmas cheesecake bites recipe is sure to be a staple in your kitchen. Enjoy every moist, high protein slice — it is perfect for breakfast or as a wholesome snack any time.
Store them in an airtight container in the refrigerator for up to 5 days; they also freeze well for up to 3 months.
Yes—use high-quality candy melts and thin with a small amount of neutral oil if needed; work quickly while the melts are still fluid.
Flash-freeze on a tray first, then transfer to a sealed freezer container with parchment between layers. Thaw in the refrigerator before serving.
This No-Bake Christmas Cheesecake Bites recipe makes perfectly juicy, tender, and flavorful steak every time! Serve with potatoes and a side salad for an unforgettable dinner in under 30 minutes.
In a large bowl, beat 8 ounces softened cream cheese until smooth. Add 1/2 cup powdered sugar and 1 teaspoon vanilla extract and continue beating until fully incorporated and silky.
Melt 1 cup white chocolate chips in 20-second intervals at medium power, stirring each time until smooth. Allow to cool slightly for 2–3 minutes so it is warm but not hot before adding to the cream cheese.
Stir 1 cup crushed graham crackers into the cream cheese mixture, then gently fold in 1/2 cup thawed whipped topping to preserve airiness and create a light texture.
Refrigerate the mixture for 30–40 minutes until firm enough to roll. Use a 1-inch scoop to portion and roll into balls, placing each on a parchment-lined baking sheet.
Melt red and green candy melts in separate bowls according to package directions. If too thick, thin with a small amount of neutral oil (1/2 teaspoon) to achieve a smooth dipping consistency.
Dip each chilled ball into the colored coating, tap off excess, and place back on parchment. Add sprinkles immediately and refrigerate 10–15 minutes to set.
Last Step: Please leave a rating and comment letting us know how you liked this recipe! This helps our business to thrive and continue providing free, high-quality recipes for you.
Leave a comment & rating below or tag
@forkelle on social media!

Thick, fudgy chocolate chunk brownies crowned with gooey mini marshmallows and a quick-set chocolate frosting for an irresistible, crowd-pleasing treat.

Buttery shortbread meets a gooey, brown-sugar pecan topping in these quick pecan pie bars. Just 10 minutes to prep and perfect for sharing.

Silky, crack-free pumpkin cheesecake with warm spice, buttery graham crust, and optional caramel and rum-kissed whipped cream. Your effortless holiday showstopper.
Leave a comment & rating below or tag @forkelle on social media!
Enjoyed this recipe? Share it with friends and family, and don't forget to leave a review!
This recipe looks amazing! Can't wait to try it.
Comments are stored locally in your browser. Server comments are displayed alongside your local comments.

Join to receive our email series which contains a round-up of some of our quick and easy family favorite recipes.
