>>

Tiny, indulgent red velvet shells filled with a silky cream cheese center — the perfect bite-sized dessert for parties, holidays, or an everyday sweet fix.
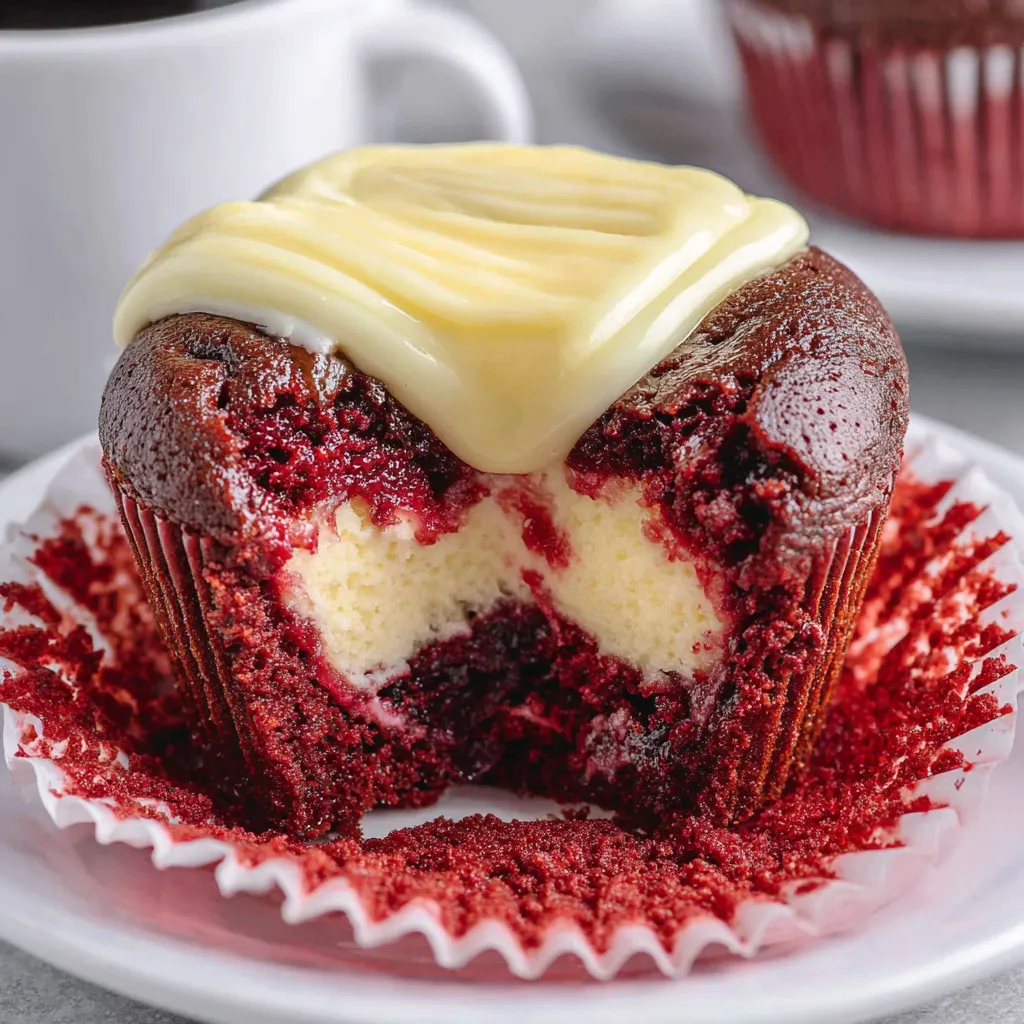
I remember taking a plate of these to a friend’s new-home gathering; within an hour, guests were trading the recipe back and forth. They’re the kind of recipe that creates little moments: a compliment, a recipe swap, an extra helping handed across the table. That’s why I keep this formula in my folder of reliable sweets.
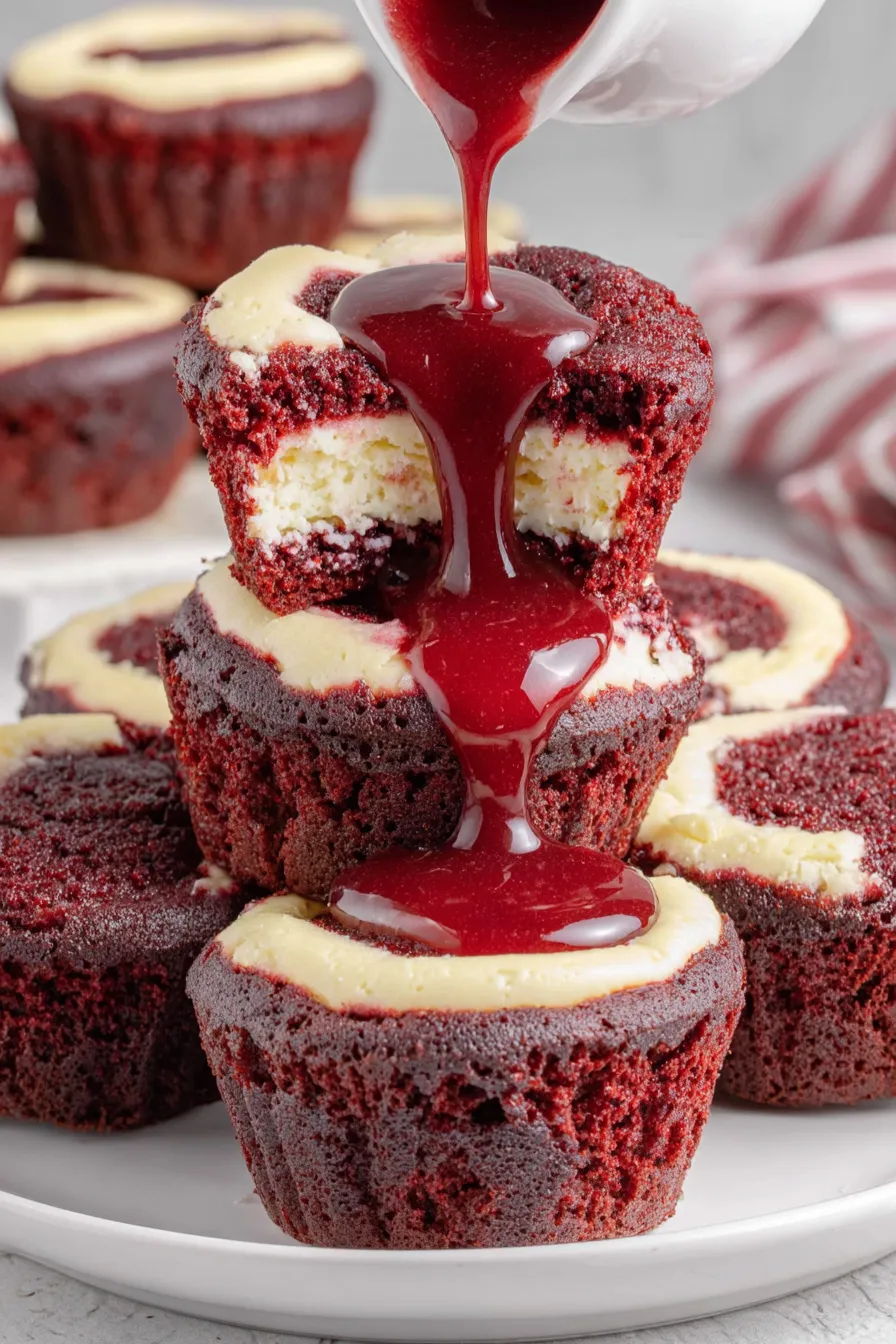
My favorite aspect is the way the tang of the cream cheese lifts the cocoa notes, creating a sophisticated bite that still feels homey. Family members have compared them to tiny velvety cupcakes with cheesecake hearts — a compliment I love because it captures their hybrid identity.
Store cooled bites in an airtight container in the refrigerator for up to 5 days to maintain the filling’s texture. For longer storage, freeze in a single layer on a tray until firm, then stack with parchment separators inside a freezer-safe container for up to 3 months. Thaw in the refrigerator overnight, then bring to room temperature for 20–30 minutes before serving to regain the best mouthfeel. Avoid leaving them at room temperature more than two hours due to the dairy content.
Use full-fat Neufchâtel or a mixture of cream cheese and mascarpone for a creamier filling; reduce sugar slightly if using mascarpone. Swap salted butter for unsalted plus 1/4 teaspoon table salt. For a natural color alternative, beet powder can be used but will slightly affect moisture and flavor balance — start with 1/2 to 1 teaspoon and adjust. Gluten-free flour blends can replace all-purpose flour cup-for-cup, but texture will vary; allow a slightly longer bake time and test for set.
Serve on a platter dusted with a light sprinkle of cocoa or powdered sugar for contrast, or top each with a tiny dollop of whipped cream and a chocolate shavings. They pair wonderfully with coffee, espresso, or a tart berry compote for a festive touch. For holiday gatherings, arrange on a tiered tray with mini forks to encourage guests to sample a few flavors.
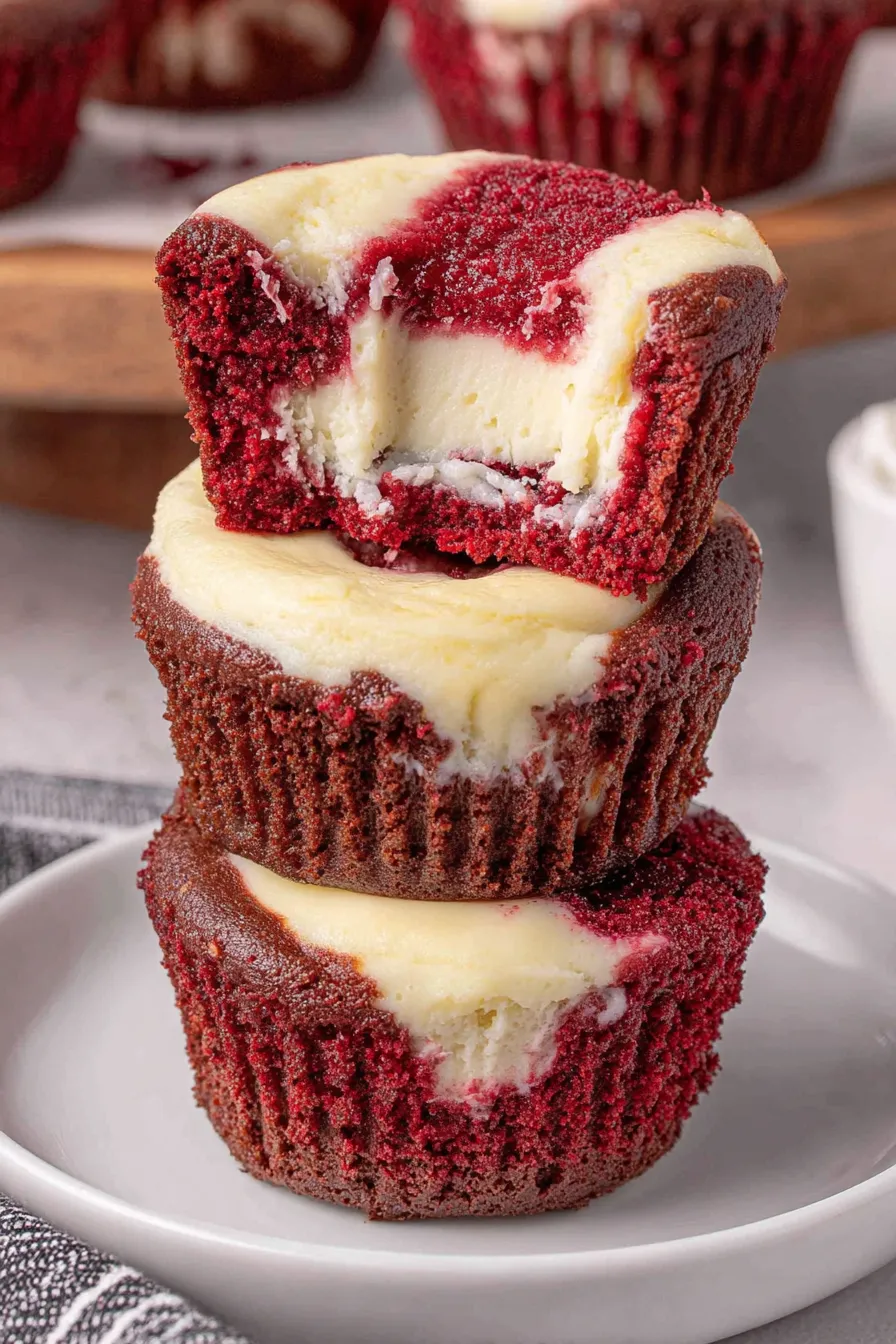
Red velvet is an American classic with Southern roots, often associated with cake layers colored red and paired with cream cheese frosting. The original hue likely came from the reaction between natural cocoa and acidic buttermilk; modern recipes rely on red food coloring for the deep crimson we expect today. These bites are a playful nod to that tradition, compressing the classic elements into a portable, contemporary form that keeps the familiar flavor profile in a new format.
In winter, add a sprinkle of crushed peppermint or top with a candied cranberry for holiday flair. In summer, serve with a bright lemon curd drizzle to cut the richness. For Valentine’s Day, pipe a tiny heart of pink cream on each center. Adjust color intensity to match the season — softer pinks for spring events, deep crimson for winter celebrations.
Prepare the base batter and the filling separately up to two days in advance: store the base in an airtight container and the filling in the refrigerator covered with plastic touching the surface to prevent crusting. On the day of serving, warm the base just to room temperature if refrigerated, assemble into the pan, and bake as directed. This saves time and keeps the final texture fresh while making entertaining low-stress.
These mini bites are small acts of hospitality: quick, beautiful, and reliably delicious. Try them once and you’ll find a dozen little moments where they become the perfect finish to a meal or the star of a small gathering — and that’s exactly why I keep this recipe handy.
Bring the cream cheese and eggs to room temperature before mixing to ensure a smooth filling without lumps.
Use a disposable piping bag or zip-top bag for neat, consistent filling placement — it saves time and keeps the pan clean.
Measure the red velvet base by tablespoon to keep uniform sizes; this ensures even baking across all cups.
Cool the bites in the pan for 20–30 minutes before unmolding to reduce tearing and sticking.
This nourishing mini red velvet cheesecake bites recipe is sure to be a staple in your kitchen. Enjoy every moist, high protein slice — it is perfect for breakfast or as a wholesome snack any time.
Yes — prepare the base batter and cheesecake filling up to 2 days ahead. Keep them chilled separately and assemble just before baking for best texture.
Freeze fully cooled bites in a single layer, then transfer to a sealed container with parchment between layers for up to 3 months. Thaw overnight in the fridge.
Bake for 8 to 9 minutes until the filling is set but still slightly jiggly in the center; residual heat will finish the set as they cool.
This Mini Red Velvet Cheesecake Bites recipe makes perfectly juicy, tender, and flavorful steak every time! Serve with potatoes and a side salad for an unforgettable dinner in under 30 minutes.
Preheat oven to 350°F and grease a mini muffin pan thoroughly. This ensures even browning and easy removal of the bites after cooling.
Combine the all-purpose flour and both amounts of unsweetened cocoa powder in a small bowl and whisk to remove lumps and ensure even cocoa distribution.
Whisk melted and cooled salted butter with granulated sugar, red gel color, vanilla, and beaten eggs until glossy and homogenous to disperse color evenly.
Fold the flour-cocoa mix into the wet base mixture with a spatula, stirring only until fully incorporated to avoid developing gluten.
Beat softened cream cheese with a handheld mixer for 1 minute, then add sugar and vanilla and beat another 1–1.5 minutes. Add egg yolk and mix until no yellow streaks remain.
Pipe or spoon about 1 tablespoon of red velvet base into each mini cup, then pipe roughly 2 teaspoons of cheesecake filling into the center of each shell.
Bake for 8–9 minutes at 350°F until the filling is just set but still slightly jiggly in the center; avoid overbaking to keep the filling silky.
Cool in the pan for 20–30 minutes, then transfer to a wire rack to cool completely. Chill briefly before serving for the best texture.
Last Step: Please leave a rating and comment letting us know how you liked this recipe! This helps our business to thrive and continue providing free, high-quality recipes for you.
Leave a comment & rating below or tag
@forkelle on social media!
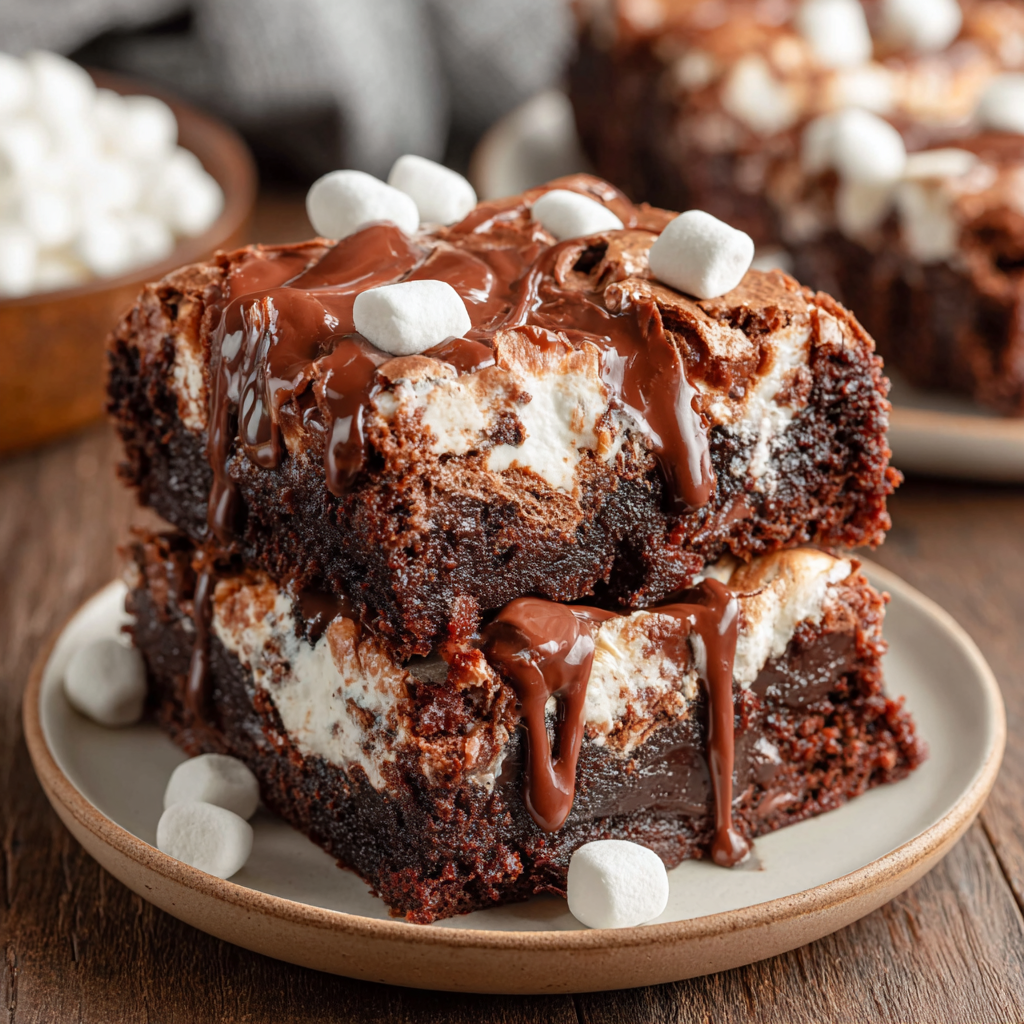
Thick, fudgy chocolate chunk brownies crowned with gooey mini marshmallows and a quick-set chocolate frosting for an irresistible, crowd-pleasing treat.
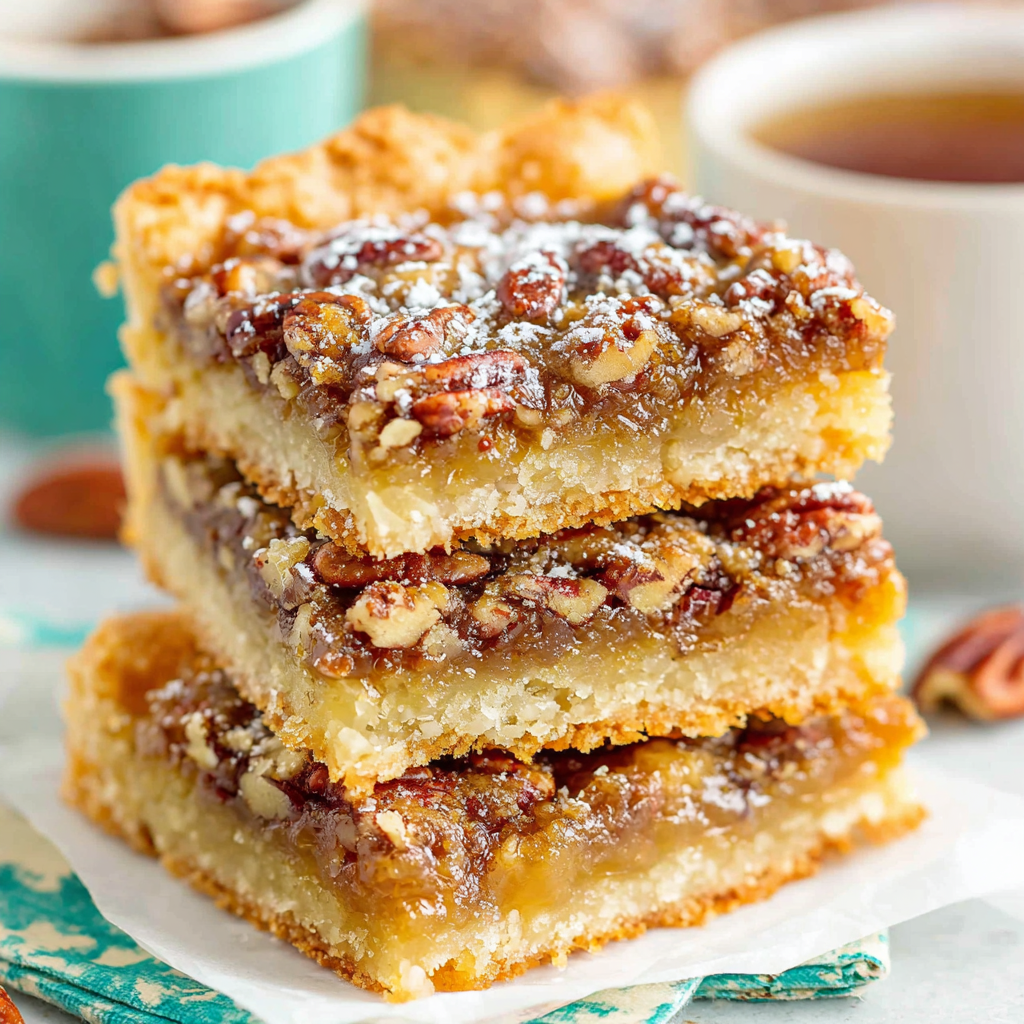
Buttery shortbread meets a gooey, brown-sugar pecan topping in these quick pecan pie bars. Just 10 minutes to prep and perfect for sharing.
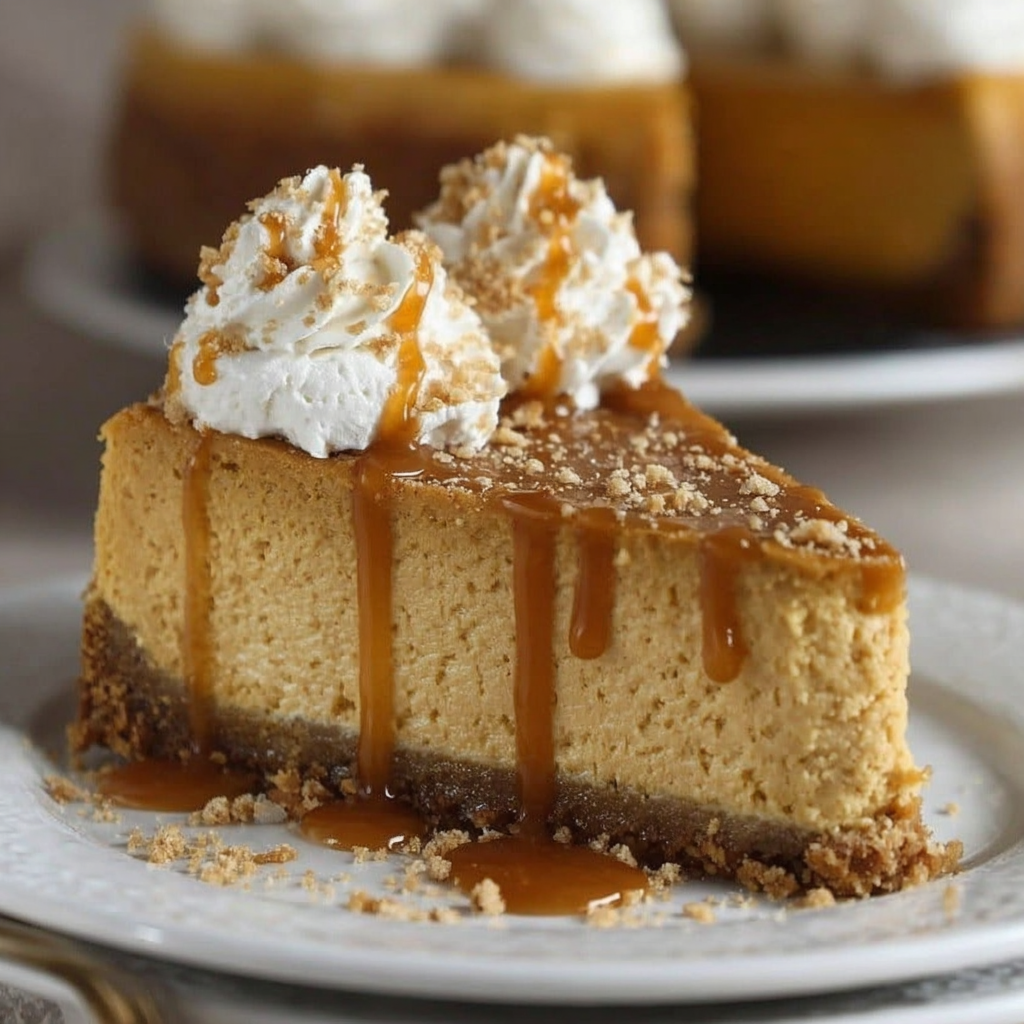
Silky, crack-free pumpkin cheesecake with warm spice, buttery graham crust, and optional caramel and rum-kissed whipped cream. Your effortless holiday showstopper.
Leave a comment & rating below or tag @forkelle on social media!
Enjoyed this recipe? Share it with friends and family, and don't forget to leave a review!
This recipe looks amazing! Can't wait to try it.
Comments are stored locally in your browser. Server comments are displayed alongside your local comments.

Join to receive our email series which contains a round-up of some of our quick and easy family favorite recipes.