
>>

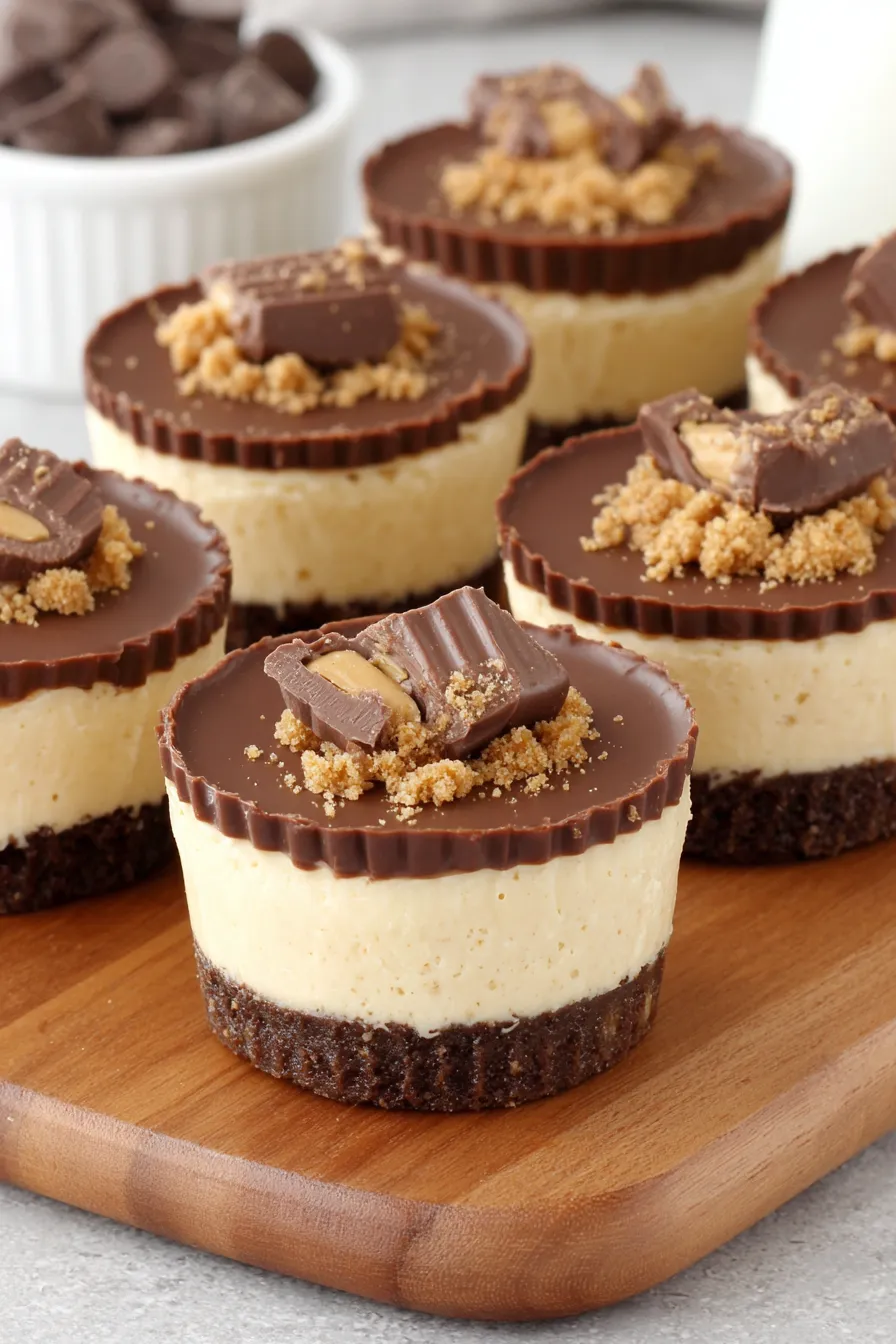
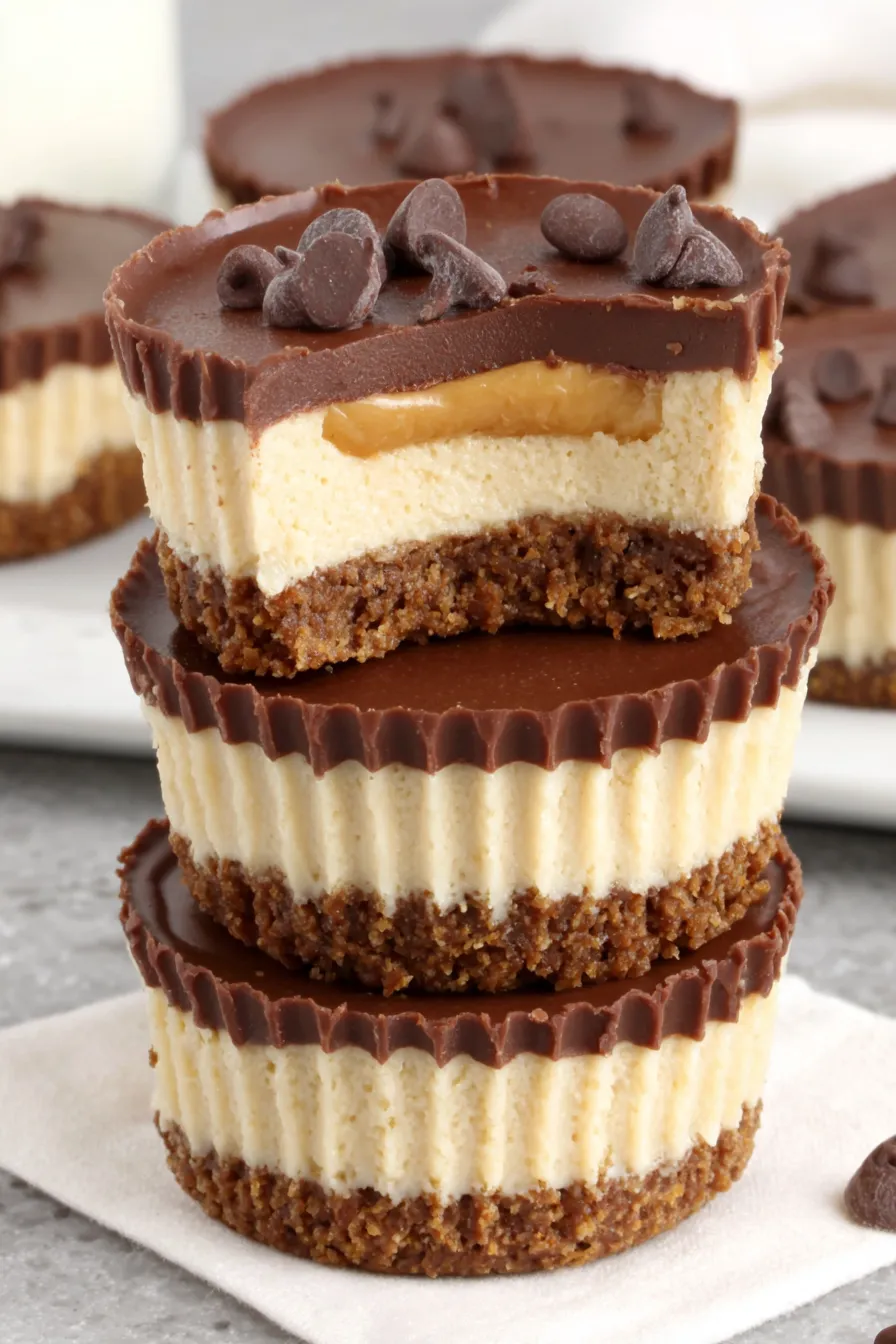
Rich, creamy mini cheesecakes with a chocolate graham crust and a glossy peanut butter–chocolate topping—perfect for parties, bake sales, and weeknight indulgence.
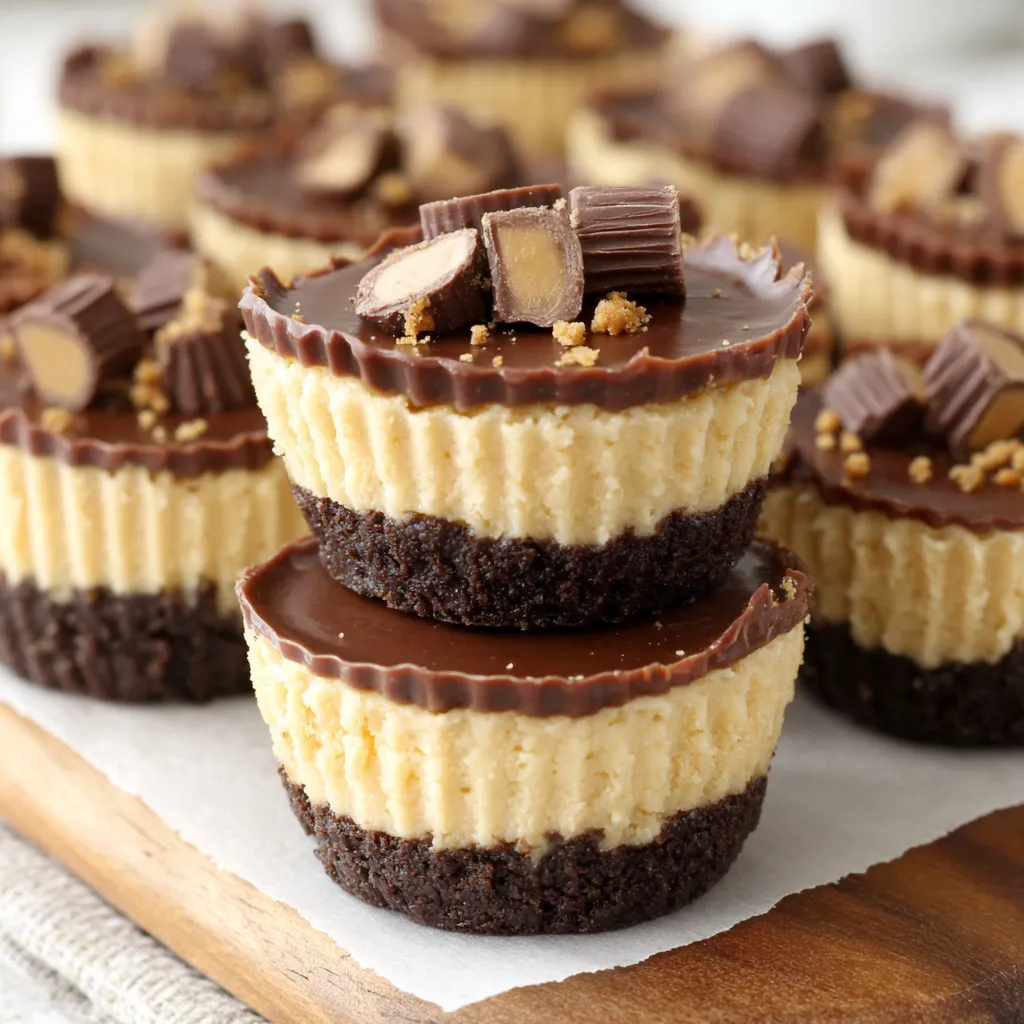
This batch of mini peanut butter cup cheesecakes arrived in my life on a rainy afternoon when I wanted something small, indulgent, and shareable. I discovered the combination of chocolate graham crumbs, silky cream cheese, and generous swirls of peanut butter while testing desserts for a neighborhood potluck. The result felt like a nostalgic candy turned into an elegant bite-size dessert: familiar, comforting peanut butter layered into a tangy, creamy filling, all finished with a shiny chocolate-peanut butter crown.
I make these whenever I need an easy, crowd-pleasing dessert that looks impressive but comes together quickly. They are especially useful when you want to serve something homemade without committing to a whole cake: guests love the single-serve size, and the texture is spot-on—dense and creamy but not heavy, with a crisp chocolate graham base that gives a satisfying contrast. The first time I served these, my neighbor compared them to a favorite candy from childhood, and my kids declared them the new family treat.
In my experience these are always the first dessert to disappear at gatherings. I appreciate that the method keeps air out of the batter, preventing cracks and sinking centers. After a couple of test runs I learned to tap the pan to release air bubbles and to let the cheesecakes rest in the cooling oven briefly, which keeps the tops smooth.
My favorite aspect is the contrast between the dense, creamy filling and the thin, crisp chocolate graham crust. At holiday gatherings I like to double the topping and pipe small rosettes of peanut butter on top for presentation. Guests often ask for the recipe within minutes of tasting their first bite.
Store refrigerated in an airtight container for up to four days. If stacking, place parchment between layers to prevent sticking. For longer storage, individually wrap each mini cheesecake in plastic wrap and place in a freezer-safe bag for up to three months. To serve from frozen, move to the refrigerator overnight. For best texture, bring to room temperature for 15 to 20 minutes before serving so the filling softens slightly and the flavors open up.
If you need gluten-free, swap the chocolate graham crumbs for certified gluten-free chocolate cookie crumbs or crushed gluten-free chocolate wafers. For a dairy-free version use a vegan cream cheese alternative and a dairy-free chocolate for the topping; keep in mind texture will be slightly lighter. To reduce sweetness, use dark chocolate chips in the topping or cut the sugar in the filling by one quarter. You can replace peanut butter with almond butter for a different nut profile; use a similar volume to maintain consistency.
Serve chilled on a platter with a sprinkle of flaky sea salt on top for contrast, or garnish with chopped mini peanut butter cups for an extra festive touch. These bite-size desserts pair well with robust coffee, a milk-based latte, or a glass of cold milk for nostalgic comfort. For parties, arrange on a tiered stand with small forks or cocktail napkins for easy self-serving.
American candy and dessert traditions often inspire single-serve confections. The idea of turning a beloved candy into a small cheesecake mirrors trends in modern baking where familiar flavors are transformed into elegant desserts. This style is rooted in home baking culture—combining pantry staples like peanut butter and chocolate into something that reads as both classic and contemporary.
In summer, top with a light sprinkle of toasted chopped peanuts and a drizzle of salted caramel for a lighter touch. For winter holidays, fold a teaspoon of cinnamon into the crust and garnish with candied peanuts. For spring gatherings, swap semi-sweet chips for milk chocolate and add a small smear of fruit jam under the topping for a bright counterpoint to the rich peanut butter.
Make the crust and filling the day before and assemble and bake on the event day, or bake and top fully in advance then chill. If transporting, keep them in a chilled cooler to maintain shape. Use a muffin tin carrier with a lid or a flat box with a layer of wax paper to protect the topping. These are ideal for prepping ahead for busy weekends or events.
These mini peanut butter cup cheesecakes are a dependable, crowd-pleasing treat that balances nostalgic candy flavors with refined presentation. Make them your own by experimenting with toppings and garnishes, and enjoy sharing these with friends and family.
Bring cream cheese and eggs to room temperature before mixing for a smooth, lump-free filling.
Avoid over-mixing; beat just until ingredients are incorporated to minimize air pockets and sinking centers.
Tap the pan on the counter after filling to release trapped air bubbles and use a toothpick to pop any large bubbles.
This nourishing mini peanut butter cup cheesecakes recipe is sure to be a staple in your kitchen. Enjoy every moist, high protein slice — it is perfect for breakfast or as a wholesome snack any time.
If you want firmer tops without cracking, allow the cheesecakes to cool in the oven with the door cracked for 2 to 3 minutes and avoid overbeating the batter.
Yes. Wrap each mini cheesecake tightly and freeze for up to 3 months. Thaw overnight in the fridge before serving.
This Mini Peanut Butter Cup Cheesecakes recipe makes perfectly juicy, tender, and flavorful steak every time! Serve with potatoes and a side salad for an unforgettable dinner in under 30 minutes.
Preheat oven to 350 degrees Fahrenheit. Line a standard cupcake pan with 18 paper liners and set aside.
Mix chocolate graham cracker crumbs and sugar, then add melted butter. Stir until crumbs are evenly moistened.
Divide crust mixture between the 18 liners and use the back of a measuring cup to press firmly into the bottom of each cup.
In a large bowl beat room-temperature cream cheese until smooth. Add sugar and mix, then add eggs one at a time, blending until just combined.
Blend in creamy peanut butter and vanilla extract until the filling is homogeneous and free of lumps.
Distribute filling evenly among liners. Tap the pan gently on the counter to level filling and remove air bubbles.
Bake 17 to 19 minutes until set with slightly jiggle in the center. Turn oven off, crack door, rest 2 to 3 minutes, then cool 30 minutes before chilling.
Melt chocolate chips, peanut butter, and coconut oil in 30-second microwave intervals or over a double boiler until smooth.
Spoon topping over each cooled cheesecake, tilt or spread to coat, then refrigerate at least 2 hours before serving.
Last Step: Please leave a rating and comment letting us know how you liked this recipe! This helps our business to thrive and continue providing free, high-quality recipes for you.
Leave a comment & rating below or tag
@forkelle on social media!

Thick, fudgy chocolate chunk brownies crowned with gooey mini marshmallows and a quick-set chocolate frosting for an irresistible, crowd-pleasing treat.

Buttery shortbread meets a gooey, brown-sugar pecan topping in these quick pecan pie bars. Just 10 minutes to prep and perfect for sharing.

Silky, crack-free pumpkin cheesecake with warm spice, buttery graham crust, and optional caramel and rum-kissed whipped cream. Your effortless holiday showstopper.
Leave a comment & rating below or tag @forkelle on social media!
Enjoyed this recipe? Share it with friends and family, and don't forget to leave a review!
This recipe looks amazing! Can't wait to try it.
Comments are stored locally in your browser. Server comments are displayed alongside your local comments.

Join to receive our email series which contains a round-up of some of our quick and easy family favorite recipes.
