
>>

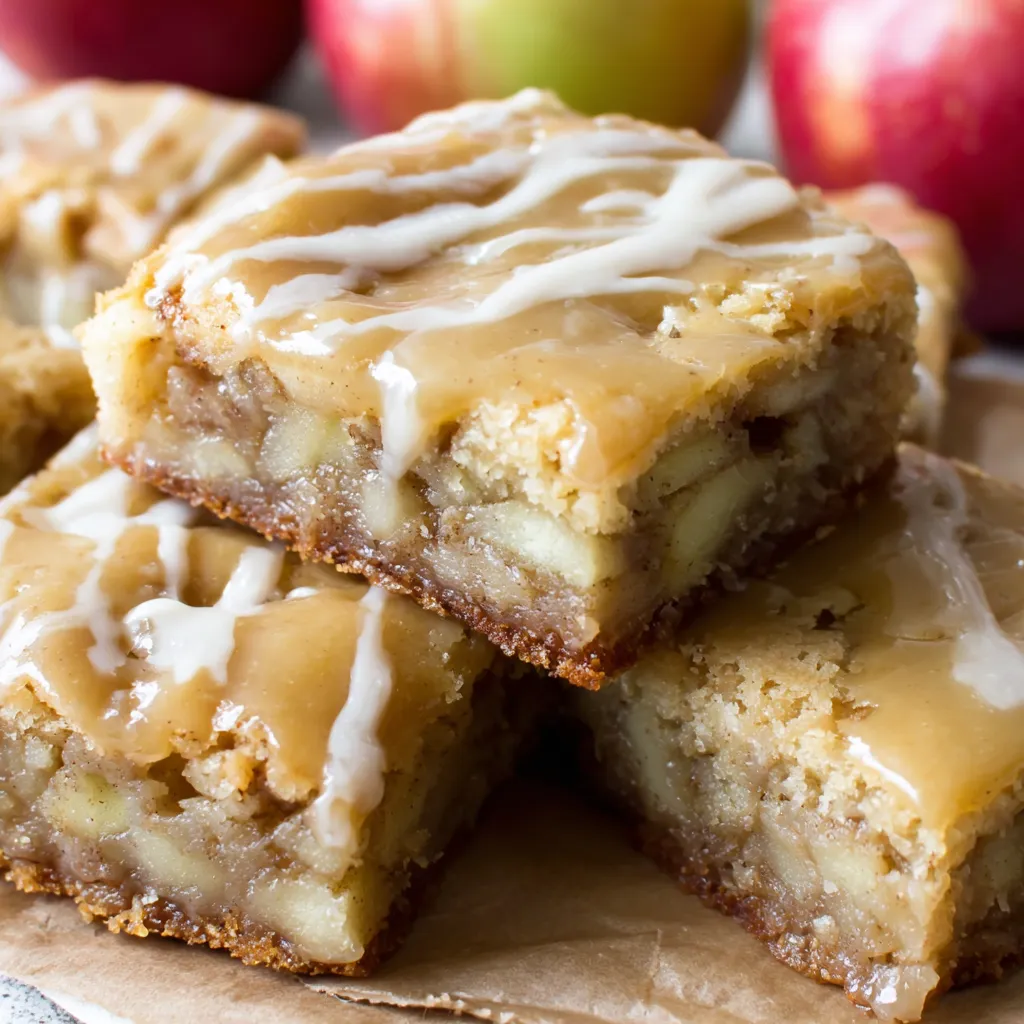
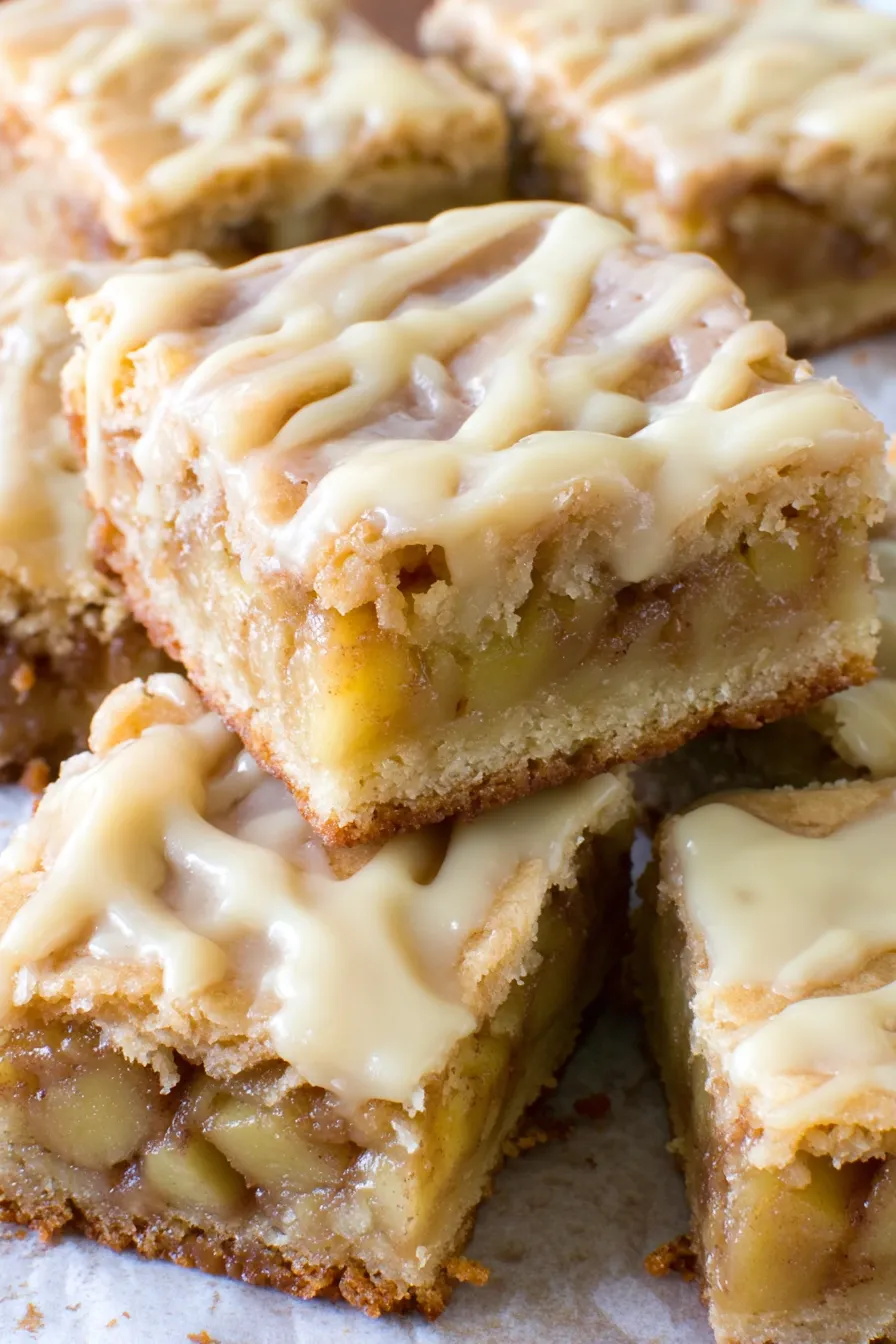
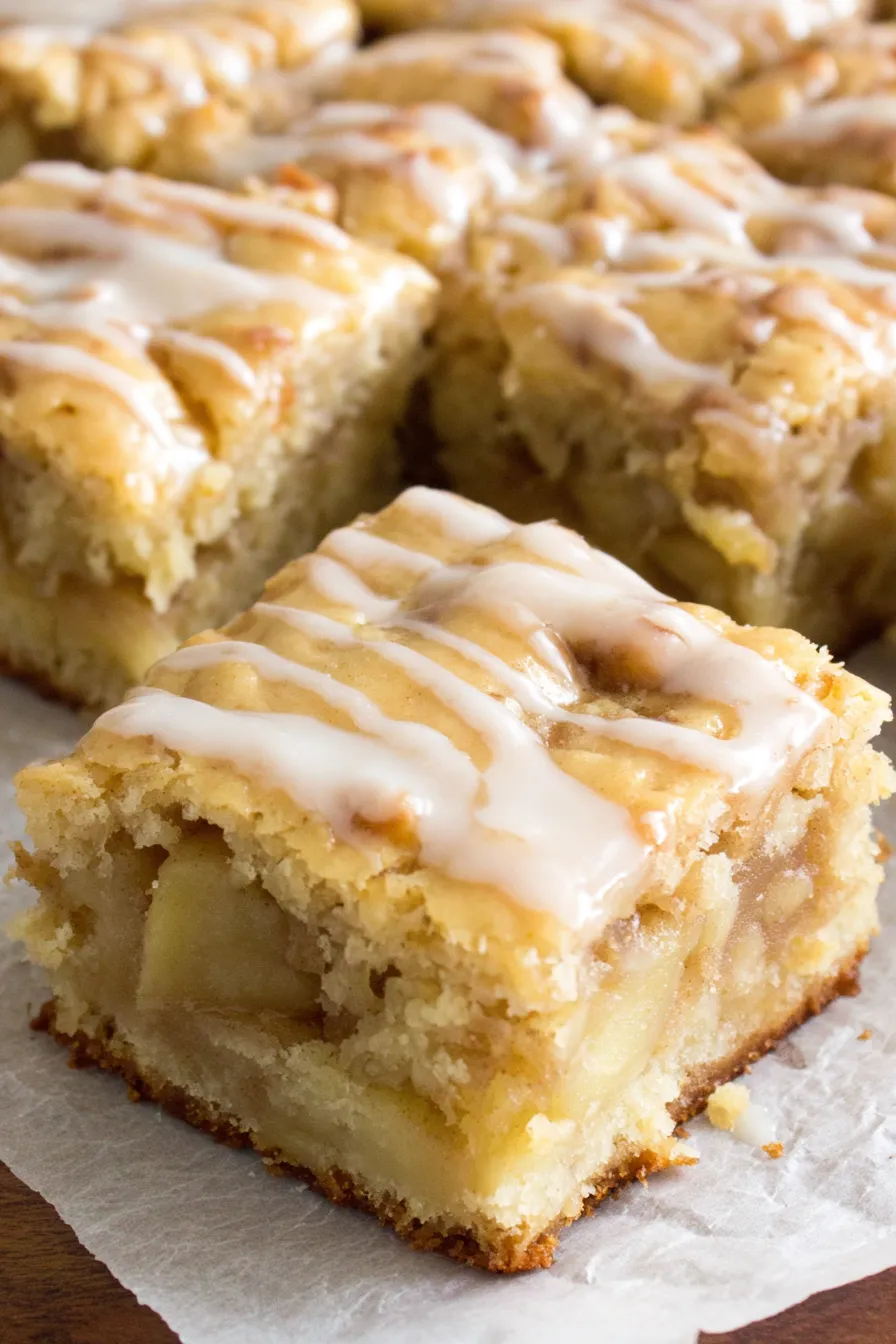
Chewy, buttery bars layered with a spiced apple filling and a silky maple glaze — the perfect autumnal treat for sharing.
When I first served these at a small weekend brunch, neighbors came back for seconds and one friend asked for the recipe on the spot. Over time I've adjusted the cinnamon and maple balance so the flavors feel warm and homey without overpowering the butter and brown-sugar backbone of the blondie.
My favorite thing about these bars is how they bridge breakfast and dessert: they feel indulgent enough to serve after dinner yet rustic and wholesome enough for a weekend brunch plate. Family members often reach for them with coffee in the morning, and they disappear fast at holiday gatherings. I still remember bringing a pan to a potluck and having complete silence as people tasted the first bite — then a chorus of compliments.
To keep bars fresh, cool them completely before storing. At room temperature, place them in an airtight container with parchment between layers for up to 48 hours. For longer storage, individually wrap squares in plastic wrap and place in a zip-top freezer bag; they will keep for up to 3 months. When reheating from frozen, unwrap and warm in a 325°F oven for 10–15 minutes or microwave a single square for 20–30 seconds. If you want the glaze to look freshly poured, warm it slightly and drizzle again after reheating.
If you want to reduce dairy, substitute a vegan butter alternative of similar fat content, but the texture will be slightly less rich. For a gluten-free version, use a 1:1 gluten-free flour blend and add a teaspoon of xanthan gum if the blend doesn't contain it; the structure changes a bit, so bake until a toothpick shows moist crumbs. To cut sweetness, reduce the granulated sugar by 2 tablespoons and the powdered sugar in the glaze by 2 tablespoons; the maple and apple will still shine. You can swap dark brown sugar for light brown if you prefer a milder molasses presence.
Serve warm squares with a scoop of vanilla ice cream for dessert or alongside a big pot of coffee for brunch. Garnish with a light dusting of cinnamon or a few toasted chopped walnuts for crunch (add walnuts to the batter for nutty bars). These bars also pair beautifully with a late-autumn salad that includes roasted squash and a maple vinaigrette to echo the maple notes.
The blondie is an American classic descended from the brownie family, swapping cocoa for vanilla and brown sugar to produce a butterscotch-like flavor. Combining apples and maple draws from North American culinary traditions where maple syrup is a native sweetener and apples are a fall harvest staple. The pairing evokes New England desserts and farmhouse baking where simple pantry ingredients were combined to produce comforting sweets for family tables.
In winter, fold in 1/4 cup chopped dried cranberries to add brightness. For spring, use tart green apples and a lighter honey glaze (replace maple with mild honey). In holiday seasons, stir in 1/4 teaspoon ground nutmeg and a pinch of allspice to the batter, and top with chopped pecans for a festive crunch.
To prep ahead, make the batter and refrigerate it for up to 24 hours; this can intensify flavor and makes assembly quick. Cook the apple filling and store it separately in the fridge for up to 48 hours. Bake the bars the day of serving, or bake ahead and hold refrigerated; add the glaze just before guests arrive. Use an 11x7 pan for consistent portion sizes — the recipe yields about 12 generous squares.
These Maple Glazed Apple Blondies are a reliable, comforting treat that rewards simple techniques and quality ingredients. Whether you bring them to a brunch or serve them warm after dinner, they invite sharing and make the kitchen smell like cozy autumn evenings. Give them a try, adjust the maple to your taste, and make them your own — they pair wonderfully with conversation and a hot mug of something you love.
Measure flour by spooning into the cup and leveling with a knife to prevent dense texture.
Cool the apple filling before layering to avoid adding extra moisture to the batter.
Chill the bars briefly after glazing for cleaner slices and less glaze transfer.
This nourishing maple glazed apple blondies recipe is sure to be a staple in your kitchen. Enjoy every moist, high protein slice — it is perfect for breakfast or as a wholesome snack any time.
Yes — store cooled bars in an airtight container in the refrigerator for up to 5 days. Bring to room temperature or warm briefly before serving.
Use firm, crisp apples like Honeycrisp, Fuji, or Pink Lady. Softer apples may break down too much during the short cooking of the filling.
This Maple Glazed Apple Blondies recipe makes perfectly juicy, tender, and flavorful steak every time! Serve with potatoes and a side salad for an unforgettable dinner in under 30 minutes.
Preheat oven to 350°F. Line an 11x7 inch pan with tin foil or spray with cooking spray and set aside.
Melt 1 tablespoon butter over medium-low heat; add chopped apples, 2 tablespoons brown sugar, 1/2 teaspoon vanilla, and 1/2 teaspoon cinnamon. Cook 3–4 minutes until just tender, then remove from heat and cool.
Beat 1 cup softened butter until light. Add 1 cup dark brown sugar and 1/4 cup granulated sugar and mix until well combined and smooth.
Add eggs one at a time, beating after each addition. Stir in 1 1/2 teaspoons vanilla and 1/2 teaspoon salt.
Whisk 2 cups all-purpose flour, 1 teaspoon baking powder, and 1/2 teaspoon cinnamon; fold into wet mixture until just combined.
Spread half the batter into the prepared pan, add cooled apple filling evenly, then spread remaining batter over the top.
Bake at 350°F for 25–30 minutes or until the top is golden and a toothpick shows moist crumbs but no raw batter.
Melt 2 tablespoons butter with 1/4 cup maple syrup, 1/4 teaspoon vanilla, and 1/8 teaspoon cinnamon over low heat. Remove from heat, sift in 1/2 cup powdered sugar, whisk smooth, and cool 8–10 minutes to thicken.
Pour the slightly cooled glaze over the warm bars, allow to set, then lift from pan and slice into 12 pieces. Chill briefly if you want cleaner slices.
Last Step: Please leave a rating and comment letting us know how you liked this recipe! This helps our business to thrive and continue providing free, high-quality recipes for you.
Leave a comment & rating below or tag
@forkelle on social media!

Thick, fudgy chocolate chunk brownies crowned with gooey mini marshmallows and a quick-set chocolate frosting for an irresistible, crowd-pleasing treat.

Buttery shortbread meets a gooey, brown-sugar pecan topping in these quick pecan pie bars. Just 10 minutes to prep and perfect for sharing.

Silky, crack-free pumpkin cheesecake with warm spice, buttery graham crust, and optional caramel and rum-kissed whipped cream. Your effortless holiday showstopper.
Leave a comment & rating below or tag @forkelle on social media!
Enjoyed this recipe? Share it with friends and family, and don't forget to leave a review!
This recipe looks amazing! Can't wait to try it.
Comments are stored locally in your browser. Server comments are displayed alongside your local comments.

Join to receive our email series which contains a round-up of some of our quick and easy family favorite recipes.
