
>>

Bright, tangy lemon cheesecake bites coated in yellow candy melts and drizzled with vanilla almond bark—easy no-bake treats perfect for parties and weeknight desserts.
This recipe for Lemon Cheesecake Bites has been a sunshine-scented favorite in my kitchen for years. I first discovered the idea while playing with boxed lemon cake mix and a tub of cream cheese one spring afternoon when I wanted a quick, vibrant dessert for an impromptu backyard gathering. The combination of bright lemon flavor and creamy cheesecake texture, nestled inside a candy-coated shell, delivered an immediate crowd-pleaser. After several small tweaks—heat-treating the dry mix, chilling the dough so it rolls cleanly, and using a particular brand of candy melts—the bites became something I make whenever guests arrive with little notice.
What makes these especially memorable is the contrast in textures and that pop of lemon zest under the candy coating. The interior stays silky and dense like a creamy truffle, while the candy shell adds a festive, colorful snap. I often bring a tray to potlucks, and family members always ask me to make a double batch for holidays. They travel well, they look great on a dessert table, and they require no oven time—perfect for busy days or warm weather when you don’t want to heat up the house.
In my experience, guests always comment on how fresh and lemony these taste despite starting with boxed mix. My sister once told me they tasted like “lemon truffles” and asked me to teach her the technique. If you love bright citrus desserts that don’t require complex steps, these will quickly become part of your entertaining toolkit.
 Melt the Almond Bark:
In a small heat-safe bowl, microwave the 4 ounces of white almond bark in 30-second bursts, stirring thoroughly until smooth. Keep the bark slightly warm for easy drizzling; if it thickens, reheat very briefly.
Drizzle and Set:
Use a spoon or small dipper to create thin ribbons of almond bark over the coated bites. The contrast of yellow and white gives a polished look. After drizzling, return the tray to the refrigerator until the coating is firm, about 15 to 30 minutes.
Store and Serve:
Once set, serve at cool room temperature. Keep leftovers refrigerated in an airtight container for up to 7 days or freeze for longer storage.
Melt the Almond Bark:
In a small heat-safe bowl, microwave the 4 ounces of white almond bark in 30-second bursts, stirring thoroughly until smooth. Keep the bark slightly warm for easy drizzling; if it thickens, reheat very briefly.
Drizzle and Set:
Use a spoon or small dipper to create thin ribbons of almond bark over the coated bites. The contrast of yellow and white gives a polished look. After drizzling, return the tray to the refrigerator until the coating is firm, about 15 to 30 minutes.
Store and Serve:
Once set, serve at cool room temperature. Keep leftovers refrigerated in an airtight container for up to 7 days or freeze for longer storage.
My favorite part of this little recipe is how professional it looks with minimal effort. The yellow shell feels celebratory, and relatives often ask how I got the inside so creamy. I love preparing them a day ahead—chill, coat, and they’re ready for an event without any last-minute hustle. For summer gatherings they are refreshingly bright, and for baby showers I color-coordinate the coating to match the theme.

Store these treats in a single layer or with parchment between layers inside an airtight container. Refrigerate for up to 7 days. For longer storage, freeze in a rigid container with parchment separators for up to 3 months. Thaw in the refrigerator overnight and bring to cool room temperature before serving for the best texture. If reheating slightly to remove condensation after thawing, keep it minimal to avoid melting the candy coating.
If you need to avoid dairy, try a vegan cream cheese alternative and vegan melts, but expect a slightly different mouthfeel. For gluten-sensitive eaters, use a certified gluten-free lemon cake mix. Swap the yellow candy melts for white wafers tinted with oil-based color, or use dark chocolate for a more sophisticated finish; dark chocolate will deliver a firmer shell and a less sweet contrast to the lemon interior.
Arrange bites on a tiered platter for parties or place in mini cupcake liners for single-serve presentation. They pair beautifully with lightly brewed tea, sparkling wine, or a citrusy cocktail. Sprinkle with a touch of lemon zest or edible gold dust for special occasions. They also complement a dessert board alongside cookies and fresh berries.
These petite, no-bake confections are a modern twist on classic American lemon desserts and small-batch truffles. While not tied to a traditional recipe, they combine the rich creaminess of cheesecake with candy-coating techniques popular in confectionery. Using boxed mix is a practical shortcut embraced in home baking for decades, especially when speed and consistency are desired.
In spring and summer, emphasize citrus with candied lemon peel or a touch of lime zest. For winter holidays, swap colors to red and green or use peppermint-flavored coating. Add a splash of liqueur such as Limoncello to the filling for an adult version, but reduce any added liquid and chill thoroughly so the mixture stays scoopable.
Make the filling a day ahead, form the balls, and keep them chilled. On the day of serving, melt the coatings and finish the dipping and drizzling in one session to keep the workflow efficient. Use a cooling rack set over parchment to handle excess coating drips. Label and date frozen portions for easy rotation.
These Lemon Cheesecake Bites are joyful little bites of sunshine—easy to assemble, endlessly adaptable, and always a hit. I hope you enjoy making them for friends and family and that they become a bright staple at your gatherings as they are in mine.
Always bring cream cheese to room temperature for the creamiest texture and smooth mixing.
Chill the mixture for the full 2 hours so balls form cleanly and hold up during dipping.
Work quickly when coating; if candy sets, gently rewarm in short bursts to maintain fluidity.
Use a 1 tablespoon cookie scoop for uniform bite sizes and consistent set times.
If candy coating thickens, add a few drops of neutral oil to loosen it for dipping.
This nourishing lemon cheesecake bites recipe is sure to be a staple in your kitchen. Enjoy every moist, high protein slice — it is perfect for breakfast or as a wholesome snack any time.
Yes. The heat-treat step (microwaving the dry cake mix) eliminates risks associated with raw flour. Do not skip it.
Store in an airtight container in the fridge up to 7 days, or freeze up to 3 months.
This Lemon Cheesecake Bites recipe makes perfectly juicy, tender, and flavorful steak every time! Serve with potatoes and a side salad for an unforgettable dinner in under 30 minutes.
Place the boxed lemon cake mix in a heat-safe bowl and microwave in two 30-second intervals, stirring between intervals. Let it cool completely before using to avoid softening the cream cheese.
Beat 8 ounces room-temperature cream cheese in a medium bowl with a handheld mixer on medium-high for 2 to 2½ minutes until perfectly smooth and aerated.
Sprinkle the cooled dry mix over the whipped cream cheese and mix on low until just incorporated. Stop when the mixture is homogeneous and forms a scoopable dough.
Cover tightly and refrigerate for 2 hours to firm up the mixture for clean scooping and rolling.
Use a 1 tablespoon cookie scoop to portion the chilled dough. Roll into smooth balls between your palms and place on a parchment-lined baking sheet.
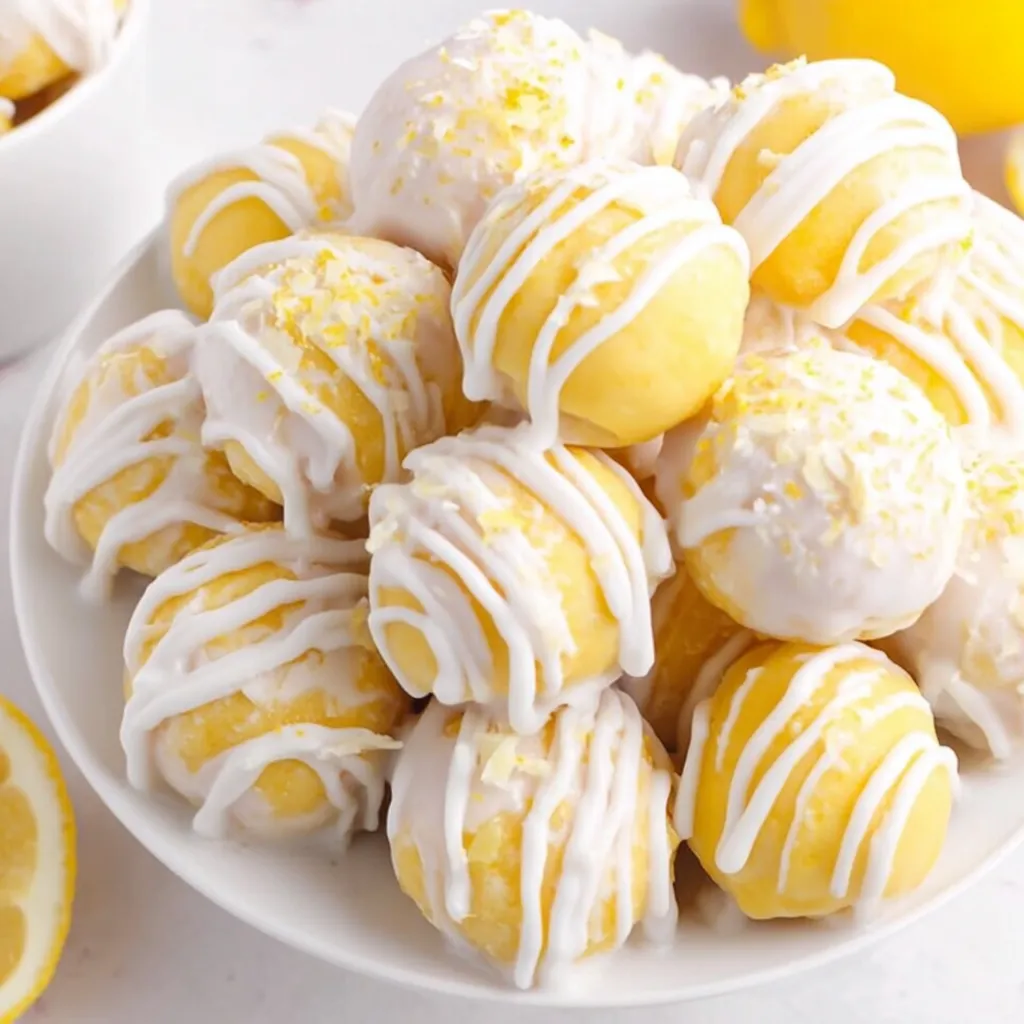
Melt 12 ounces yellow candy melts in a heat-safe bowl in 30-second intervals, stirring until smooth. Dip each ball with a fork, tap off excess, and set back on parchment. First coating and decoration image shown in article.
Melt 4 ounces white almond bark and drizzle thin ribbons over coated bites. Use a spoon for fine control and return to the fridge to set.
Refrigerate until coatings are fully set, about 15 to 30 minutes. Store chilled and serve at cool room temperature for the best balance of texture.
Last Step: Please leave a rating and comment letting us know how you liked this recipe! This helps our business to thrive and continue providing free, high-quality recipes for you.
Leave a comment & rating below or tag
@forkelle on social media!

Thick, fudgy chocolate chunk brownies crowned with gooey mini marshmallows and a quick-set chocolate frosting for an irresistible, crowd-pleasing treat.

Buttery shortbread meets a gooey, brown-sugar pecan topping in these quick pecan pie bars. Just 10 minutes to prep and perfect for sharing.

Silky, crack-free pumpkin cheesecake with warm spice, buttery graham crust, and optional caramel and rum-kissed whipped cream. Your effortless holiday showstopper.
Leave a comment & rating below or tag @forkelle on social media!
Enjoyed this recipe? Share it with friends and family, and don't forget to leave a review!
This recipe looks amazing! Can't wait to try it.
Comments are stored locally in your browser. Server comments are displayed alongside your local comments.

Join to receive our email series which contains a round-up of some of our quick and easy family favorite recipes.
