
>>

A playful, no-bake layered icebox cake studded with rainbow sprinkles and a creamy vanilla filling — perfect for parties and quick make-ahead celebrations.
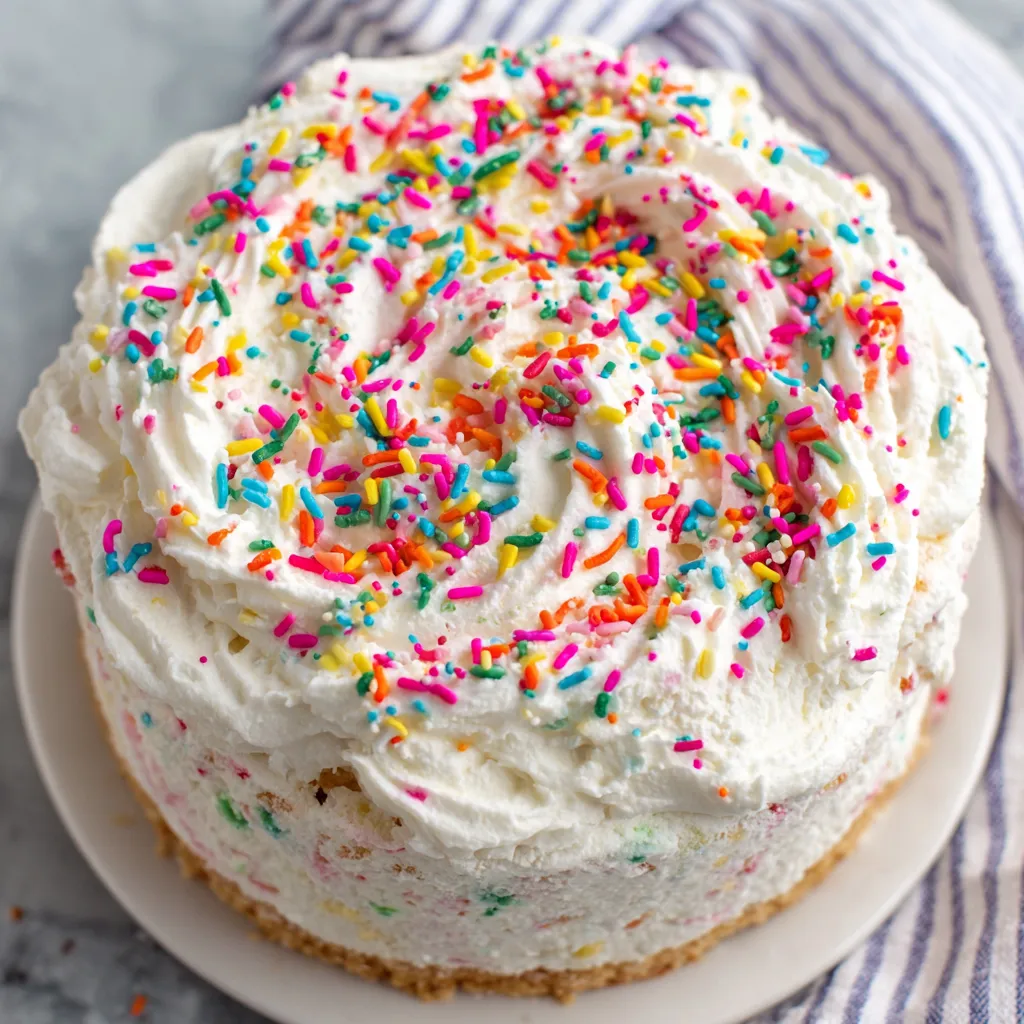
This Funfetti Icebox Cake is the sort of sweet that instantly lifts the mood in a kitchen. I first made it for my niece's birthday when I wanted something colorful and fuss-free that still felt celebratory. The combination of tangy cream cheese and silky instant vanilla pudding folded into cloudlike whipped topping, layered with crisp shortbread, creates a texture contrast that keeps every forkful interesting. It’s a no-bake centerpiece that looks like a bakery creation but takes almost no hands-on time.
I discovered this version during a chaotic holiday season when oven space was limited and I needed a dessert that could be assembled ahead and travel well. The iced layers firm up into a sliceable cake after chilling, with bursts of rainbow sprinkles that add both crunch and pure nostalgia. The finished slices are creamy, lightly sweet, and perfectly balanced by the buttery shortbread layers. Friends and family always ask how it’s made—then ask for the recipe card to take home.
My family’s reaction the first time I served this was immediate: cheers, laughter, and an endless series of “how did you do that?” It’s rare to get unanimous smiles after dessert, but the Funfetti Icebox Cake does it every time. Over the years I’ve learned small assembly tricks — like lining the springform with parchment and reserving sprinkles to avoid discoloring the filling — that make each slice prettier and the process smoother.
My favorite thing about this recipe is how forgiving it is: broken cookie pieces fit right into gaps, and slight variations in brands or whipped topping thickness won’t ruin the outcome. I’ve brought this cake to potlucks where travel and timing were unpredictable — removing it from the fridge and letting it sit 10 minutes before cutting always yields perfect slices. Guests often ask for the shortbread brand, thinking it must be a special bakery cookie — it’s the easy tricks like parchment and chilled setting that make homemade look professional.
Store the cake in the refrigerator covered with a cake dome or tightly wrapped in plastic wrap to prevent absorption of other fridge odors. Properly stored, leftovers will stay fresh for about 3–4 days; the texture evolves as the shortbread continues to soften. For longer storage, freeze the whole cake or individual slices wrapped first in plastic wrap and then in a layer of foil — this double-wrap prevents freezer burn. When ready to serve from frozen, transfer to the fridge for a few hours or let sit at room temperature for 8–10 minutes if you want to cut slices sooner.
If you prefer a lighter filling, swap half the cream cheese for mascarpone or use a lower-fat cream cheese, but expect a milder tang and slightly softer set. For a gluten-free version, choose gluten-free shortbread or sturdy gluten-free sandwich cookies; be mindful that some gluten-free cookies crumble more and will create a different mouthfeel. If you don’t have Cool Whip, use 1 cup heavy cream whipped to stiff peaks with 2 tablespoons powdered sugar and 1 teaspoon vanilla — stabilize with a tablespoon of instant pudding powder if you need the whipped cream to hold longer.
Serve chilled slices on a simple dessert plate with a dollop of freshly whipped cream and a few extra sprinkles on top for presentation. This dessert pairs nicely with bright coffee or a sparkling rosé to balance the sweetness. For a brunch buffet, cut smaller squares and offer alongside fresh berries to add acidity and color contrast. If planning for a kid’s party, present on a colorful cake stand and surround with matching paper goods to enhance the celebratory feel.
The icebox cake concept dates back to early 20th-century recipes when refrigerators became common in households; women layered cookies with whipped cream or custard and chilled them until the cookies softened into cake-like layers. This Funfetti iteration leans on that tradition but modernizes it with instant pudding and rainbow sprinkles, blending nostalgia with convenience. Variations exist across cultures: certain versions use chocolate wafers or regional cookies, while others fold in fruit or liqueurs for adult twists.
Change the sprinkles and garnish to suit seasonal events: pastel sprinkles for spring celebrations, red-and-green sugar for the holidays, or edible gold dust for New Year’s. In summer, swap some of the vanilla with a tablespoon of lemon zest and replace half the milk with buttermilk for a bright twist. For fall, fold a teaspoon of warm pumpkin pie spice into the filling and use ginger snap cookies instead of shortbread for complementary spice notes.
Assemble the filling in advance and keep it refrigerated for up to 24 hours before layering to save time on the day of serving. If you’re transporting the cake, keep it chilled in a cooler and add final whipped cream and sprinkles upon arrival to prevent melting. For portion-controlled meal prep, slice into individual rectangles and store in airtight containers with parchment between layers; these make portable sweet treats for packed lunches or after-school snacks.
Bring this Funfetti Icebox Cake to your next celebration and watch how a colorful, simple dessert can become the centerpiece. It’s joyful, forgiving, and endlessly adaptable — a recipe that’s as reliable as it is beloved.
Always bring cream cheese to room temperature to avoid lumps and ensure a smooth filling.
Reserve a small portion of sprinkles for decorating the top to prevent dye from turning the filling pink.
Use an 8-inch springform pan and line the bottom with parchment for easy unmolding and neat layers.
If using homemade whipped cream, stabilize it with a small amount of instant pudding powder to help hold shape.
This nourishing funfetti icebox cake recipe is sure to be a staple in your kitchen. Enjoy every moist, high protein slice — it is perfect for breakfast or as a wholesome snack any time.
Freeze for up to 3 months; thaw in the refrigerator for several hours before serving.
Let the cake sit 8–10 minutes at room temperature if frozen, then slice with a hot, dry knife for clean pieces.
This Funfetti Icebox Cake recipe makes perfectly juicy, tender, and flavorful steak every time! Serve with potatoes and a side salad for an unforgettable dinner in under 30 minutes.
Leave the 8 oz block of cream cheese at room temperature for about 30 minutes, then beat in a large bowl with a hand mixer for 2 minutes until light and fluffy.
Add the 6.8 oz instant vanilla pudding powder and 2 teaspoons vanilla extract to the bowl. Mix until uniform in consistency, scraping sides as needed.
Slowly pour in 2 cups of milk while mixing on low speed until the mixture is smooth with minimal lumps.
Gently fold in 8 oz Cool Whip using a rubber spatula to keep the filling airy and avoid deflating the mixture.
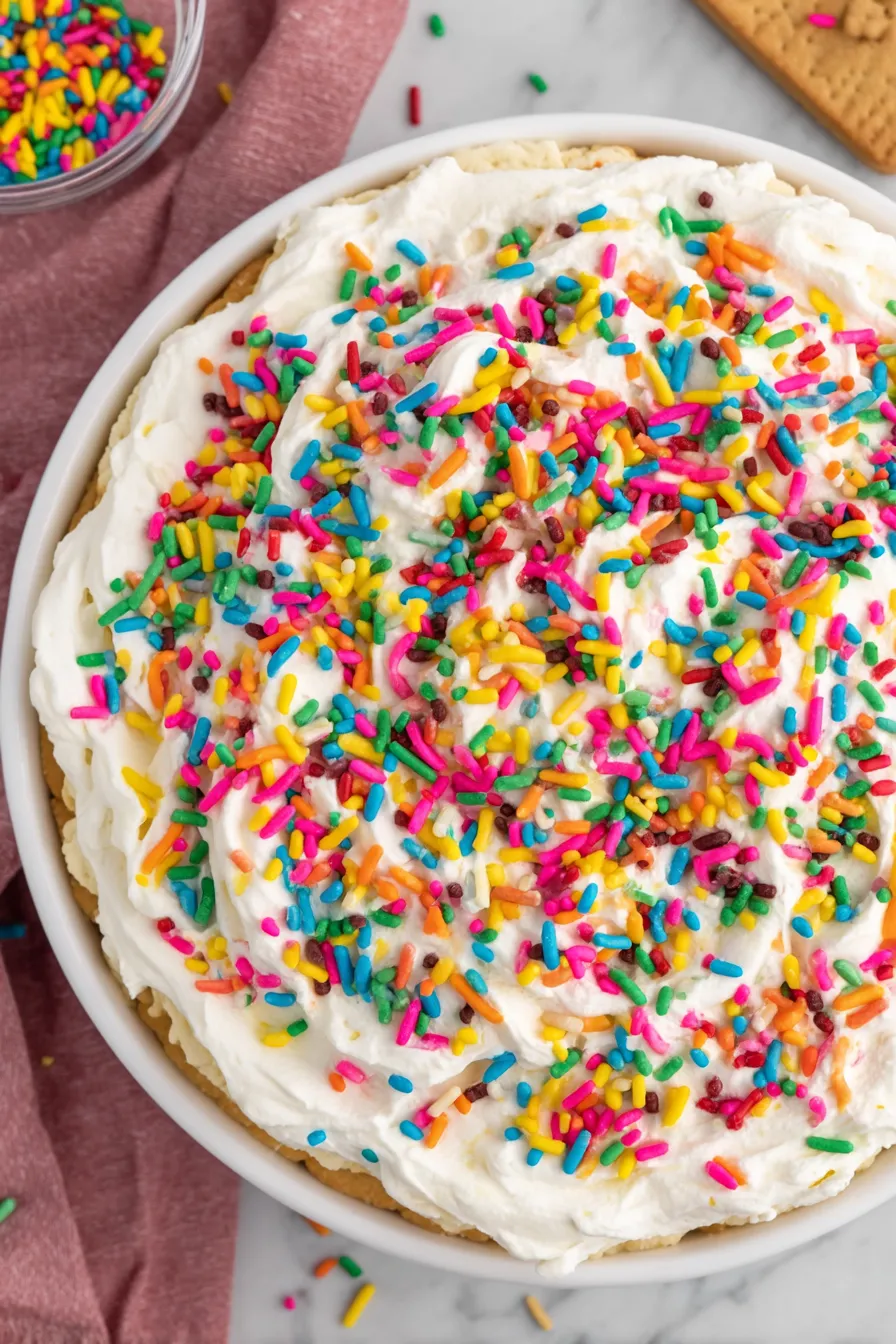
Fold in 9–10 oz of the sprinkles, reserving some for the top, and stir gently to avoid bleeding color into the filling.
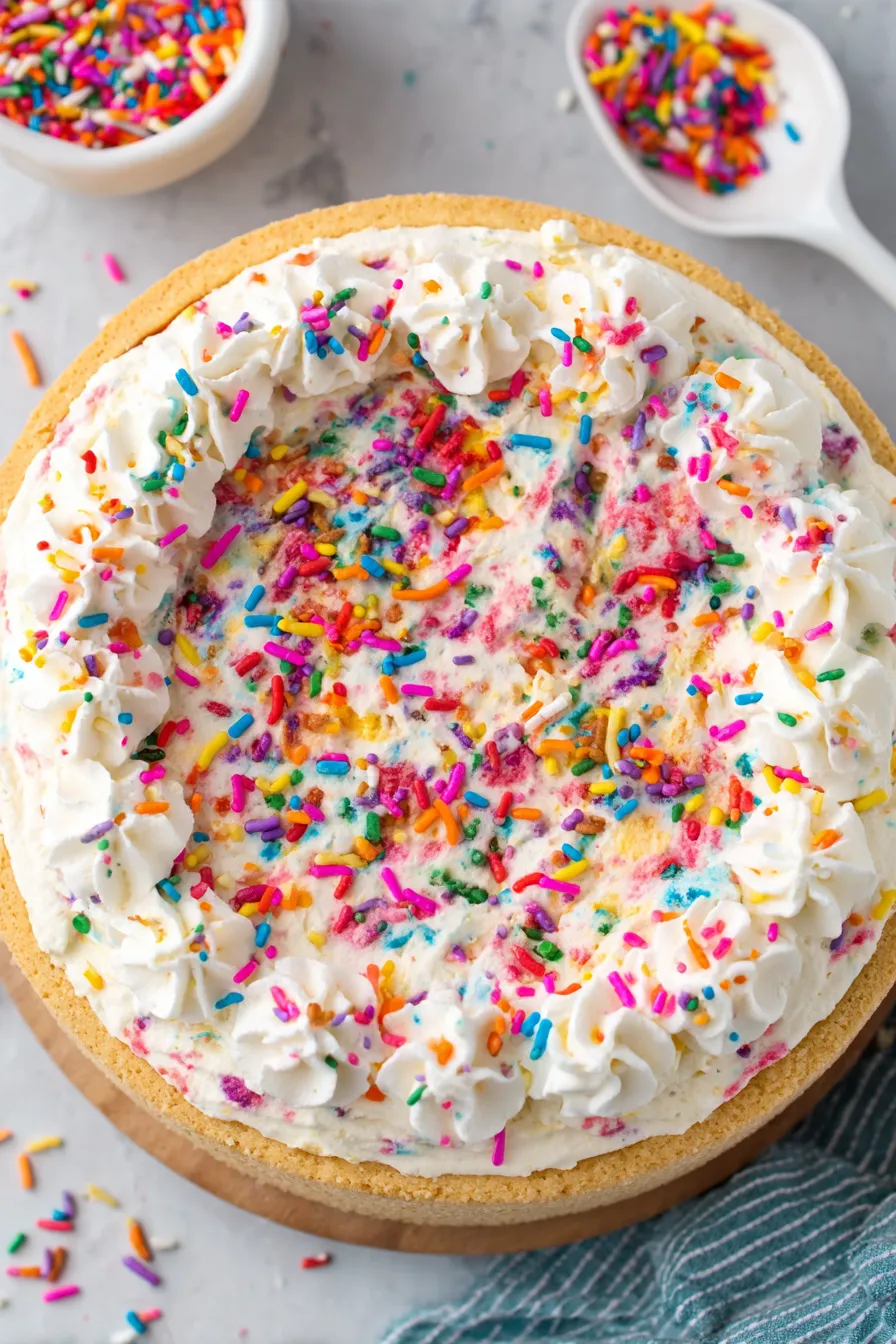
Line an 8-inch springform pan with parchment. Spread 1/2 cup filling on the bottom, layer shortbread cookies, then 1/3 of the remaining filling. Repeat layers finishing with filling and reserved sprinkles.
Freeze for 4 hours for firm slices or refrigerate overnight for softer slices. If frozen, let sit 8–10 minutes before slicing.
Remove outer ring of pan, pipe or spread whipped cream around the edges, press additional sprinkles onto the sides, and slice with a hot, clean knife.
Last Step: Please leave a rating and comment letting us know how you liked this recipe! This helps our business to thrive and continue providing free, high-quality recipes for you.
Leave a comment & rating below or tag
@forkelle on social media!

Thick, fudgy chocolate chunk brownies crowned with gooey mini marshmallows and a quick-set chocolate frosting for an irresistible, crowd-pleasing treat.

Buttery shortbread meets a gooey, brown-sugar pecan topping in these quick pecan pie bars. Just 10 minutes to prep and perfect for sharing.

Silky, crack-free pumpkin cheesecake with warm spice, buttery graham crust, and optional caramel and rum-kissed whipped cream. Your effortless holiday showstopper.
Leave a comment & rating below or tag @forkelle on social media!
Enjoyed this recipe? Share it with friends and family, and don't forget to leave a review!
This recipe looks amazing! Can't wait to try it.
Comments are stored locally in your browser. Server comments are displayed alongside your local comments.

Join to receive our email series which contains a round-up of some of our quick and easy family favorite recipes.
