
>>

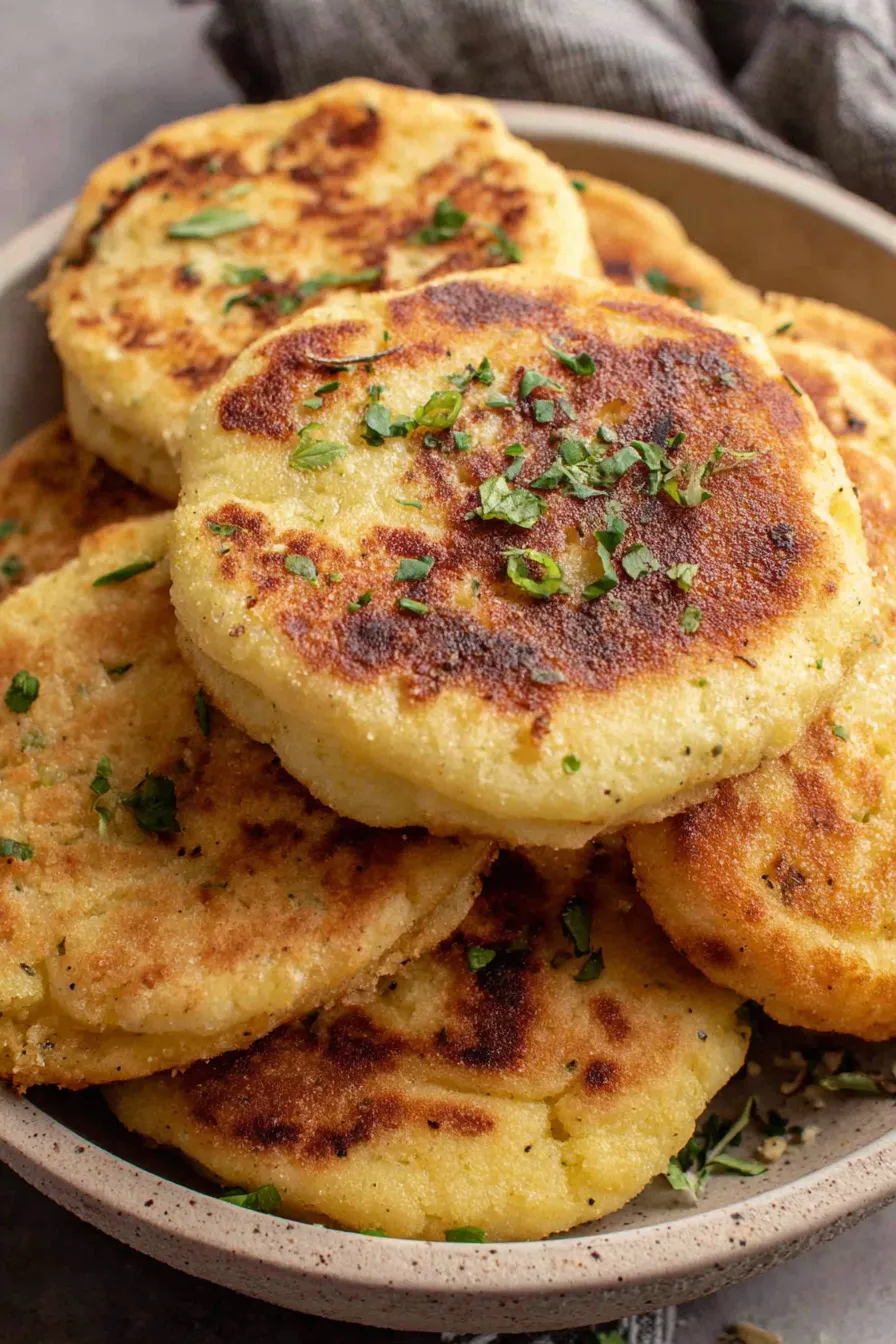
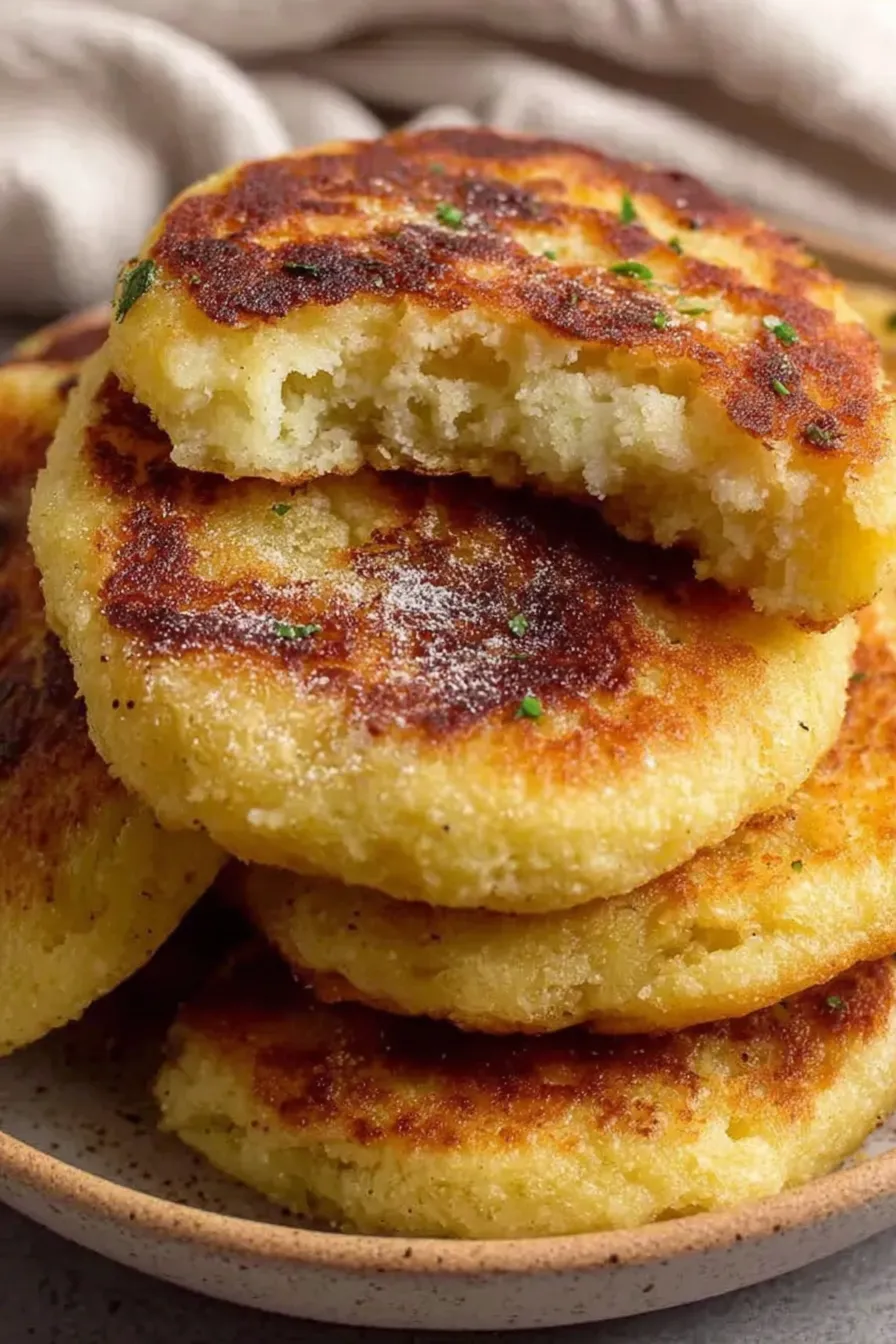
Golden, crispy gorditas made from Maseca (masa harina) with a tender interior — perfect for stuffing with beans, cheese, or seasoned meats.
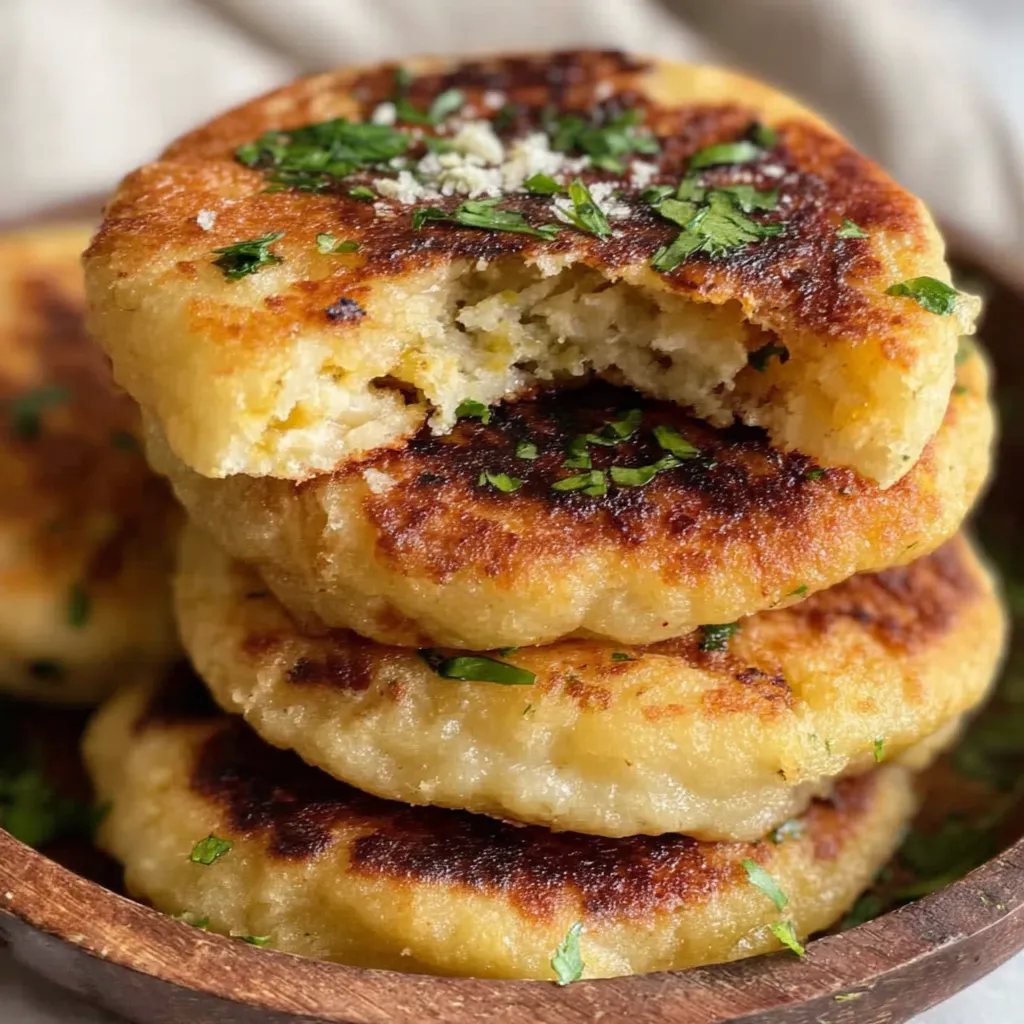
This recipe for crispy Maseca gorditas has been a weekly favorite in my kitchen for years. I first learned to make them from a neighbor who insisted that the secret to perfect texture was the right water temperature and steady hands when shaping. The result is a lightly crisp exterior that gives way to a pillowy interior, ideal for splitting and stuffing with everything from refried beans and queso fresco to shredded beef. The experience of frying them until golden fills the house with the most comforting corn aroma, and everyone seems to gather around the stove when they come out of the pan.
What makes this version special is its simplicity and reliability. Using just Maseca, hot water, and a touch of oil, you can get consistent dough that browns evenly and stays tender inside. I prefer shaping them slightly thicker than a tortilla so they keep a nice pocket after splitting. These are the kind of hands-on, tactile preparations I love: feeling the dough transform as you mix and press, then listening to the satisfying sizzle as they hit the hot oil. They are versatile, travel well, and can be made ahead and reheated without losing too much texture.
On the first night I shared these with my family, my youngest declared them “the best bread ever,” and my partner kept going back for seconds with simple refried beans and crumbled cheese. Over time I’ve tweaked the water temperature and thickness to match our preference for a slightly thick, pocketed gordita that holds fillings without falling apart. It’s become the dish I make when I want something comforting and interactive to share.
My favorite aspect is how hands-on the process is — it’s almost meditative pressing each disk to the right thickness and watching them turn gold in the pan. Family gatherings often turn into assembly nights: one person fries while others set up a filling station. The simplicity of the ingredients makes the final flavors shine, and the way the cheese melts into warm masa never fails to delight.
To store, let gorditas cool completely on a wire rack to avoid steam sogginess, then stack with parchment between layers in an airtight container in the refrigerator for up to 3 days. For longer storage wrap individually in plastic wrap and place in freezer bags; they keep up to 3 months. Reheat in a skillet over medium heat with a light brush of oil to restore crispness, or warm in a 350°F oven for 8 to 10 minutes. Avoid microwaving unless you plan to finish crisping in a skillet; microwaves soften the crust and make them chewy.
If you can’t find Maseca, look for another brand of masa harina labeled nixtamalized corn flour; avoid instant cornmeal, which has a different texture. To make a slightly richer dough, replace the optional 1 to 2 tablespoons of vegetable oil with melted lard for an authentically savory flavor. For a lower-fat option, skip the oil in the dough and shallow-fry in less oil, or cook on a nonstick griddle with a light spray. If you need gluten-free assurance, choose masa harina certified gluten-free and fry in dedicated oil to prevent cross-contact.
Serve warm and let everyone build their own: classic fillings include refried beans and crumbled cheese, shredded carnitas with salsa verde, or chiles rellenos-style fillings for a festive twist. Garnish with pickled red onions, chopped cilantro, crema, and a wedge of lime. For a breakfast twist, fill with scrambled eggs and chorizo. Pair with a simple salad, roasted peppers, or a tangy cabbage slaw to cut through the richness.
The gordita is a beloved staple in Mexican and regional central Mexican home cooking: the name literally means “little chubby one.” Traditionally made from corn masa, gorditas have regional variations across Mexico — some are baked or griddled, others are fried for extra crispness. They evolved from the same nixtamalized corn traditions that give tortillas their distinctive flavor and nutrition. This version emphasizes a fried exterior while staying true to the simple masa foundation that links it to centuries of corn-based cooking.
In summer, fill gorditas with grilled vegetables, charred corn salad, or fresh pico de gallo for bright, light flavors. In cooler months, opt for slow-cooked meats like barbacoa or braised short ribs and add roasted root vegetables to make a hearty comfort meal. Holiday gatherings welcome special fillings like cochinita pibil or mole-spiced chicken. Swapping in pumpkin or sweet potato mashed into fillings can add seasonal warmth and sweetness.
To streamline weeknight meals, shape and partially fry gorditas ahead of time, then cool and refrigerate. Finish reheating and split them before serving. Alternatively, pre-portion dough balls and freeze them; thaw overnight in the fridge before shaping and frying. Prepare fillings in advance — beans, stews, and shredded meats keep well and improve in flavor as they sit. Store fillings separately and assemble just before eating to maintain the best texture.
These gorditas are a versatile, deeply satisfying dish that adapts to many occasions. Whether you’re feeding a family, hosting friends, or packing warm handhelds for a picnic, they bring comforting corn flavor and a fun, interactive element to the table. Give them a try and make the fillings your own — the simple dough is a perfect canvas.
Use hot water (not boiling) to hydrate masa — it produces a pliable, cohesive dough quickly.
Shape with slightly damp palms to prevent sticking and keep edges even for uniform cooking.
Finish cooking on low heat so the center cooks through without burning the exterior.
Test oil temperature with a small dough scrap — it should sizzle immediately but not brown instantly.
Cool completely before freezing and reheat in a skillet to restore crispness.
This nourishing crispy maseca gorditas recipe is sure to be a staple in your kitchen. Enjoy every moist, high protein slice — it is perfect for breakfast or as a wholesome snack any time.
Yes. Let the dough rest covered for 5 to 10 minutes after mixing to fully hydrate the masa and make shaping easier.
Use hot water around 180 to 200°F; it hydrates the masa quickly without scalding your hands.
This Crispy Maseca Gorditas recipe makes perfectly juicy, tender, and flavorful steak every time! Serve with potatoes and a side salad for an unforgettable dinner in under 30 minutes.
Bring about 3 cups of water to a gentle boil and remove from heat. In a large bowl combine 2 cups Maseca with 1 1/2 cups hot water and 1 tablespoon oil if using. Mix by hand until a cohesive dough forms, adjusting with extra masa or water a teaspoon at a time. Cover with a damp towel and rest 5 to 10 minutes.
Divide the dough into equal portions and roll into balls. Press into saucer-shaped discs about the size of your palm and 1/4 inch thick, using damp palms or plastic to prevent sticking. Ensure even thickness for uniform cooking.
Heat a heavy skillet over medium-high and add enough oil to cover the base. Test with a small dough scrap; it should sizzle. Fry each disk 2 to 3 minutes per side until golden brown.
Lower heat to low and continue cooking 7 to 9 minutes per side so the center cooks through without burning the exterior. Press gently to test for a firm but springy texture.
Slice open the gordita carefully with a sharp knife, stuff with prepared fillings and serve immediately while warm.
Last Step: Please leave a rating and comment letting us know how you liked this recipe! This helps our business to thrive and continue providing free, high-quality recipes for you.
Leave a comment & rating below or tag
@forkelle on social media!

Thick, fudgy chocolate chunk brownies crowned with gooey mini marshmallows and a quick-set chocolate frosting for an irresistible, crowd-pleasing treat.

Buttery shortbread meets a gooey, brown-sugar pecan topping in these quick pecan pie bars. Just 10 minutes to prep and perfect for sharing.

Silky, crack-free pumpkin cheesecake with warm spice, buttery graham crust, and optional caramel and rum-kissed whipped cream. Your effortless holiday showstopper.
Leave a comment & rating below or tag @forkelle on social media!
Enjoyed this recipe? Share it with friends and family, and don't forget to leave a review!
This recipe looks amazing! Can't wait to try it.
Comments are stored locally in your browser. Server comments are displayed alongside your local comments.

Join to receive our email series which contains a round-up of some of our quick and easy family favorite recipes.
