
>>

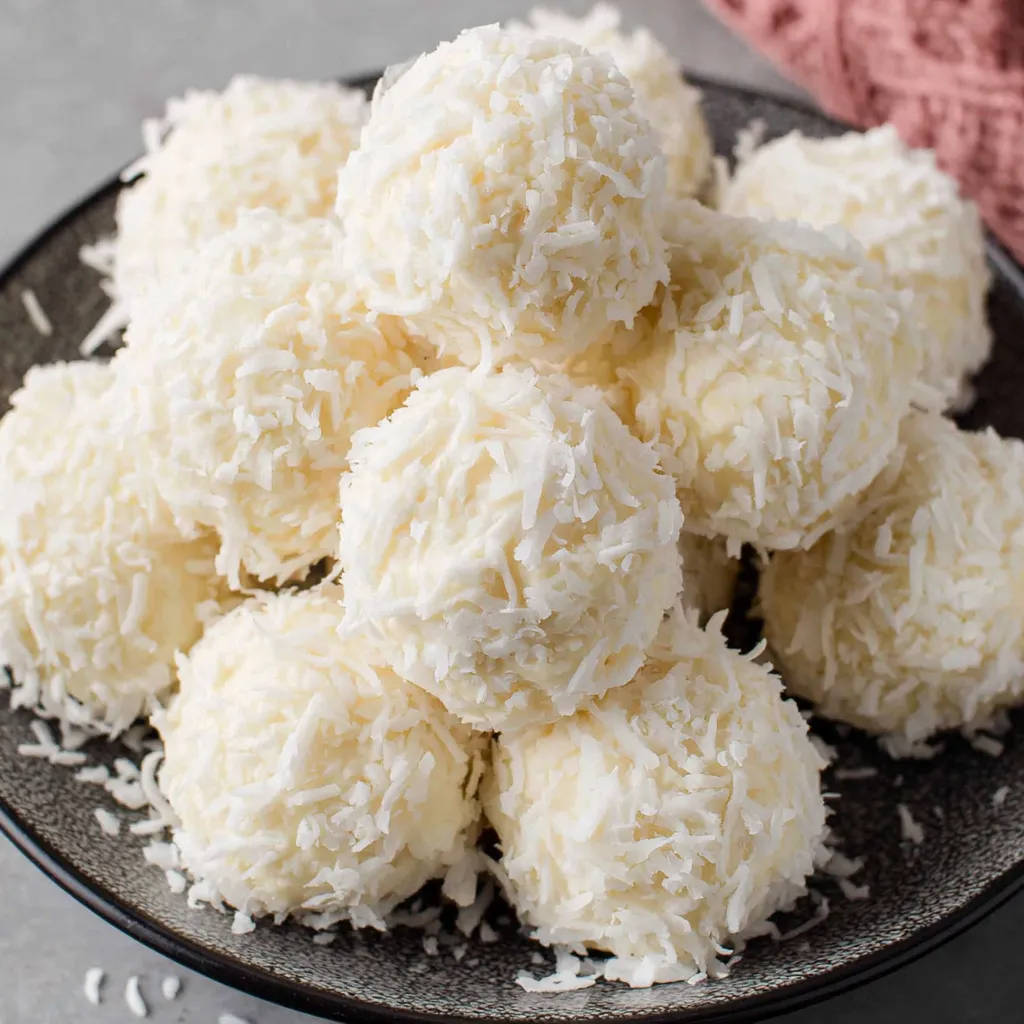
Delicate, creamy centers rolled in sweet coconut and dipped in vanilla coating — a make-ahead no-bake treat perfect for holidays and everyday indulgence.
This Coconut Snowballs recipe has been my go-to for holiday cookie exchanges and last-minute dessert trays for years. I first discovered the idea while trying to transform a leftover tub of cream cheese into something festive one December; I wanted a small, elegant bite that wasn't overly sweet but still looked special. The result — a creamy, slightly tangy center studded with toasted-almond notes and wrapped in a sweet coconut shell — instantly became a family favorite. Guests always ask how they remain so tender yet firm, and the secret is chilling the mixture well before shaping and coating.
What makes these snowballs special is the balance between texture and flavor: the cream cheese provides a silky, melt-in-your-mouth center, the almond flour gives just enough body and nutty background, and the sweetened shredded coconut adds chew and visual snow-like charm. Dipping them in melted vanilla almond bark creates a crisp, glossy shell that contrasts the pillowy interior. I often make a double batch because they freeze beautifully, and they’re the kind of treat that tastes like effort without requiring hours at the oven.
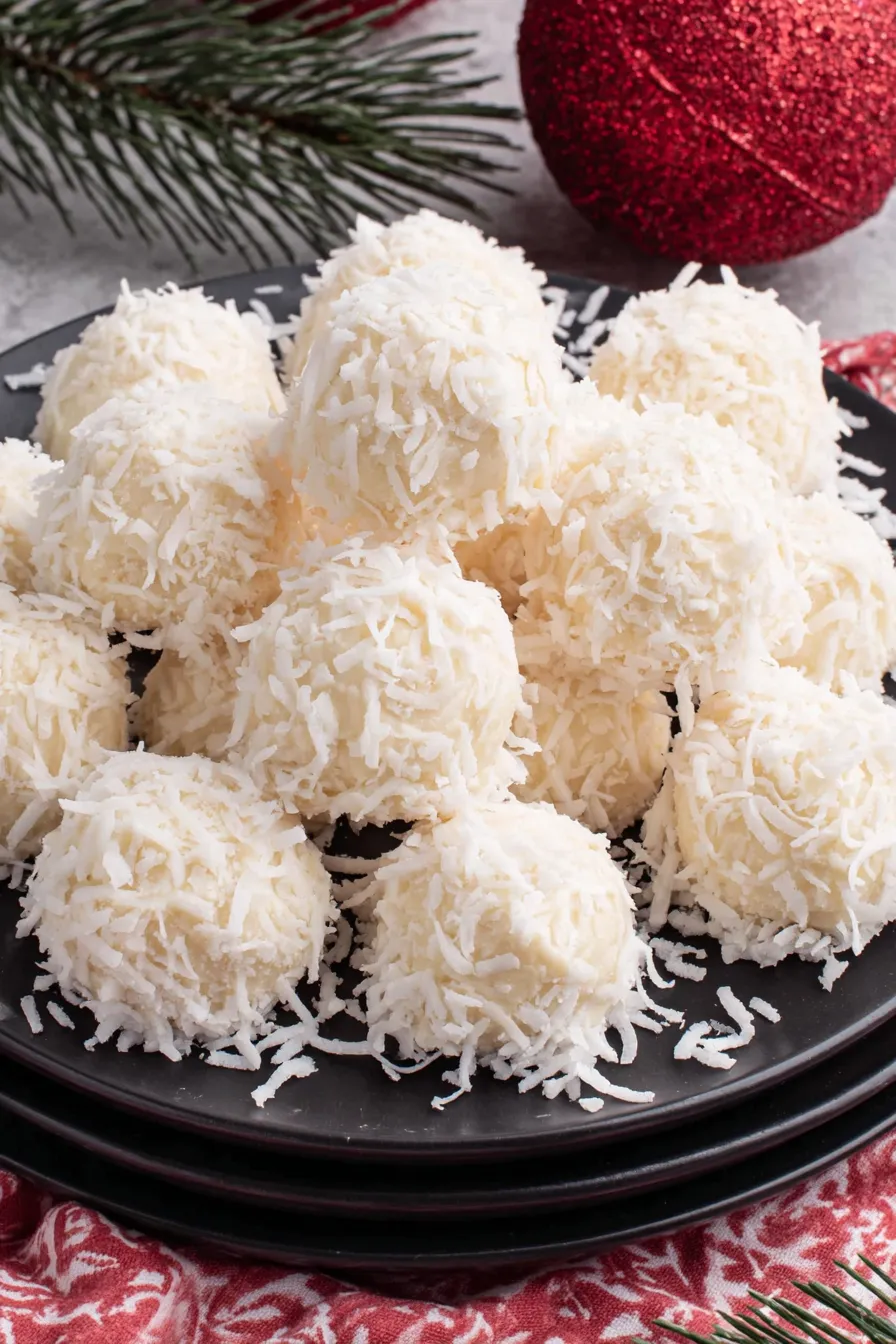
My family always notices when I bring these — my sister once took an entire box home after a party and texted, "They vanished in two days." The combination of creamy, nutty, and coconut flavors makes them feel indulgent without being heavy, and the visual of tiny white spheres on a plate never fails to draw compliments.
What I love most about these snowballs is how they retain that delicate balance of textures even after freezing. I once made a tray for a snowy weekend and left them in the freezer for two weeks — the coating stayed crisp and the center remained creamy after a short thaw, which proved they're perfect for advanced prep and surprises.
Store finished snowballs in a single layer or separated with parchment paper in an airtight container in the refrigerator for up to one week. For longer storage, freeze on a tray until solid, then transfer to a freezer bag or container; they hold for up to three months. When reheating, thaw overnight in the fridge to prevent moisture from sweating on the coating. Avoid leaving them at room temperature for long periods; the almond bark can soften in warm conditions and the center will lose its firm texture.
If almond flour is a concern, finely ground sunflower seed flour works as a 1:1 substitute and keeps the nutty richness while being nut-free. Replace cream cheese with a dairy-free cream cheese for a non-dairy version, but expect a slightly softer center and a subtle change in tang. If you don’t have coconut cream, use the thick top from a chilled can of full-fat coconut milk, or for a lighter option, a tablespoon of heavy cream; reduce if the mixture becomes too loose.
Arrange these on a festive platter with sprigs of fresh mint or candied citrus peel for color contrast. They pair beautifully with lightly brewed coffee, spiced tea, or a short espresso. Serve as petit fours after a holiday meal, or pack them in small boxes as edible gifts. For a party, add a variety of toppings by swapping coating coconut for chopped pistachios or finely crushed freeze-dried raspberries for a tart color pop.
While not tied to a single traditional cuisine, coconut confections like these borrow textures and flavors common in tropical and European baking where coconut, nuts, and sweet coatings are beloved. The visual of small white spheres evokes European marzipan treats and South Asian coconut laddoos, blending techniques across culinary traditions to create a bite-sized treat that feels both classic and modern.
For winter holidays, toast the shredded coconut lightly before adding it to the mixture to develop deeper caramel notes. In spring, fold in a tablespoon of lemon zest for brightness, and during summer, use a white chocolate coating flavored with a hint of lime for a tropical variation. Swap vanilla almond bark for dark chocolate for a richer, less sweet finish in autumn.
Make the centers up to 2 days in advance and keep them chilled until ready to coat. If coating several batches, place finished snowballs on a cooling rack over parchment to catch drips and speed drying. Use a shallow bowl for the shredded coconut and a fork for dipping to make the process efficient; a pair of tongs works well for smaller hands. Label containers with the date if freezing for easy rotation.
I once brought a platter of these to a neighborhood potluck, and a friend who normally avoids coconut asked for the recipe — she said the almond backbone and vanilla shell made it irresistible. Another time, a cousin served them at her baby shower and guests loved their bite-size elegance. Their consistent success at gatherings convinced me to keep this recipe in heavy rotation.
These Coconut Snowballs are simple to make, easy to share, and flexible enough to adapt for seasons and dietary needs. Make a batch, experiment with coatings, and make them your own — they’re a small, joyful treat that always brings people together.
If the mixture feels too loose when shaping, chill an extra 15–30 minutes until firm enough to scoop cleanly.
Toast shredded coconut lightly in a dry skillet for 3–5 minutes to deepen the flavor before adding to the mixture.
When melting almond bark, stir between short microwave bursts to avoid overheating and causing the coating to seize.
This nourishing coconut snowballs recipe is sure to be a staple in your kitchen. Enjoy every moist, high protein slice — it is perfect for breakfast or as a wholesome snack any time.
This Coconut Snowballs recipe makes perfectly juicy, tender, and flavorful steak every time! Serve with potatoes and a side salad for an unforgettable dinner in under 30 minutes.
Line a rimmed baking sheet with parchment paper and have all ingredients measured and within reach to streamline the shaping and coating steps.
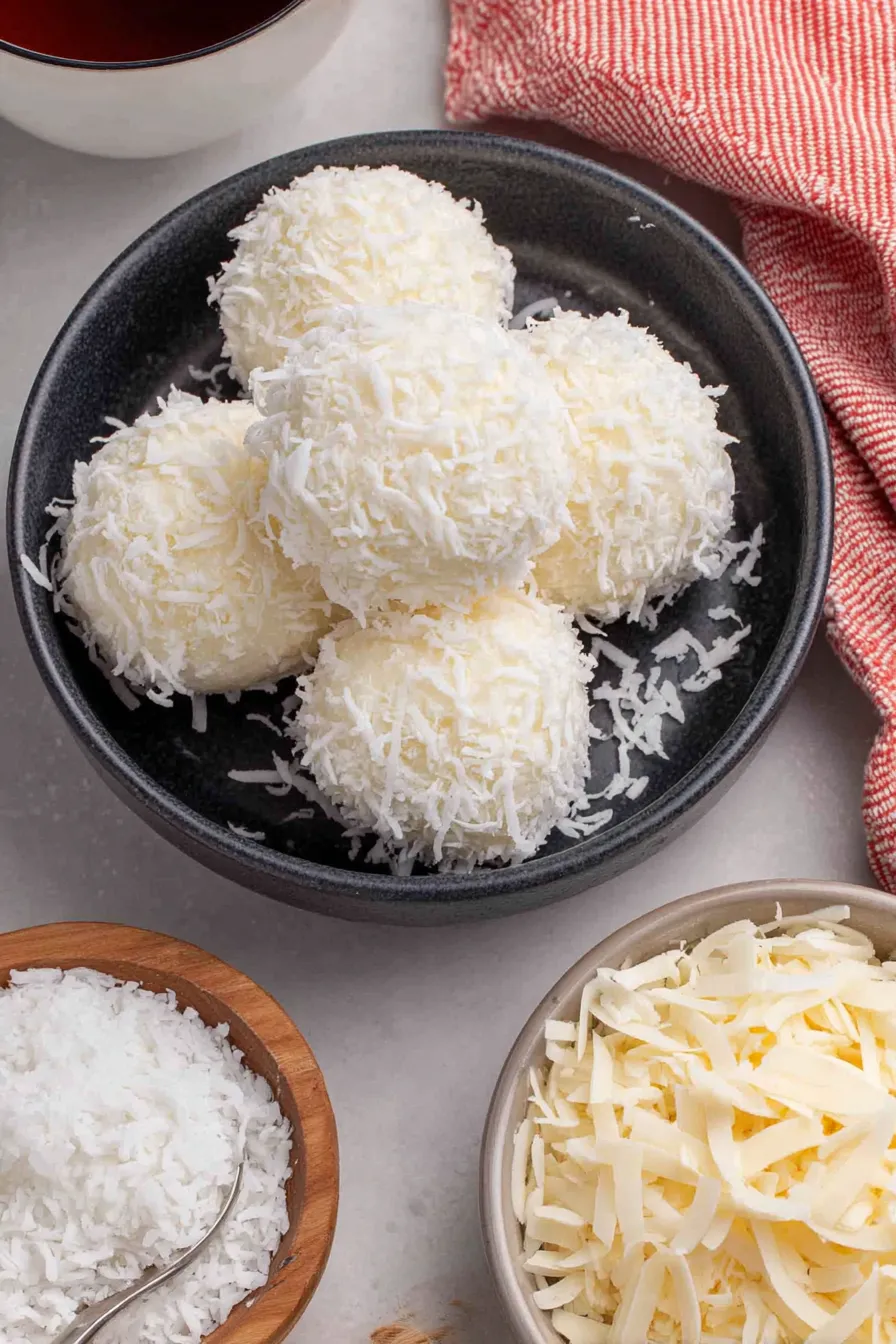
In a large bowl, beat 4 ounces softened cream cheese, 1/2 cup powdered sugar, 1/4 cup coconut cream, and 1/2 teaspoon coconut extract on medium speed until smooth and slightly thickened, about 2 minutes.
Add 2 cups sweetened shredded coconut and 1 cup almond flour to the cream cheese mixture and fold until evenly combined and the mixture holds together when pressed.
Cover the bowl and refrigerate for 30 minutes to hydrate the dry ingredients and make the mixture easier to scoop and shape.
Use a 1½-inch cookie scoop to portion the chilled mixture, roll briefly between palms to smooth, and place on the prepared parchment-lined tray.
Melt 10 ounces vanilla almond bark in a microwave-safe bowl using 1-minute then 30-second increments, stirring until smooth; follow package instructions.
Dip chilled balls into the melted almond bark using a fork, tap to remove excess, then roll in remaining 2 cups shredded coconut and place back on the tray.
Refrigerate the coated snowballs for an additional 30 minutes to fully set the almond bark before serving or storing.
Last Step: Please leave a rating and comment letting us know how you liked this recipe! This helps our business to thrive and continue providing free, high-quality recipes for you.
Leave a comment & rating below or tag
@forkelle on social media!

Thick, fudgy chocolate chunk brownies crowned with gooey mini marshmallows and a quick-set chocolate frosting for an irresistible, crowd-pleasing treat.

Buttery shortbread meets a gooey, brown-sugar pecan topping in these quick pecan pie bars. Just 10 minutes to prep and perfect for sharing.

Silky, crack-free pumpkin cheesecake with warm spice, buttery graham crust, and optional caramel and rum-kissed whipped cream. Your effortless holiday showstopper.
Leave a comment & rating below or tag @forkelle on social media!
Enjoyed this recipe? Share it with friends and family, and don't forget to leave a review!
This recipe looks amazing! Can't wait to try it.
Comments are stored locally in your browser. Server comments are displayed alongside your local comments.

Join to receive our email series which contains a round-up of some of our quick and easy family favorite recipes.
