
Classic Pignoli Cookies

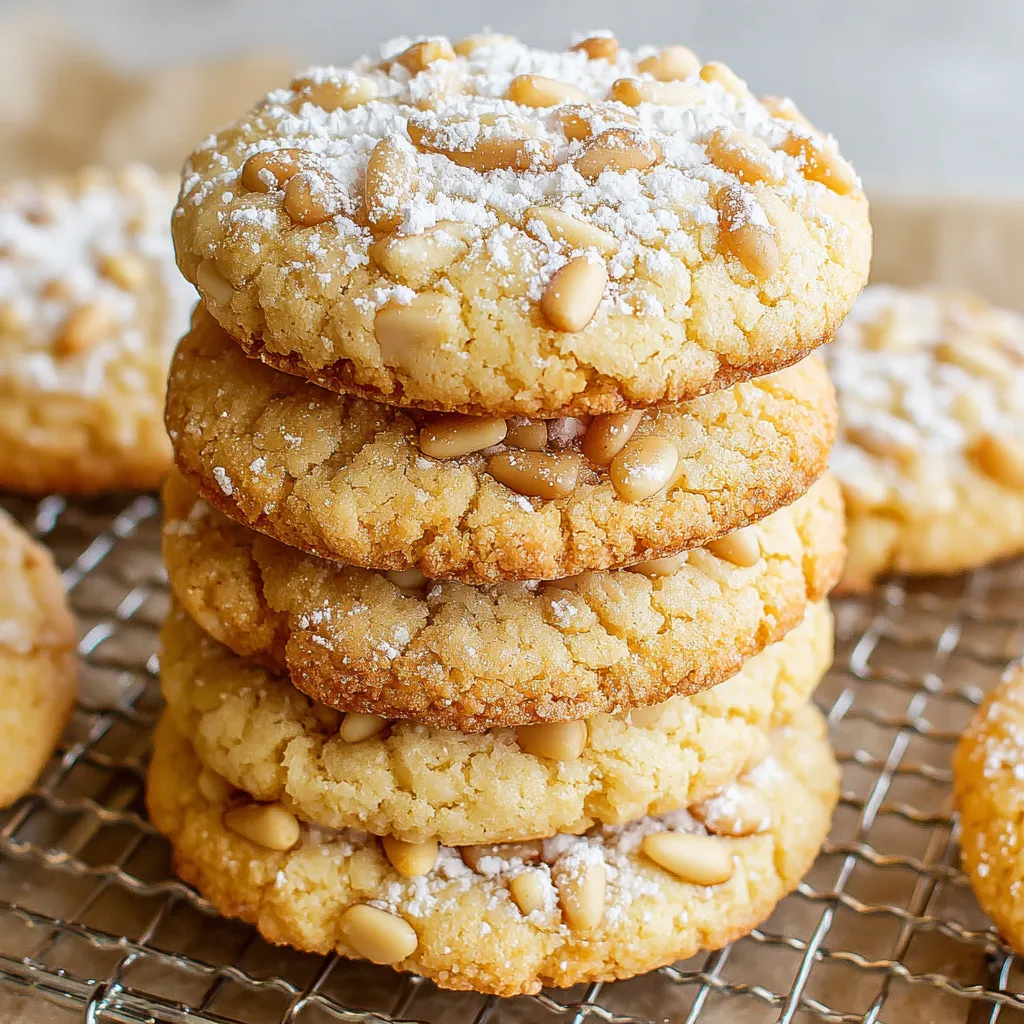
Chewy, glossy almond cookies studded with toasted pine nuts — a simple Italian treat made with almond paste, perfect for holidays and gifting.
This recipe for pignoli cookies has been my go-to when I want something that feels both elegant and effortlessly homemade. I first tasted a pignoli at a tiny bakery during a winter trip; the cookie was glossy on top, slightly chewy in the center, and crowned with the buttery crunch of pine nuts. I came home determined to reproduce that balance of textures. After a few friendly kitchen experiments — varying chill times, testing different almond paste brands, and learning how much the pine nuts toast on the cookie during baking — this version became the one my friends and family request most often.
What makes these cookies special is the contrast: the dense almond base from the paste gives a rich, nutty flavor while the pine nuts add a fragrant, almost resinous crunch. They are deceptively simple to make yet impressive to serve. I usually prepare the dough the night before and chill it, which concentrates the flavors and makes the dough easier to handle. When a batch comes out of the oven, the edges are delicately golden while the centers stay soft and slightly glossy — that shine is a signal that they are perfectly cooked.
Why You'll Love This Recipe
- Ready with minimal hands-on time — active prep is about 20 minutes and then the dough chills for at least 4 hours; great for make-ahead baking.
- Uses pantry-stable almond paste and commonly available pine nuts; no need to mill almonds or make complex syrups.
- Gluten-free by nature when using pure almond paste, making them accessible to households avoiding wheat.
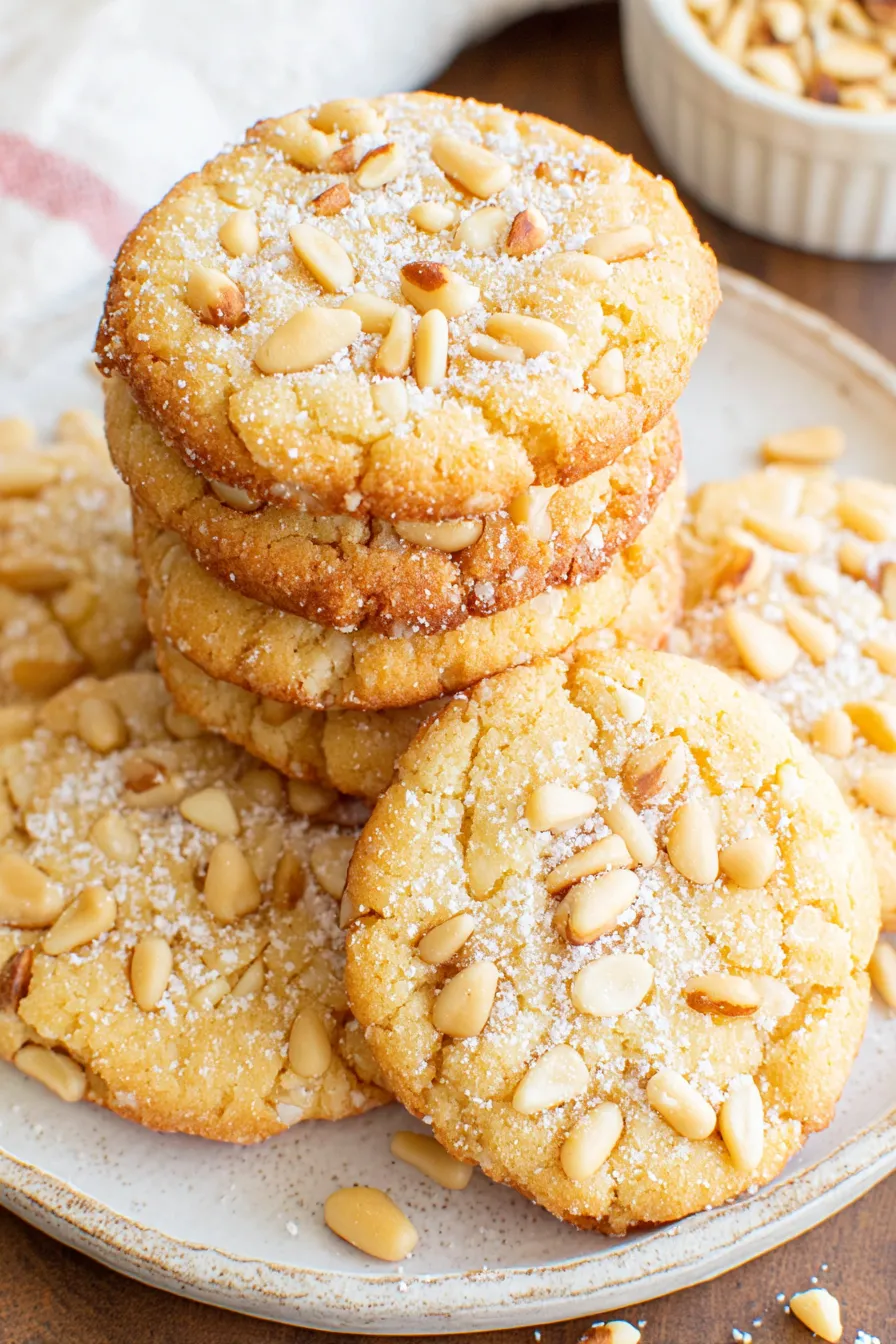
- Excellent for gifting and holidays — they travel well in a tin and look professionally finished with a dusting of powdered sugar.
- Yield scales easily: you can double the batch with the same chilling and baking approach for larger gatherings.
- Child-friendly shaping and rolling in nuts is a good kitchen job for helpers, making these a shared activity as well as a treat.
Family reactions make this recipe worth repeating: whenever I bring the tin to a small gathering, people inevitably ask which bakery made them. My niece declared them ‘the best nut cookies ever’ and our holiday guests always take a whole couple of cookies home. With a little planning, these become a signature addition to any celebration.
Ingredients
- Almond paste (8 ounces): Use a high-quality almond paste — I prefer Odense or Solo for consistent texture. The paste is the foundation, providing concentrated almond flavor and structure; avoid marzipan-style pastes with excessive sugar additives if you want a balanced result.
- Granulated sugar (1/2 cup): Helps loosen the almond paste when processed and contributes to the glossy center. Regular white sugar is fine; caster sugar will dissolve slightly faster in the processor.
- Vanilla extract (1/2 teaspoon): Adds a warm aromatic note that complements the almond. Choose pure vanilla extract for the best depth; imitation works in a pinch but will be flatter.
- Salt (1/4 teaspoon): Balances the sweetness and enhances the almond flavor. Use fine salt so it blends evenly into the dough.
- Large egg (1 whole): Binds the dough and contributes to the glossy finish on top when baked. Use a room-temperature egg for best incorporation.
- Pine nuts (2/3 cup): The signature topping — look for fresh, pale nuts; older pine nuts can taste bitter. Lightly toasted before rolling can amplify their aroma, but the brief bake will also gently toast them on the cookie.
- Powdered sugar (2 tablespoons): For a light dusting after cooling; adds a delicate finish and visual contrast.
Instructions
Prepare the Almond Dough:Break the almond paste into several pieces and place them in a large food processor with the granulated sugar. Pulse until the mixture forms a smoother paste and you notice the sugar begin to dissolve into the almond, about 2 minutes. If the paste seems dry, let the processor run a few extra pulses to warm and soften it slightly.Add Flavor and Binder:Pour in the vanilla extract, salt, and the whole large egg. Pulse in short bursts until the mixture comes together into a cohesive dough. It should be soft, slightly sticky, and hold its shape when pinched; avoid over-processing which can make the dough overly loose.Chill the Dough:Remove the dough from the processor onto a piece of plastic wrap. Form into a loose roll or ball; a 2-inch diameter log is convenient for portioning. Wrap tightly and refrigerate for at least 4 hours or up to 48 hours. Chilling firms the dough, concentrates flavor, and prevents excessive spreading during baking.Preheat and Prep:When ready to bake, set the oven to 350 degrees F and line a baking sheet with parchment paper. Place the pine nuts in a shallow bowl for rolling. If desired, lightly toast the pine nuts in a dry skillet over medium heat for 2–3 minutes until fragrant; cool before using.Portion and Coat:Scoop about 1 tablespoon of chilled dough (or slice from the log) and roll into a ball. Gently roll each ball in the pine nuts until the visible surface is covered to your liking; full coverage is traditional but partial coverage is fine. Arrange balls about 2 inches apart on the prepared sheet.Bake and Finish:Bake for 16–18 minutes, until the edges are a light golden brown. Centers will appear slightly glossy and soft — this is correct. Cool the cookies on the sheet for 5–10 minutes, then transfer to a wire rack to finish cooling. When completely cool, dust lightly with powdered sugar.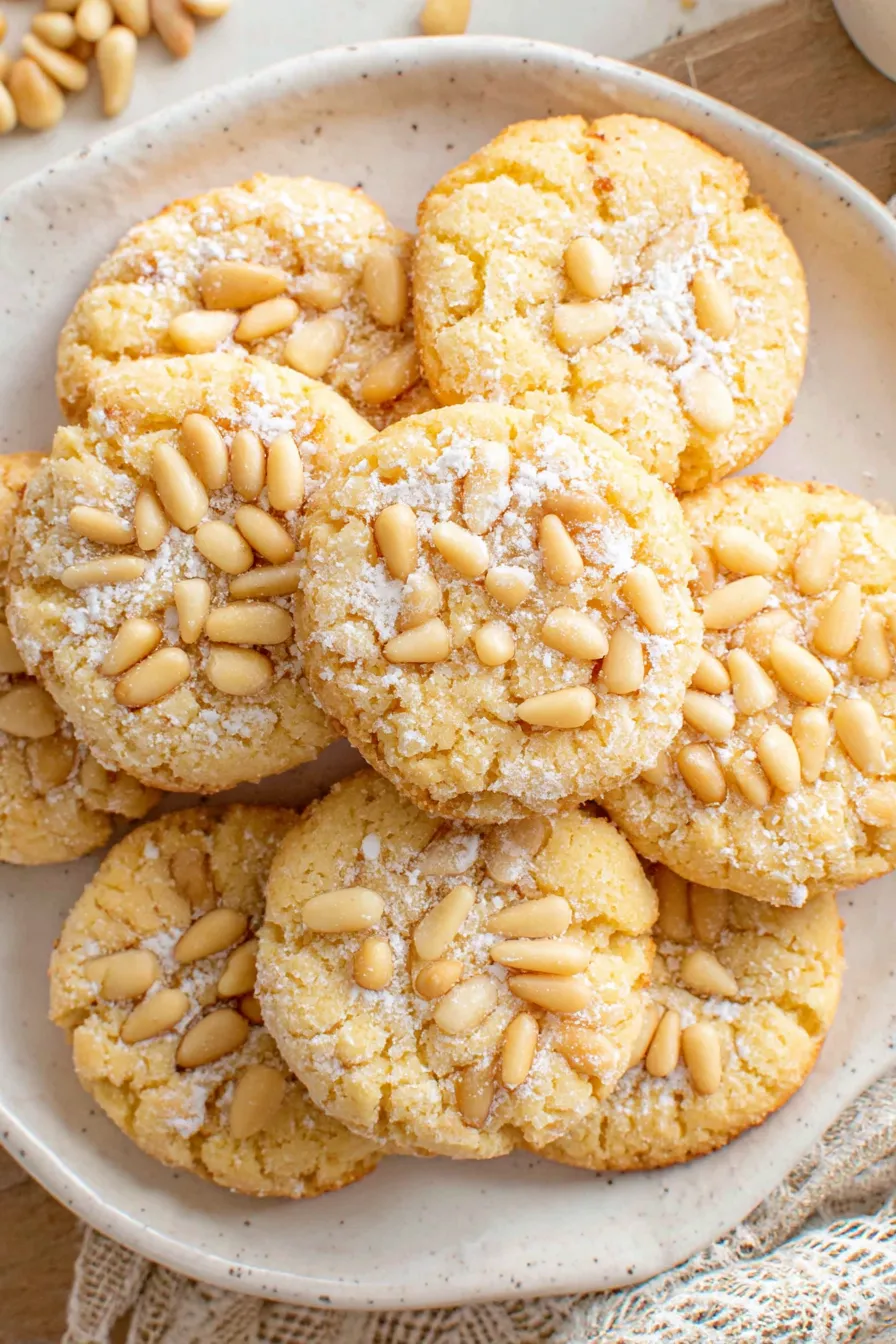
You Must Know
- These cookies are naturally gluten-free when using plain almond paste; they are high in calories and fats from nuts — portion control matters if you are watching intake.
- Dough will be soft before chilling; resist the urge to bake immediately — chilling prevents spreading and gives the right chew.
- Store cookies in an airtight container at room temperature for up to 5 days, or freeze for longer storage (see storage tips below).
- Pine nuts can burn quickly; if toasting, watch closely and cool before coating the dough.
My favorite thing about this recipe is how reliably it produces bakery-style results with so little fuss. The first time I brought them to a holiday potluck, guests were surprised they were homemade — the glossy tops and even nut placement make them look professional. Over the years I learned small adjustments that make a big difference: keeping eggs at room temperature for even mixing, using a food processor to fully integrate sugar into the almond, and letting the dough rest well chilled before baking.
Storage Tips
Store cooled cookies in a single layer or separated by parchment in an airtight tin at room temperature for up to 5 days. For longer keeping, freeze in a sealed container for up to 3 months; thaw at room temperature and refresh with a quick 3–4 minute warm oven if you prefer them slightly crisped. Avoid refrigeration — cold air can dry them out. If stacking is necessary, place a sheet of parchment between layers to protect the pine nut topping. For gifting, wrap in waxed paper and place in a sturdy tin to preserve shape and prevent breakage.
Ingredient Substitutions
If almond paste is hard to find, use packaged marzipan and adjust sugar downward by 1 tablespoon if the marzipan is very sweet. For a different nut profile, swap half the pine nuts for finely chopped toasted almonds; expect a different visual and slightly drier texture. To make them nut-allergy friendly is difficult because almond paste is central; however, a sunflower seed paste can be experimented with for a sunflower-seed version, keeping in mind flavor and color differences. Egg replacers are not recommended here because the egg contributes to the characteristic shine and structure.
Serving Suggestions
Serve these with espresso or a light dessert wine; their nut-forward richness pairs beautifully with bright, acidic beverages. For a festive presentation, arrange on a platter dusted with powdered sugar or nestle between sprigs of rosemary for aroma. They also complement soft cheeses and fruit platters. For afternoon tea, pair with lemon curd and shortbread to balance the nutty density with citrus brightness.
Cultural Background
Pignoli cookies have roots in Sicilian baking traditions where pine nuts (pignoli) and almonds are abundant. They are a staple in Italian-American bakeries and often appear on holiday cookie platters and at weddings. The use of almond paste is a nod to Sicily’s Arab-influenced past, where almonds and sugar were combined into various confections. Over time, the simple combination of almond paste, egg, and pine nuts has become a beloved classic in many Italian households.
Seasonal Adaptations
In winter, add a pinch of finely grated orange zest to the dough for a bright citrus note that complements the pine nuts. For summer, keep the recipe as-is and serve chilled with fresh berries to lighten the palate. During the holidays, press a few coarse-grain sugar crystals into the pine nut topping before baking for extra sparkle, or drizzle a thin coating of dark chocolate on half the batch for variety.
Meal Prep Tips
Make the dough up to 48 hours ahead and keep it tightly wrapped in the refrigerator. Portion and freeze rolled balls on a tray, then transfer to a sealed bag; bake from frozen adding 2–3 minutes to the bake time. This makes it easy to have fresh-baked cookies on demand. Label containers with the bake date and use within three months for best texture. When planning for parties, bake one day ahead and store at room temperature to preserve the pine nut crunch.
These cookies are a small, joyful way to share hospitality. They travel well, are simple enough to make with helpers, and always bring a little Italian bakery charm to the table. Give them a try and adjust the finishing touches until they feel like your signature cookie.
Pro Tips
Use room-temperature egg to incorporate more evenly and achieve the classic glossy top.
Chill the dough at least 4 hours to prevent spreading and develop flavor.
Lightly toast pine nuts for more aroma but cool them fully before rolling to avoid melting the dough.
This nourishing classic pignoli cookies recipe is sure to be a staple in your kitchen. Enjoy every moist, high protein slice — it is perfect for breakfast or as a wholesome snack any time.
FAQs about Recipes
Why are my cookies glossy in the middle?
Yes. Use almond paste (not marzipan) and follow chilling instructions. If centers remain glossy they are done and will set as they cool.
How can I store these long-term?
Freeze baked cookies in an airtight container for up to 3 months. Thaw at room temperature before serving.
Tags
Classic Pignoli Cookies
This Classic Pignoli Cookies recipe makes perfectly juicy, tender, and flavorful steak every time! Serve with potatoes and a side salad for an unforgettable dinner in under 30 minutes.
Instructions
Process almond paste and sugar
Break the almond paste into pieces and pulse with granulated sugar in a food processor until a smoother paste forms and the sugar begins to dissolve, about 2 minutes.
Add vanilla, salt, and egg
Add vanilla extract, salt, and the whole large egg. Pulse in short bursts until the mixture forms a soft, cohesive dough; avoid over-processing.
Chill the dough
Transfer dough to plastic wrap, shape into a loose log or ball, wrap tightly, and chill for at least 4 hours or up to 48 hours to firm and concentrate flavors.
Preheat and prepare baking sheet
Preheat oven to 350 degrees F and line a baking sheet with parchment. Place pine nuts in a shallow bowl for rolling. Toast pine nuts in a dry skillet if desired and cool.
Portion and roll in pine nuts
Scoop or slice about 1 tablespoon of dough, roll into a ball, and gently coat in pine nuts. Place cookies about 2 inches apart on the prepared sheet.
Bake and finish
Bake 16–18 minutes until edges are light golden and centers remain slightly glossy. Cool briefly on the sheet, transfer to a rack, and dust with powdered sugar when fully cool.
Last Step: Please leave a rating and comment letting us know how you liked this recipe! This helps our business to thrive and continue providing free, high-quality recipes for you.
Nutrition
Did You Make This?
Leave a comment & rating below or tag
@forkelle on social media!
Categories:
You might also like...

Marshmallow Frosted Chocolate Brownies
Thick, fudgy chocolate chunk brownies crowned with gooey mini marshmallows and a quick-set chocolate frosting for an irresistible, crowd-pleasing treat.

Buttery Pecan Pie Bars
Buttery shortbread meets a gooey, brown-sugar pecan topping in these quick pecan pie bars. Just 10 minutes to prep and perfect for sharing.

Failproof Pumpkin Cheesecake
Silky, crack-free pumpkin cheesecake with warm spice, buttery graham crust, and optional caramel and rum-kissed whipped cream. Your effortless holiday showstopper.
Did You Make This?
Leave a comment & rating below or tag @forkelle on social media!
Rate This Recipe
Share This Recipe
Enjoyed this recipe? Share it with friends and family, and don't forget to leave a review!
Comments (1)
This recipe looks amazing! Can't wait to try it.
Comments are stored locally in your browser. Server comments are displayed alongside your local comments.

Hi, I'm Abigail!
What's Popular

30-Minute Meals!
Join to receive our email series which contains a round-up of some of our quick and easy family favorite recipes.