
>>

A simple, timeless Italian loaf with a crisp golden crust and soft, airy crumb. Easy steps, pantry-friendly ingredients, and dependable results.
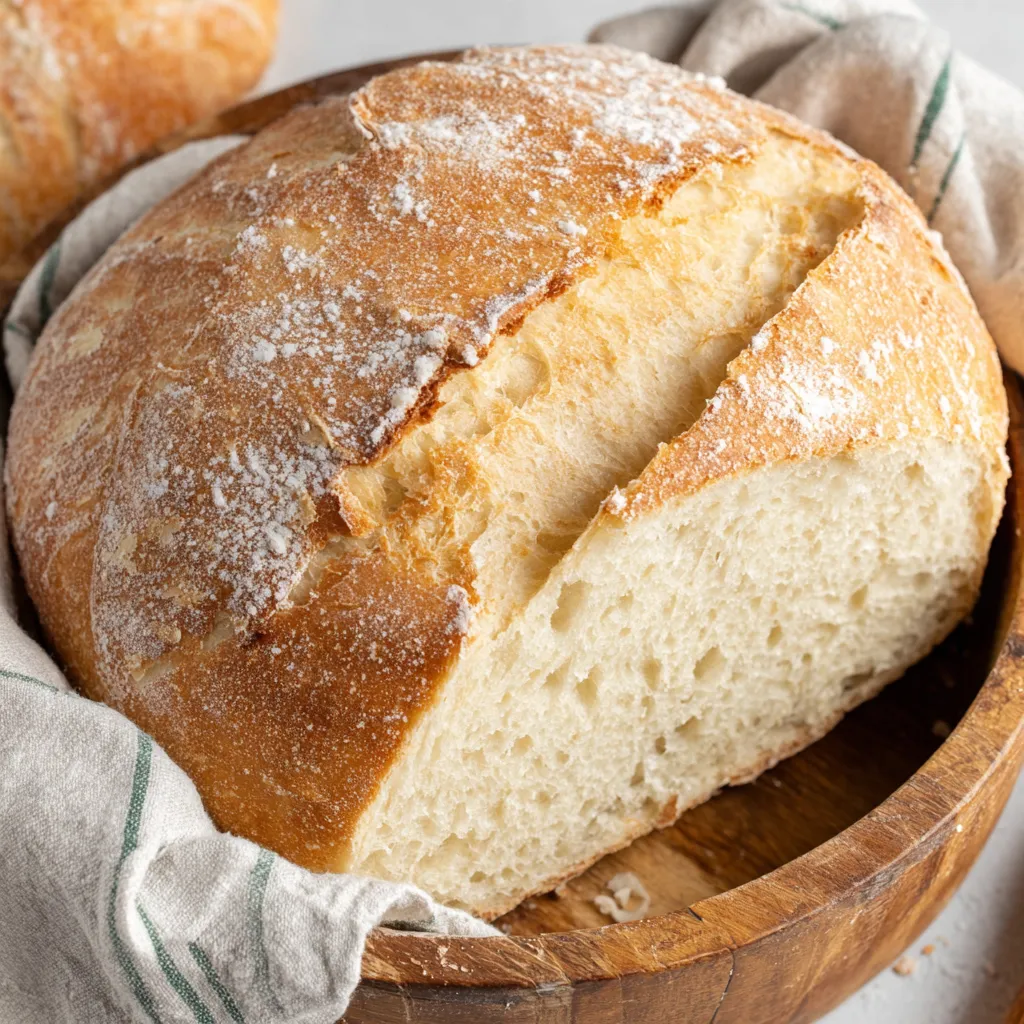
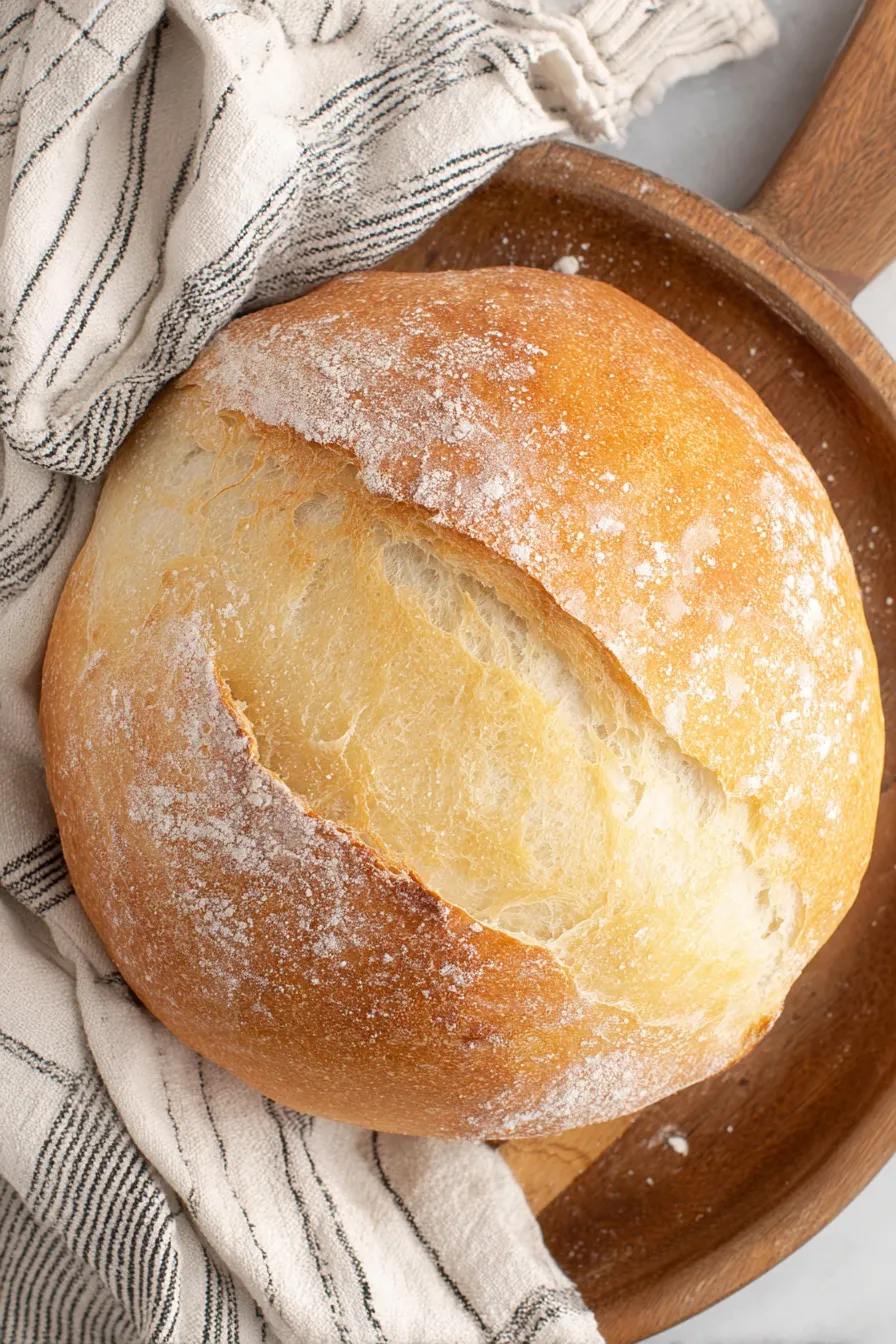
This Italian bread has been a quiet hero in my kitchen for years. I first learned this formula during a weekend when the smell of fresh baking bread filled the house and neighbors wandered by with compliments. It is the kind of loaf that makes weekday dinners feel special and weekend breakfasts feel indulgent. The crust roasts to a golden brown while the interior stays soft and elastic, offering that satisfying chew that begs for olive oil or butter.
I discovered how forgiving this method is when I was teaching a friend how to bake her first loaf. We mixed by hand, laughed through a few imperfect slashes, and still came away with a beautiful batard that sliced cleanly and toasted even better the next day. This version uses common pantry ingredients, takes under two hours from start to finish, and rewards simple technique with authentic texture and flavor. If you love rustic bread with minimal fuss, this is a keeper.
I remember serving this loaf at a small dinner party; a guest declared it the best bread they had eaten all year. That kind of praise comes from the crunch of the crust and the airy crumb inside. I find myself choosing this method when I want consistent, impressive bread without complicated steps.
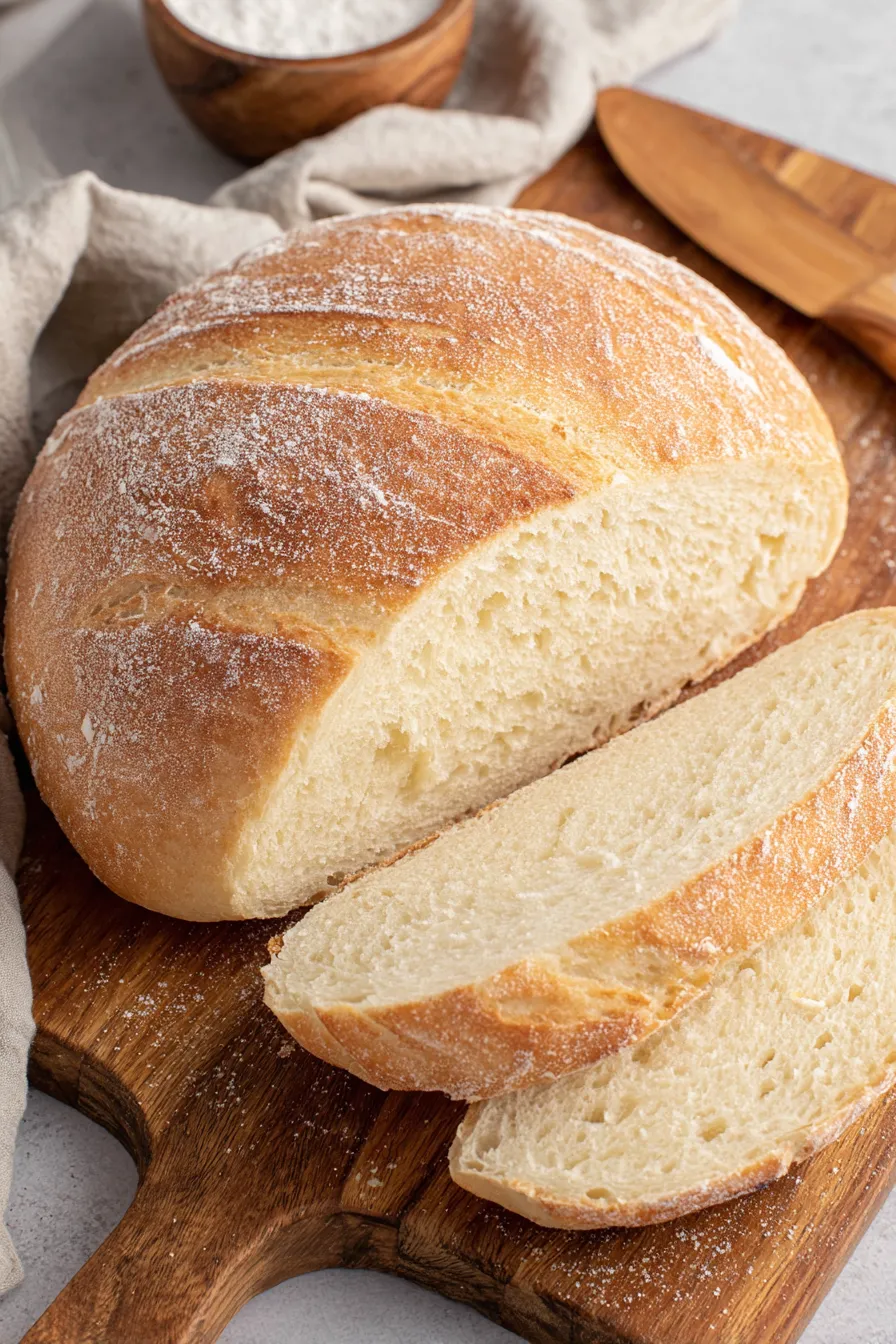
My favorite thing about this loaf is how forgiving it is. Even when I am rushed or my kitchen is chilly, I can coax a beautiful crumb and crust by paying attention to feel during kneading and trusting the rise times. Friends often comment on the crust texture, which is the result of a hot oven and minimal handling just before baking. That crisp shell paired with a soft interior is what makes me reach for this method again and again.
Room temperature storage works best for up to two days. Place the cooled loaf in a paper bag or wrap loosely in a clean kitchen towel to protect the crust while allowing limited airflow. For longer keeping, slice and store in an airtight container or freezer bag, removing excess air before freezing. When ready to use, toast slices directly from frozen or thaw at room temperature for 30 to 60 minutes and refresh in a 350 degree Fahrenheit oven for 5 to 8 minutes to revive the crust. Avoid refrigerating bread as it accelerates staling.
If you prefer a chewier texture, use bread flour in place of all-purpose. For a lighter crumb, a mix of 1 cup whole wheat to 1 1/2 cups all-purpose works but expect a slightly denser loaf and add 1 to 2 tablespoons extra water. Swap olive oil for neutral vegetable oil if you want less flavor. For a softer crust, brush the loaf with a bit of olive oil right after baking. Do not substitute gluten-free flour without a tailored blend designed for yeast breads, as standard gluten-free flours need additional binders.
This loaf shines with simple accompaniments: a bowl of high-quality extra virgin olive oil and a splash of balsamic for dipping, slices toasted and topped with ripe tomatoes and basil, or as the foundation for hearty sandwiches. Pair with soups like tomato basil or minestrone, or alongside a charcuterie board. Garnish simply with flaked sea salt and a drizzle of herb oil for an elegant appetizer.
Rustic loaves like this batard are staples across Italy, where bread traditions prioritize simple ingredients and technique. Regional variations exist from the crusty pane di casa to ciabatta and schiacciata. This straightforward loaf evokes the farmhouse breads served with meals in Italian homes, designed to be versatile and to complement savory olive oils, cheeses, and stews rather than to overshadow them.
In autumn, stir in a tablespoon of roasted garlic paste or cracked rosemary for seasonal warmth. In summer, fold in chopped sun-dried tomatoes and oregano for a bright, Mediterranean twist. For the holidays, add a teaspoon of fennel seeds and a tablespoon of honey to create a subtly spiced loaf that pairs well with roasted meats and cheeses.
To streamline weekly lunches, slice the loaf and portion into freezer bags in sandwich-sized stacks. Label with the date and rotate within three months. For quick fresh bread during the week, prepare dough in the evening and let rise slowly in the refrigerator overnight; the next day, shape, allow a short final proof, and bake for fresh bread with less active morning time.
There is joy in tearing into a warm, fragrant loaf and sharing it at the table. This method balances reliability and flavor so you can create memorable bread without fuss. Make it your own by experimenting with flours and add-ins, and enjoy the ritual of baking.
Always proof yeast in warm water to confirm activity; a foamy surface within 10 minutes means the yeast is good.
Use the feel of the dough rather than exact time: the dough should be smooth, elastic, and slightly tacky but not sticky.
Create surface tension while shaping by rolling the loaf tightly; this helps the loaf rise upward instead of spreading.
This nourishing classic italian bread recipe is sure to be a staple in your kitchen. Enjoy every moist, high protein slice — it is perfect for breakfast or as a wholesome snack any time.
Proof the yeast in warm water (about 110 degrees Fahrenheit) with a little sugar; it should become foamy within 5 to 10 minutes. If it does not foam, the yeast is likely inactive.
Yes. Allow the dough to chill in the refrigerator for up to 12 hours after the first rise, then shape and allow a shorter final proof before baking — this develops flavor.
Let the loaf cool at least 30 minutes on a wire rack before slicing to ensure the crumb sets and slices cleanly.
This Classic Italian Bread recipe makes perfectly juicy, tender, and flavorful steak every time! Serve with potatoes and a side salad for an unforgettable dinner in under 30 minutes.
Combine yeast, sugar, and warm water in a large bowl. Let sit 5 to 10 minutes until foamy, indicating active yeast.
Add 2 cups flour, olive oil, and salt. Stir until shaggy. If using a mixer, mix on low with dough hook until combined.
Knead by hand 10 minutes on a floured surface, adding remaining flour as needed, or knead 5 minutes in mixer at medium speed until smooth.
Shape into a ball, place in an oiled bowl, cover, and let rise about 1 hour until doubled in size.
Punch down, shape into a 12-inch batard, transfer to prepared baking sheet, cover, and let rise 20 to 30 minutes until puffy.
Make 1/4-inch slits on the surface and bake at 400 degrees Fahrenheit for 20 to 25 minutes until golden brown and hollow-sounding.
Cool completely on a rack for at least 30 minutes before slicing to ensure proper crumb texture.
Last Step: Please leave a rating and comment letting us know how you liked this recipe! This helps our business to thrive and continue providing free, high-quality recipes for you.
Leave a comment & rating below or tag
@forkelle on social media!

Thick, fudgy chocolate chunk brownies crowned with gooey mini marshmallows and a quick-set chocolate frosting for an irresistible, crowd-pleasing treat.

Buttery shortbread meets a gooey, brown-sugar pecan topping in these quick pecan pie bars. Just 10 minutes to prep and perfect for sharing.

Silky, crack-free pumpkin cheesecake with warm spice, buttery graham crust, and optional caramel and rum-kissed whipped cream. Your effortless holiday showstopper.
Leave a comment & rating below or tag @forkelle on social media!
Enjoyed this recipe? Share it with friends and family, and don't forget to leave a review!
This recipe looks amazing! Can't wait to try it.
Comments are stored locally in your browser. Server comments are displayed alongside your local comments.

Join to receive our email series which contains a round-up of some of our quick and easy family favorite recipes.
