
>>

Sweet, creamy peanut butter centers dipped in white chocolate and topped with festive sprinkles — a quick, crowd-pleasing holiday treat.
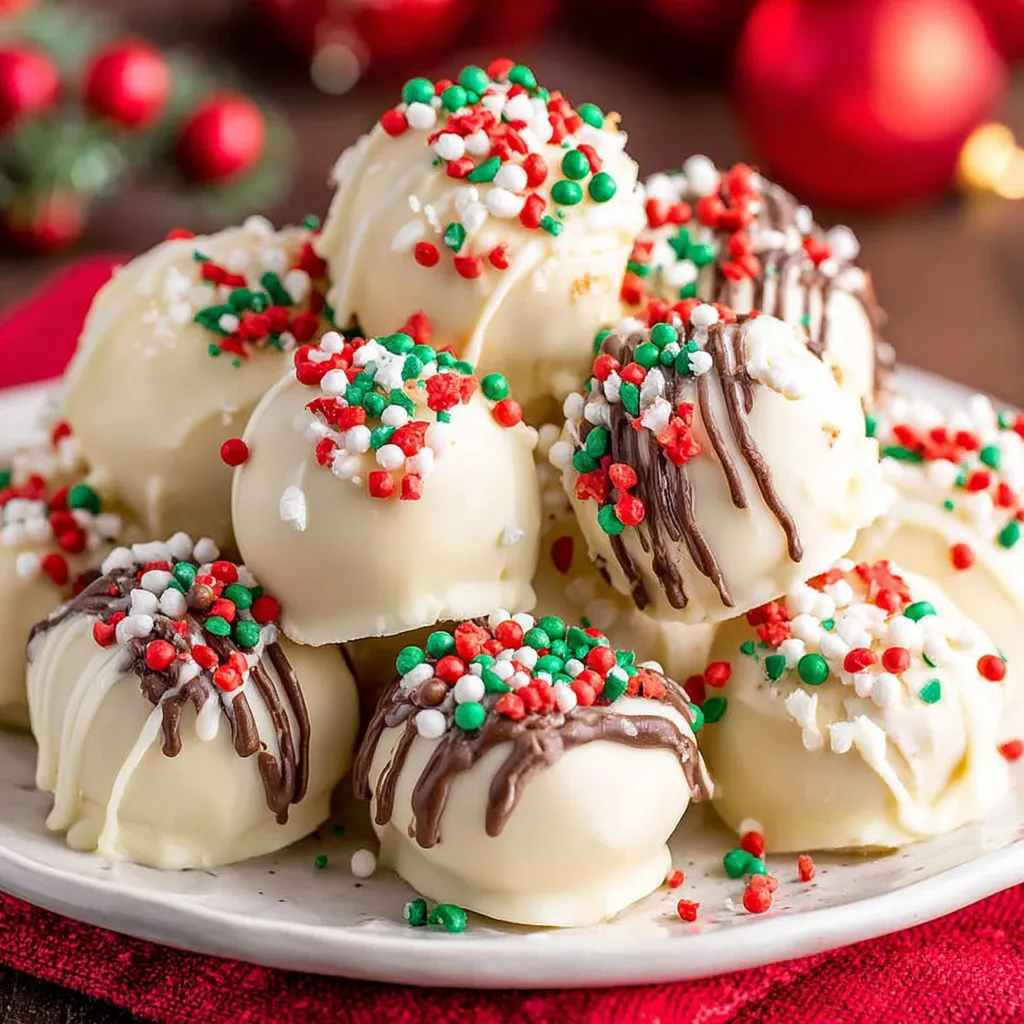
This recipe for Christmas truffles has been my holiday go-to for years, the kind of treat that quietly steals the show at every cookie exchange and family party. I first made these on a snowy December afternoon when I wanted something festive but fuss-free: three pantry staples turned into bite-sized delights that vanish almost immediately. The contrast of a satiny peanut butter center with a crisp white chocolate shell finished with crunchy sprinkles is endlessly satisfying. It’s sweet but balanced, and the little pops of color from seasonal toppings always get compliments.
I discovered the recipe when I wanted an alternative to heavy, chocolate-drenched confections and ended up with a truffle that keeps well in the fridge and travels without drama. Texture is the magic here: a dense, peanut-butter-rich interior that yields when bitten and a thin candy-like coating that gives a pleasant snap. I make a batch for neighbors, another for the office, and always hide a few for midnight snacking. These are especially good when made a day ahead, allowing flavors to meld and the centers to firm up for neater dipping.
I still remember the first time I took a tin of these to my in-laws: everyone eyed the festive sprinkles first and then declared them addictive after one bite. I’ve experimented with textures by switching between creamy and chunky peanut butter and learned that a small amount of butter smooths the center and helps it hold together during dipping. These little discoveries are why the recipe feels both simple and reliably excellent every season.
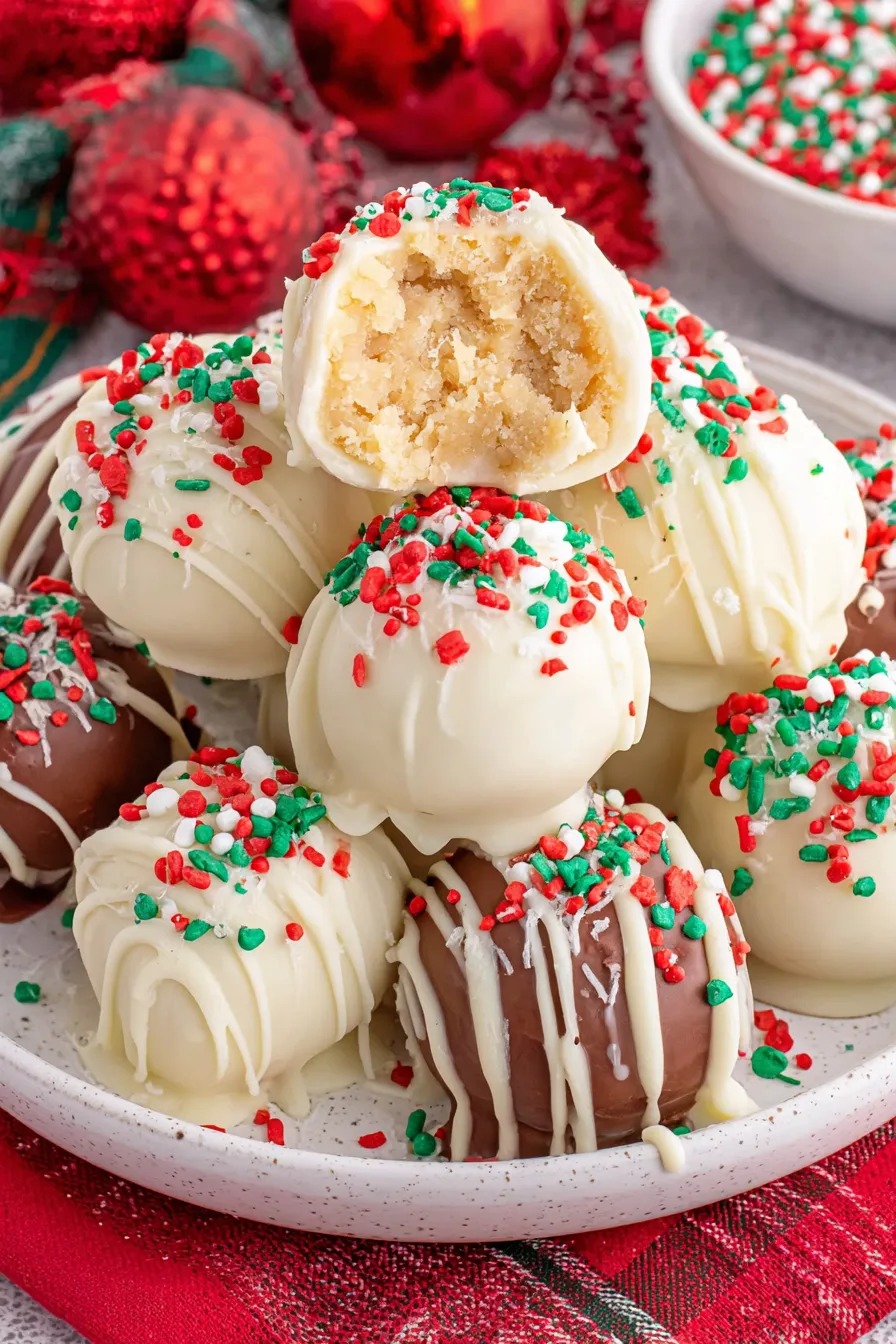
My favorite thing about these little confections is how reliably they evoke holiday cheer. The first bite delivers a creamy peanut butter hit followed by a candy-like snap from the white coating and a hint of crunch from sprinkles or nuts. They are versatilе — simple enough for weekday indulgence and pretty enough for special occasions — and every year friends expect a tin from me.
Store finished pieces in a single layer or separated by parchment in an airtight container in the refrigerator. At room temperature they soften quickly, so refrigeration keeps the coating crisp and the centers firm. For longer storage, freeze on a tray until set and then stack in a freezer-safe container with parchment between layers; thaw overnight in the refrigerator before serving. Avoid strong-smelling foods in the same container to prevent flavor transfer. When packing for gifting, use small paper liners or parchment to prevent decorations from rubbing off.
If you need a nut-free option, substitute sunflower seed butter or soy nut butter ounce for ounce; the flavor will be slightly different but the texture remains similar. For dairy-free, use vegan butter and a dairy-free white coating; note that many dairy-free coatings have a slightly different sheen. Swap white chocolate for dark or milk chocolate for a richer flavor; if using dark chocolate, add a pinch of salt to the base to balance sweetness. If powdered sugar is not available, blitz granulated sugar to a fine powder before measuring to maintain texture.
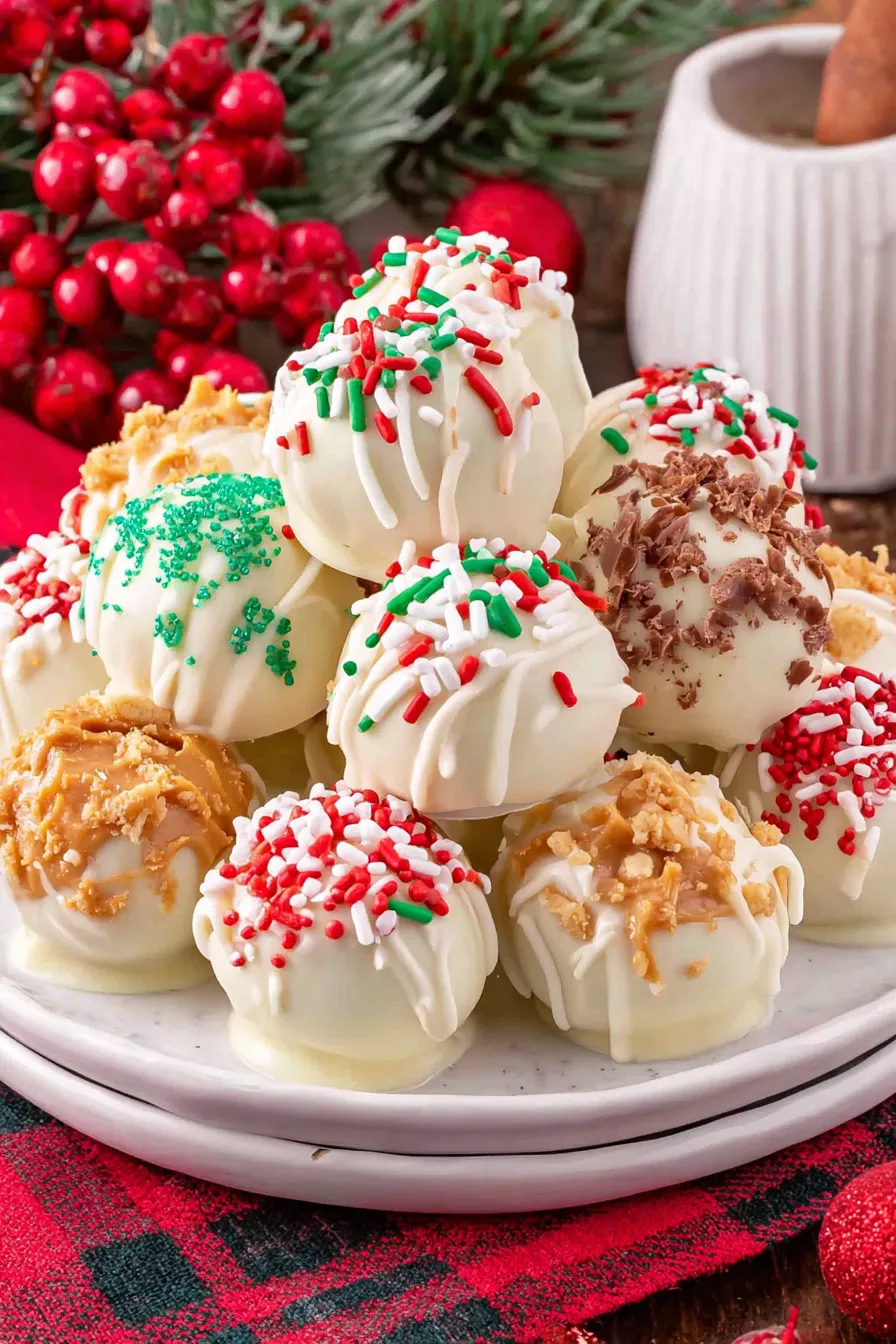
Serve on a decorative platter with a variety of toppings for guests to choose from: crushed candy cane, toasted chopped pecans, or cocoa dusted options look attractive. Pair with strong coffee or a mulled wine to cut the sweetness. For cookie exchange platters, alternate truffles with dipped dates or chocolate bark for visual variety. Garnish plates with fresh rosemary sprigs to amplify holiday color and aroma without altering taste.
Confections involving nut butter and sweet coatings have long been part of festive traditions where quick, no-bake sweets are prized for their convenience. These particular truffles are an American holiday adaptation, marrying the classic peanut butter cup idea with European-style coated candies. Over time, home cooks adopted bright sprinkles and seasonal shapes to make them visually festive. They reflect a practical holiday ethos: maximum cheer with minimal oven time, perfect for busy hosts who still want homemade charm.
For winter, swap sprinkles for crushed peppermint or a dusting of cocoa. In summer, use colorful nonpareils and choose milk or dark chocolate for a lighter contrast. For Valentine’s Day, shape slightly larger and drizzle with dark chocolate for a dramatic look. For a grown-up holiday version, stir 1 teaspoon of brandy or bourbon into the base before shaping for subtle warmth. Adjust topping textures seasonally to pair with complementary beverages like cider, coffee, or dessert wine.
Make the centers up to two days ahead and keep refrigerated. Melt chocolate and dip on the day you plan to serve for the best shine and crispness. If preparing many batches, set up an assembly line with bowls for melting, a cooling rack over parchment, and a tray for finished pieces. Keep a small bowl of warm water nearby to wipe chocolate from your dipping tools periodically for cleaner finishes. Label containers with dates when freezing so you rotate your treats properly.
These Christmas truffles are a small joy that comes together quickly yet carries the warmth of homemade care. Whether you’re gifting tins to neighbors or setting a festive platter on your own table, this easy recipe makes holiday baking calmer and sweeter. Give them a try and make the flavors your own.
Chill the centers well before dipping to prevent the coating from sliding off.
Use a small spoonful of neutral oil to thin chocolate if it thickens during dipping.
Press sprinkles onto the wet coating immediately so they adhere before the chocolate sets.
If the coating blooms or loses shine, gently reheat and smooth with a clean spoon, then allow to set at room temperature.
This nourishing christmas peanut butter truffles recipe is sure to be a staple in your kitchen. Enjoy every moist, high protein slice — it is perfect for breakfast or as a wholesome snack any time.
Yes. Use sunflower seed butter and a dairy-free coating to make a nut-free and dairy-free version.
Store in an airtight container in the refrigerator for up to two weeks or freeze for up to three months.
This Christmas Peanut Butter Truffles recipe makes perfectly juicy, tender, and flavorful steak every time! Serve with potatoes and a side salad for an unforgettable dinner in under 30 minutes.
In a medium bowl, stir together 1 cup powdered sugar, 1/2 cup peanut butter, and 3 tablespoons softened butter until a smooth, thick dough forms. Add extra peanut butter by teaspoon if mixture is too dry.
Use a small portion scoop or rounded teaspoon to form about 24 one-inch balls. Roll between palms to smooth and place on parchment-lined tray.
Refrigerate for 15 to 30 minutes until centers are firm to the touch. For cleaner dipping, freeze for 10 minutes but do not freeze solid.
Melt 16 ounces white coating in a microwave-safe bowl in 30 second bursts, stirring between intervals until smooth. Keep warm for dipping.
Submerge chilled centers in melted coating using a dipping fork, tap off excess, place on parchment, and immediately apply sprinkles or toppings.
Let coating harden at room temperature for 20 to 30 minutes or refrigerate for 10 minutes. Store in an airtight container in the refrigerator for up to two weeks or freeze for longer storage.
Last Step: Please leave a rating and comment letting us know how you liked this recipe! This helps our business to thrive and continue providing free, high-quality recipes for you.
Leave a comment & rating below or tag
@forkelle on social media!

Thick, fudgy chocolate chunk brownies crowned with gooey mini marshmallows and a quick-set chocolate frosting for an irresistible, crowd-pleasing treat.

Buttery shortbread meets a gooey, brown-sugar pecan topping in these quick pecan pie bars. Just 10 minutes to prep and perfect for sharing.

Silky, crack-free pumpkin cheesecake with warm spice, buttery graham crust, and optional caramel and rum-kissed whipped cream. Your effortless holiday showstopper.
Leave a comment & rating below or tag @forkelle on social media!
Enjoyed this recipe? Share it with friends and family, and don't forget to leave a review!
This recipe looks amazing! Can't wait to try it.
Comments are stored locally in your browser. Server comments are displayed alongside your local comments.

Join to receive our email series which contains a round-up of some of our quick and easy family favorite recipes.
