
>>

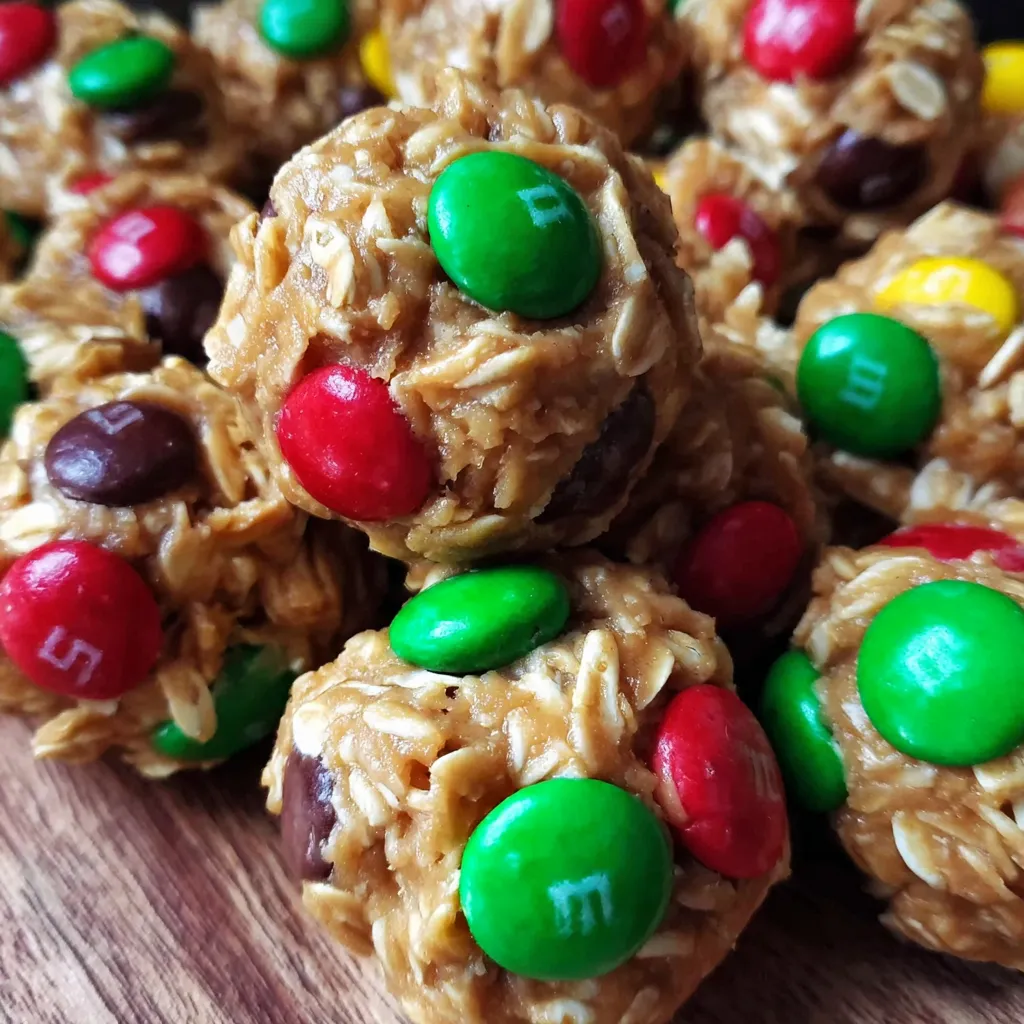
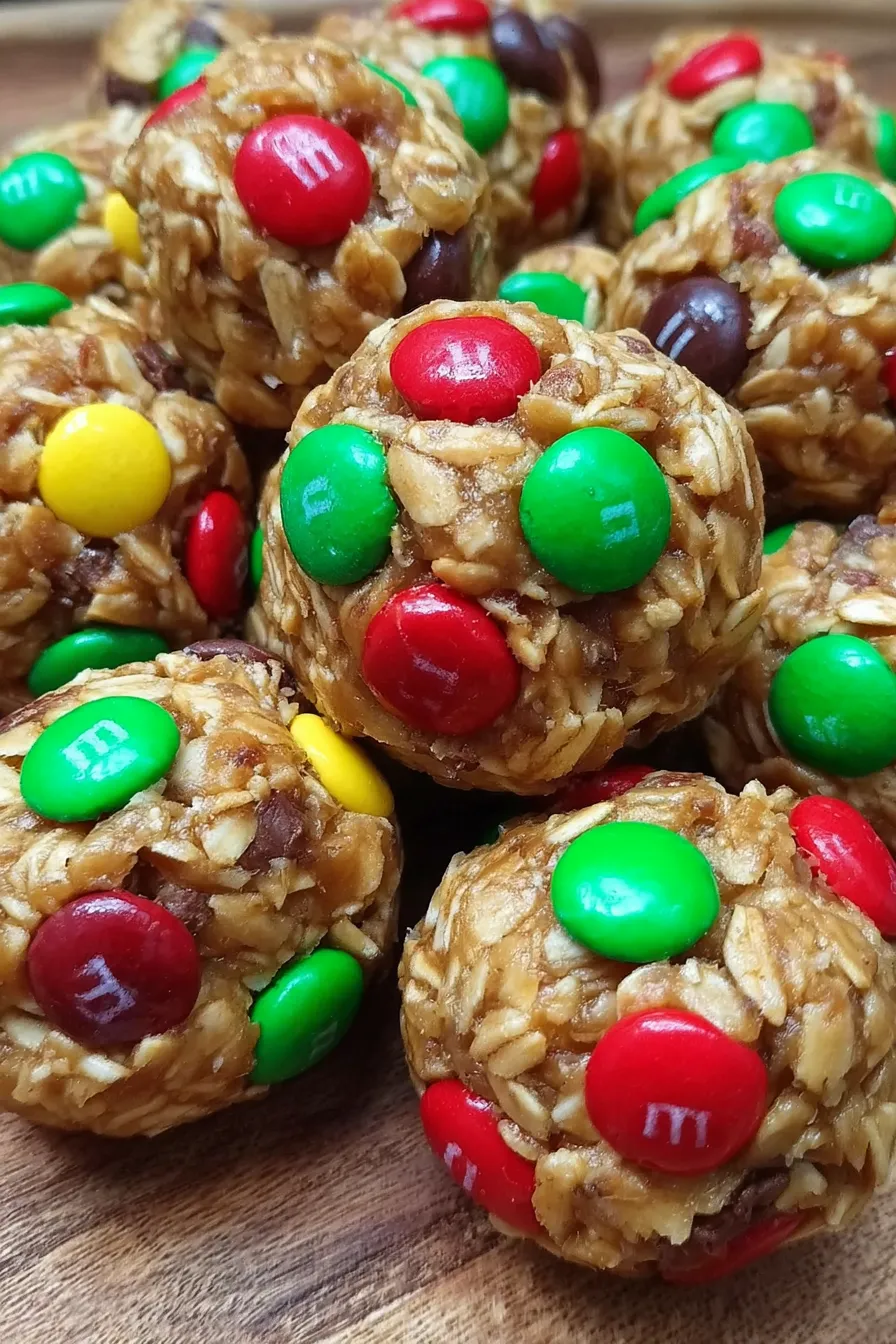
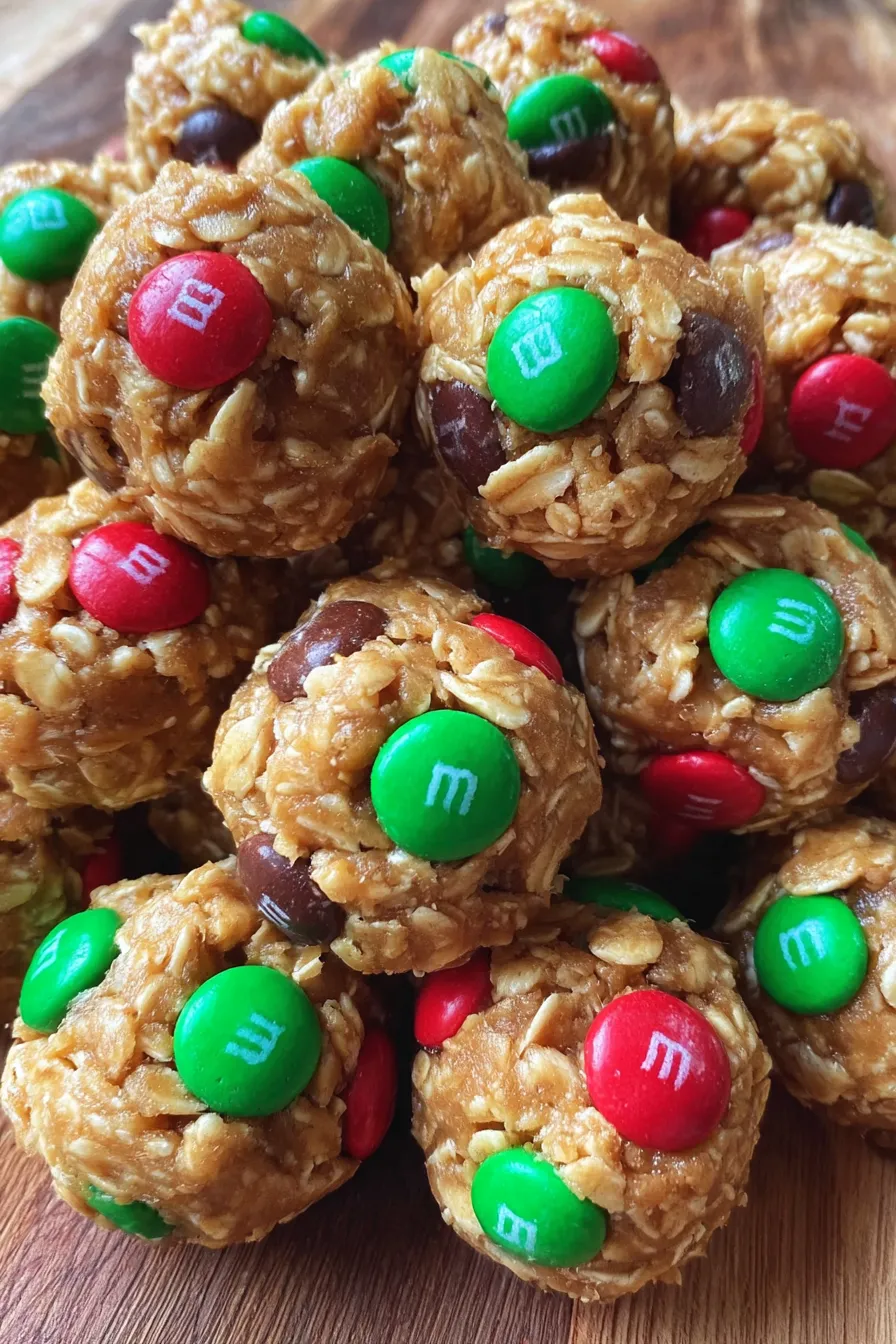
No-bake, festive energy bites studded with Christmas Mini M&Ms. Ready in minutes, kid-friendly, and perfect for holiday snack platters or make-ahead treats.
My family reaction has been priceless. The first time I made these, my sister declared them a keeper and my husband hid a tin under the counter. One holiday morning my kids helped press the candies in and they beamed at their handiwork. It is a recipe that invites participation and creates small memories of stirring, scooping and decorating together.
My favorite part is watching how the little M&Ms transform an everyday snack into something festive. Family and friends love the color and the bite size. I often leave a small note with a jar when gifting them, and it becomes a small handmade surprise that lasts longer than store-bought sweets.
Store the bites in an airtight container layered between parchment to prevent sticking. Keep them refrigerated for up to seven days. For longer storage, freeze in a single layer on a sheet pan until solid, then transfer to a freezer-safe bag for up to three months. Thaw in the refrigerator overnight before serving. If you plan to gift them, keep them chilled until you reach the recipient and include a small ice pack for long journeys. Room temperature for short periods is fine but prolonged warmth will soften the candy shells and the exterior may become sticky.
If you need to avoid peanuts, substitute 1 cup almond butter or sunflower seed butter. For a nut free option use tahini sparingly and add 1 to 2 tablespoons extra honey to balance the savory notes. Swap the honey for maple syrup for a different floral note and to make the recipe vegan, but omit Mini M&Ms and choose dairy-free chocolate chips since standard M&Ms contain milk. Use certified gluten-free oats to reduce cross-contamination risks. If you like extra texture, fold in 1/4 cup chopped nuts or shredded coconut.
Serve chilled on a holiday platter alongside cookies and nuts, or package in small clear bags tied with ribbon for stocking stuffers. Pair with a warm cup of spiced tea or hot cocoa for a cozy combination. For a brunch board, place next to fresh fruit, Greek yogurt and granola to add a sweet, colorful element. Garnish with a sprinkle of flaky salt to heighten the chocolate and peanut flavors.
Energy bites in various forms are a modern pantry craft that blends traditions of no-bake confections and portable trail snacks. They draw from mid 20th century convenience food culture where quick spreads and candies became popular in home kitchens. Holiday versions like these incorporate seasonal colors and decorative candies, reflecting the modern trend to adapt simple healthful snacks into festive treats that fit holiday tables and family gatherings.
Change the candy colors for other holidays, use pastel candies for spring, orange and black for Halloween, or red and pink for Valentine celebrations. Add cinnamon and chopped dried cranberries for winter warmth, or replace M&Ms with pepitas and dried apricots for a fall variation. For summer, roll the mixture in toasted coconut and add a squeeze of fresh lime for brightness.
Double the batch and portion into individual snack containers for grab-and-go breakfasts or pre-holiday packing. Use a tablespoon scoop for consistent sizing, label containers with the date, and rotate older containers to the front of the fridge. When reheating slightly chilled bites, leave them at room temperature for 10 minutes to soften. Use small silicone molds to shape uniformly if you prefer a more polished presentation.
These Christmas Energy Bites are an easy, joyful way to bring color and convenience to holiday snacking. They are forgiving, fast and beloved by kids and adults alike. Make them your own by swapping flavors, colors and add-ins, then share a plate with someone who loves a sweet, peanutty treat.
Chill the mixture for 30 minutes to make rolling easier and produce a firmer bite.
Use a tablespoon scoop for consistent portions and quicker assembly.
If the dough is too sticky, refrigerate briefly or add 1 to 2 tablespoons more oats.
Press candies in firmly so they adhere and do not fall off during handling.
This nourishing christmas energy bites recipe is sure to be a staple in your kitchen. Enjoy every moist, high protein slice — it is perfect for breakfast or as a wholesome snack any time.
Store in an airtight container in the refrigerator for up to 7 days or freeze for up to 3 months.
Yes, you can use old-fashioned rolled oats for a chewier texture; pulse briefly for a more uniform bite.
This Christmas Energy Bites recipe makes perfectly juicy, tender, and flavorful steak every time! Serve with potatoes and a side salad for an unforgettable dinner in under 30 minutes.
Add 2 cups quick oats to a large mixing bowl. Add 1 cup creamy peanut butter and 1/4 cup honey. Stir until well combined and uniform in texture. Add a pinch of salt and 1 teaspoon vanilla if using.
Cover and refrigerate for 30 minutes to firm the dough. Chilling makes it easier to portion and roll the balls without sticking to your hands.
Portion the dough into tablespoon-sized scoops and roll between your palms into smooth balls. Aim for consistent sizing to ensure even setting.
Press 3 to 5 Mini M&Ms into each ball and roll again gently so the candies are embedded and the surface looks round.
Place on parchment, chill 15 minutes to set, then store in an airtight container in the refrigerator for up to 7 days or freeze for up to 3 months.
Last Step: Please leave a rating and comment letting us know how you liked this recipe! This helps our business to thrive and continue providing free, high-quality recipes for you.
Leave a comment & rating below or tag
@forkelle on social media!

Thick, fudgy chocolate chunk brownies crowned with gooey mini marshmallows and a quick-set chocolate frosting for an irresistible, crowd-pleasing treat.

Buttery shortbread meets a gooey, brown-sugar pecan topping in these quick pecan pie bars. Just 10 minutes to prep and perfect for sharing.

Silky, crack-free pumpkin cheesecake with warm spice, buttery graham crust, and optional caramel and rum-kissed whipped cream. Your effortless holiday showstopper.
Leave a comment & rating below or tag @forkelle on social media!
Enjoyed this recipe? Share it with friends and family, and don't forget to leave a review!
This recipe looks amazing! Can't wait to try it.
Comments are stored locally in your browser. Server comments are displayed alongside your local comments.

Join to receive our email series which contains a round-up of some of our quick and easy family favorite recipes.
