
>>

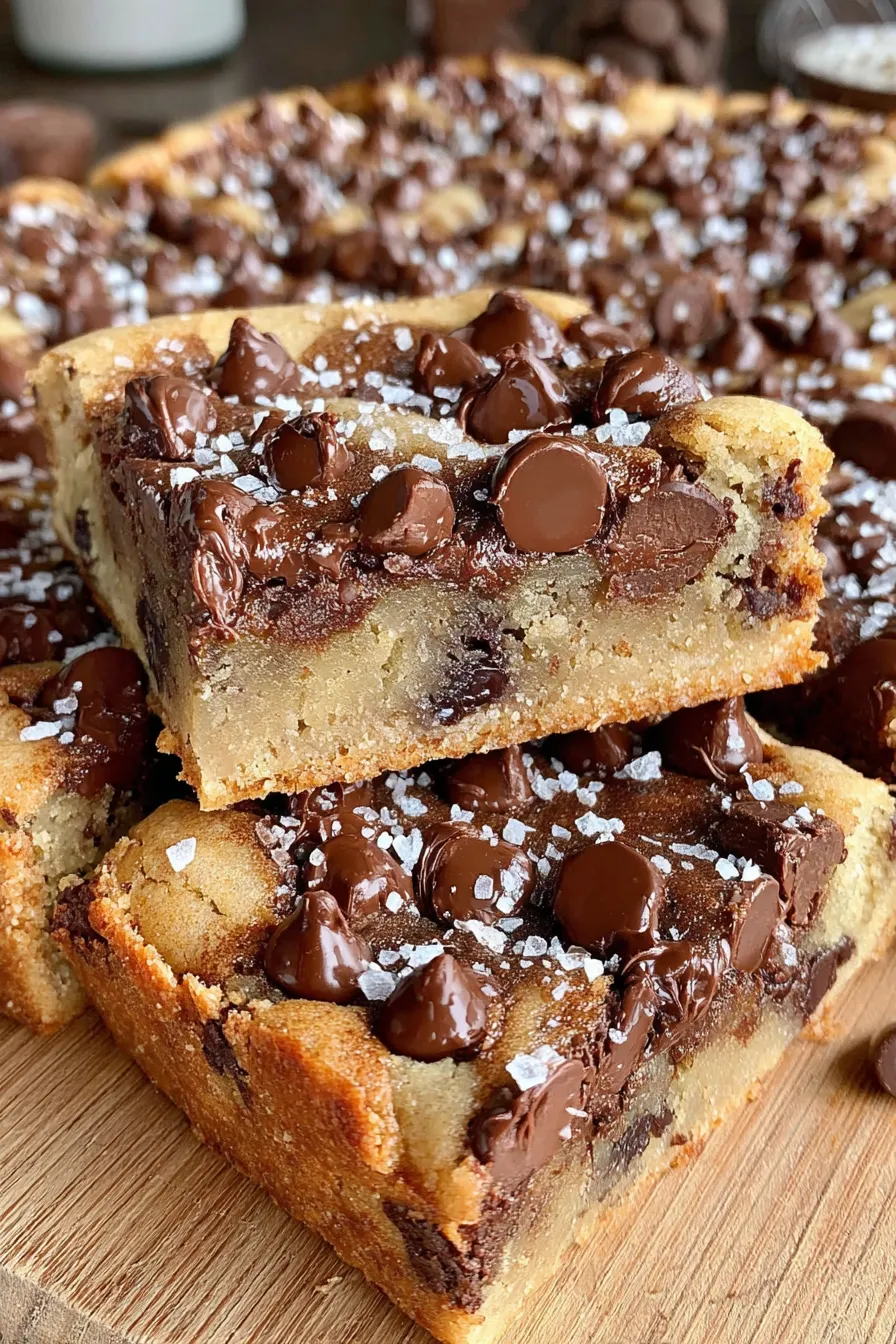
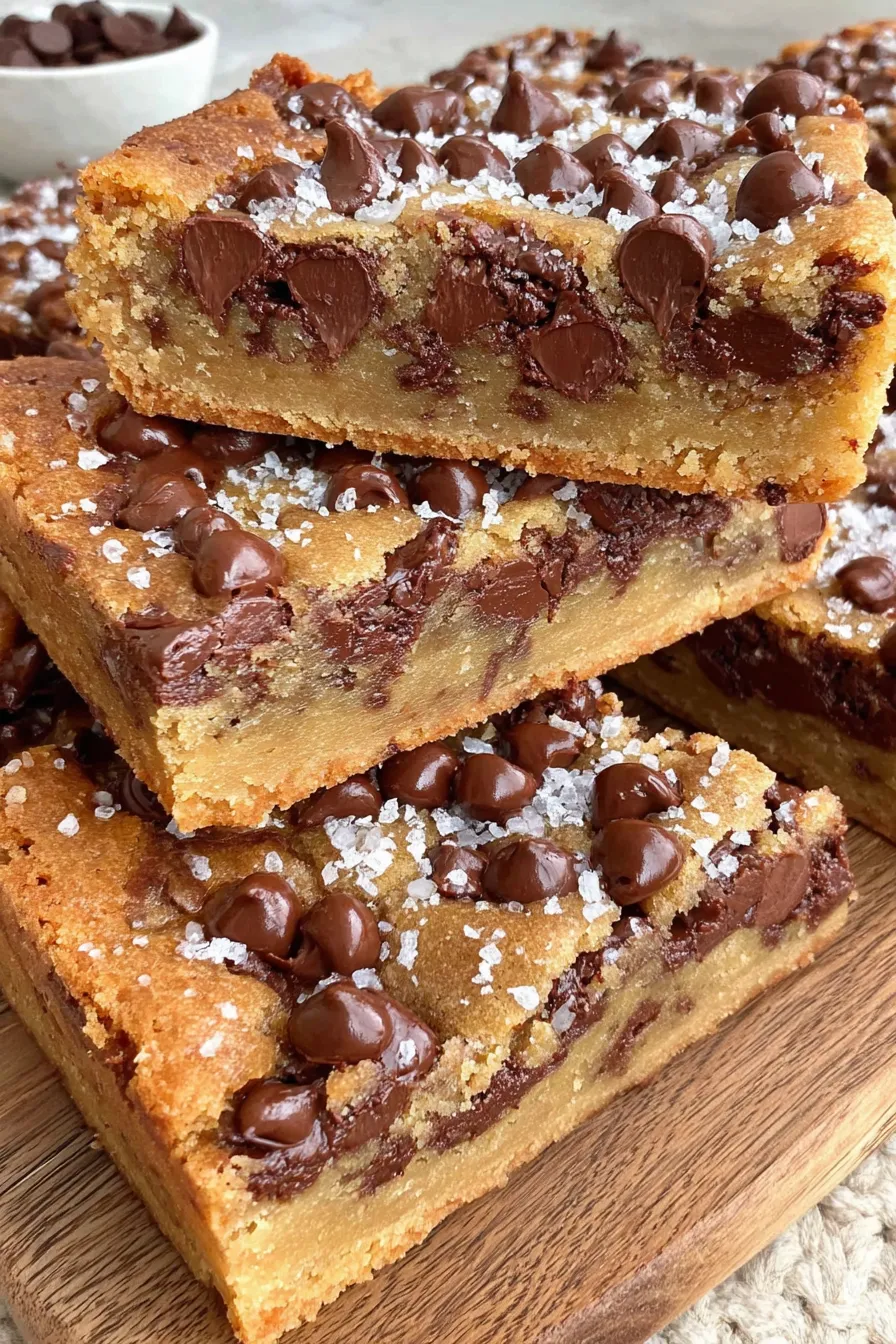
Thick, chewy cookie dough bars studded with semi‑sweet chocolate chips, baked until golden at the edges with a slightly gooey middle and a sprinkle of sea salt on top.
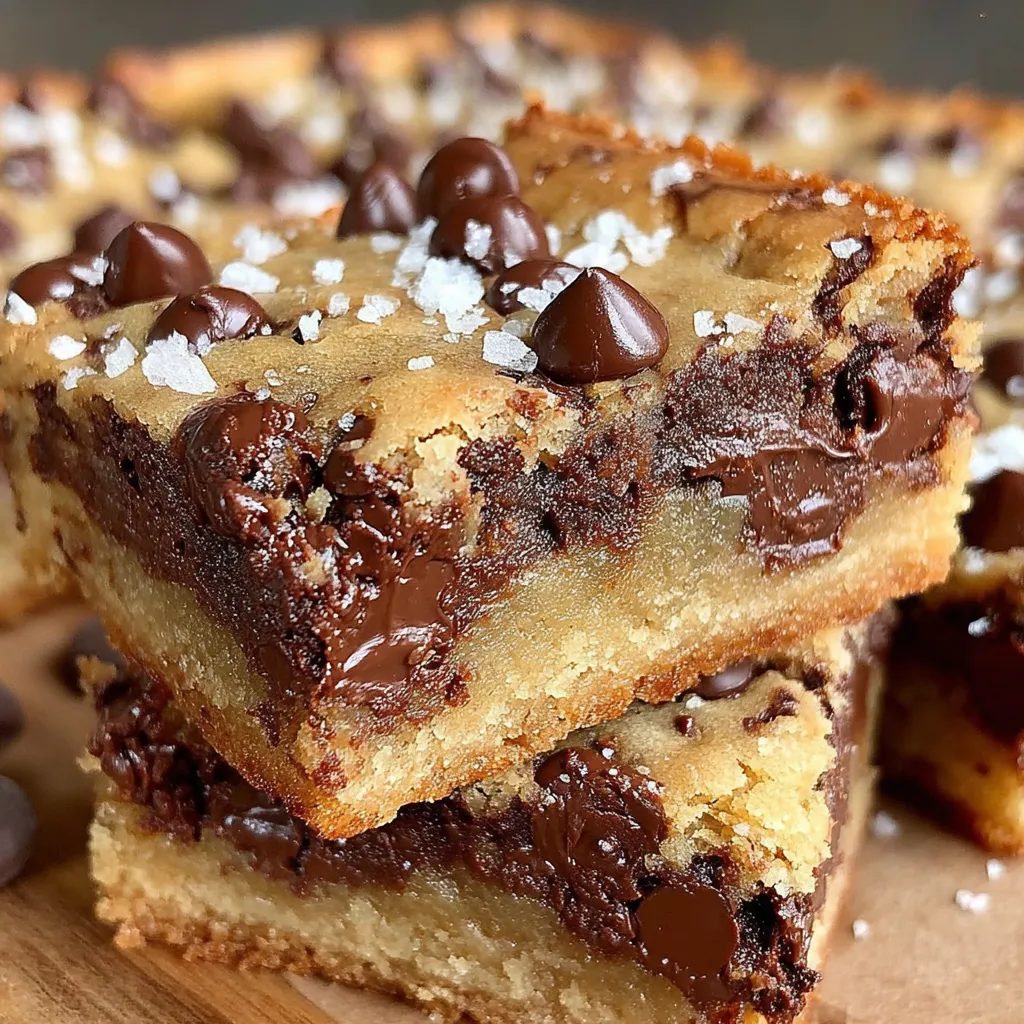
This chocolate chip cookie dough bar is the kind of treat that changes lazy afternoons into memorable moments. I first made these during a weekend when my kids wanted to bake but time was tight — the recipe came together quickly and produced a tray of rich, sliceable bars that tasted like a cross between a classic chocolate chip cookie and a fudgy blondie. The edges crisp up just enough while the middle remains slightly wobbly and tender; the contrast of warm, melted chips inside with a finishing sprinkle of flaky sea salt makes every bite pop. These bars have since become my go‑to for potlucks and after‑school snacks because they travel well and disappear fast.
What makes this version special is the balance of texture and flavor: creamed butter and sugars for lift and chew, a modest amount of baking soda to give a soft rise, and a generous helping of semi‑sweet chips so you get chocolate in every bite. I prefer using 1 cup of butter and a mix of light brown and granulated sugar to build depth; the brown sugar gives that caramel note that complements the chocolate beautifully. They’re forgiving, simple to make, and ideal when you want a dessert that feels indulgent without a long list of steps.
My family’s reaction the first time I served these was immediate: silence, followed by “More?” The tray went out warm and returned nearly empty. Over time I’ve learned to press a few extra chips on top right before baking — it makes the bars look intentionally decadent and gives a glossy, baked finish that everyone always notices.
What I love most is how adaptable this method is: once you’ve mastered the base, you can fold in chopped nuts, toffee bits, or different chocolate varieties and still get reliable results. It’s also one of those desserts that looks like you spent much longer in the kitchen than you actually did, making it great for unexpected company.
For short‑term storage, lay cooled bars in a single or double layer in an airtight container with parchment between layers to prevent sticking. At room temperature the bars keep well for 2–3 days; in the refrigerator they’ll maintain texture for up to a week but may firm up — allow them to come back to room temperature before serving. For longer storage, individually wrap slices tightly in plastic wrap and place in a freezer bag; they’ll keep for up to 3 months. Reheat gently on low in the microwave or pop in a 325°F oven for 5–8 minutes for a freshly baked feel.
If you need dairy‑free options, substitute the butter for an equal amount of dairy‑free block spread designed for baking; expect a slightly different flavor and a bit less chew. For gluten‑free, use a 1:1 all‑purpose gluten‑free flour blend and add 1/4 teaspoon xanthan gum if your blend doesn’t contain it; texture will be slightly crumblier. To make these nutty, fold in 1 cup chopped toasted pecans or walnuts. You can swap semi‑sweet chips for dark chocolate for more intensity, or milk chocolate for a sweeter bar. If you must avoid eggs, use an egg replacer equivalent to 2 eggs, but note the texture will be less structured.
Serve warm with a scoop of vanilla ice cream or a drizzle of warm salted caramel for an indulgent dessert. For a casual gathering, cut into small 1½‑inch squares and serve on a platter with coffee or milk. These bars also pair nicely with fresh berries to cut the richness or a dollop of whipped cream for special occasions. For a brunch touch, offer alongside yogurt and fruit for a sweet bite that complements savory items.
Bars like these are a natural evolution of the American chocolate chip cookie tradition — portable, easier to slice and share, and ideal for bake sales and potlucks. The concept of pressing cookie dough into a pan and baking it comes from practical home baking: fewer scoops, less time, and a consistent ratio of edge to center. Over the decades, bakers have adapted cookies into bars using similar ingredients but altered technique to emphasize chewiness and ease of serving.
In autumn, fold in 1 teaspoon ground cinnamon and 1/2 teaspoon ground nutmeg and swap half the semi‑sweet chips for pumpkin‑spice white chocolate for a cozy twist. For summer, add 1 cup chopped toasted macadamia nuts and replace half the chips with white chocolate or add dried cherries for brightness. For the holidays, press in chopped peppermint bark on top before baking for a festive look and flavor.
To prep in advance, make the dough and press it into the parchment‑lined pan, then cover and refrigerate for up to 24 hours before baking — this deepens flavor. Alternatively, freeze the unbaked pan (wrapped tightly) for up to one month; thaw overnight in the refrigerator before baking and add a few extra minutes to the bake time. For portion control and grab‑and‑go snacks, slice and store individually wrapped bars in the freezer; they thaw quickly and keep lunchboxes easy.
These bars combine nostalgia, ease and serious chocolate satisfaction. Whether you're feeding a crowd or sneaking a late‑night sweet, they deliver reliable texture and flavor. Give them a try, press a few extra chips on top, and don’t skip the flaky sea salt — it’s the small detail that turns a good bar into a memorable one.
Cream butter and sugars until pale and fluffy to trap air and improve texture.
Press extra chocolate chips on top just before baking for a glossy, professional finish.
Allow the pan to cool completely before slicing to achieve clean edges.
If the dough feels dry, add a teaspoon of milk to bring it together — add sparingly.
For cleaner slices, chill the bars for 30 minutes before cutting and wipe the knife between cuts.
This nourishing chocolate chip cookie dough bars recipe is sure to be a staple in your kitchen. Enjoy every moist, high protein slice — it is perfect for breakfast or as a wholesome snack any time.
Yes. Once cooled, wrap tightly and freeze for up to 3 months. Thaw at room temperature or warm briefly in the microwave.
Use a toothpick to check: a few moist crumbs are fine — you want a slight wobble in the center for the ideal texture.
This Chocolate Chip Cookie Dough Bars recipe makes perfectly juicy, tender, and flavorful steak every time! Serve with potatoes and a side salad for an unforgettable dinner in under 30 minutes.
Heat the oven to 350°F (320°F fan). Line an 8x10-inch baking pan with parchment, leaving an overhang to lift the bars out easily after cooling.
In a large bowl, beat 1 cup softened unsalted butter with 3/4 cup packed light brown sugar and 1/3 cup granulated sugar until pale and light (2–3 minutes). Proper creaming gives the bars lift and chew.
Beat in 2 large room-temperature eggs, one at a time, then stir in 1 teaspoon vanilla until the mixture is smooth but not overworked.
Whisk 2 1/4 cups flour, 1 teaspoon baking soda and 1 teaspoon salt; fold into the wet mixture gently until just combined to avoid over-developing gluten.
Fold in about 12 oz of semi-sweet chips for even distribution, reserving roughly 1/3 cup to press on top of the dough before baking.
Scoop dough into the prepared pan, spread to the edges, press reserved chips on top and bake 20–25 minutes until edges are golden and the center still has a slight wobble.
Sprinkle a little flaky sea salt while warm if desired. Cool completely in the pan on a wire rack, then lift out using the parchment overhang and cut into squares.
Last Step: Please leave a rating and comment letting us know how you liked this recipe! This helps our business to thrive and continue providing free, high-quality recipes for you.
Leave a comment & rating below or tag
@forkelle on social media!

Thick, fudgy chocolate chunk brownies crowned with gooey mini marshmallows and a quick-set chocolate frosting for an irresistible, crowd-pleasing treat.

Buttery shortbread meets a gooey, brown-sugar pecan topping in these quick pecan pie bars. Just 10 minutes to prep and perfect for sharing.

Silky, crack-free pumpkin cheesecake with warm spice, buttery graham crust, and optional caramel and rum-kissed whipped cream. Your effortless holiday showstopper.
Leave a comment & rating below or tag @forkelle on social media!
Enjoyed this recipe? Share it with friends and family, and don't forget to leave a review!
This recipe looks amazing! Can't wait to try it.
Comments are stored locally in your browser. Server comments are displayed alongside your local comments.

Join to receive our email series which contains a round-up of some of our quick and easy family favorite recipes.
