
>>

Caramel-studded oat bars with a chocolate layer — chewy, buttery, and perfectly nostalgic. A simple pan of Carmelitas for sharing.
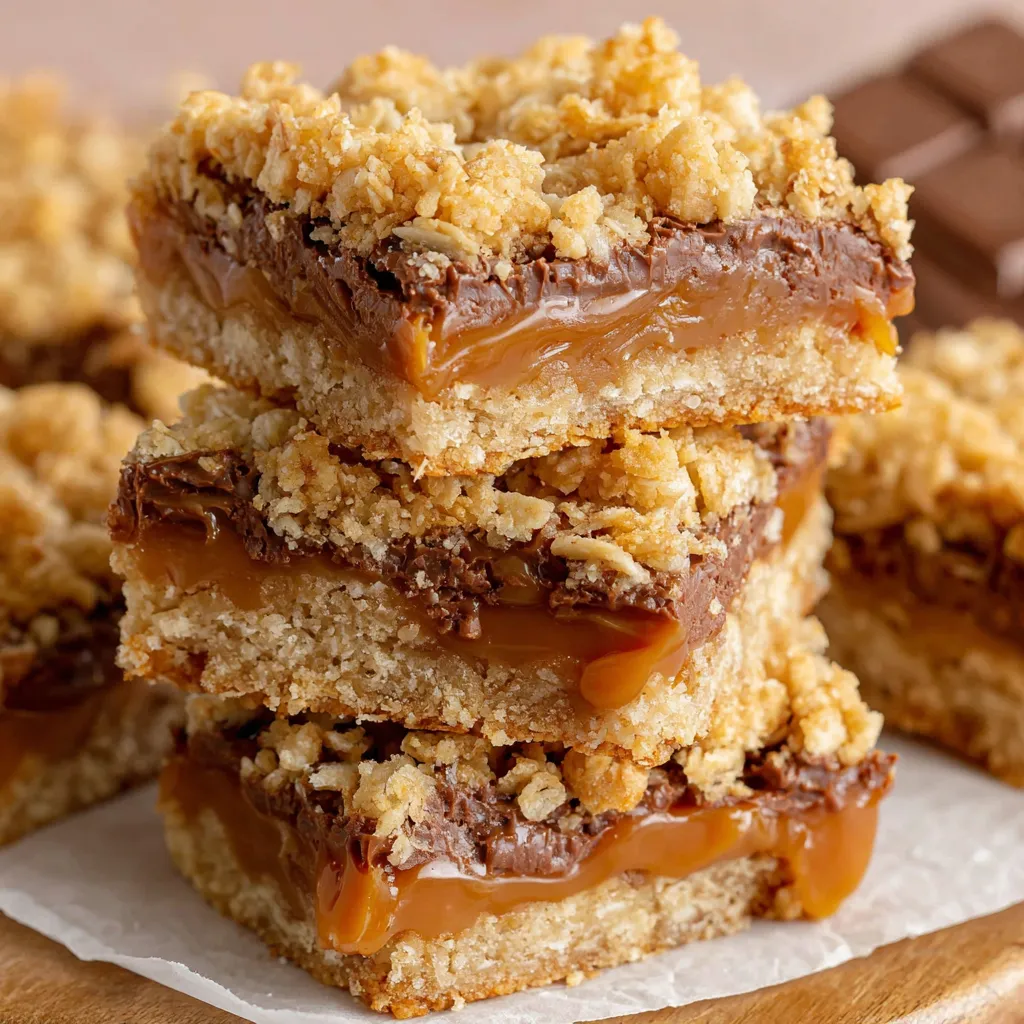
This pan of Carmelitas is one of those desserts that show up at family gatherings, school potlucks, and lazy weekend coffee breaks. I discovered this combination of oats, butter, chocolate and chewy caramel during a rainy autumn weekend when I wanted something sturdier than a cookie but more exciting than a plain bar. The balance of a crisp oat base, a molten chocolate-and-caramel heart, and a golden crumbly top makes every bite satisfying: slightly crunchy edges, gooey middle, and the soft chew of caramel. It’s become a request from friends and family whenever I bring a tray — people always ask for the recipe and then come back asking for another piece.
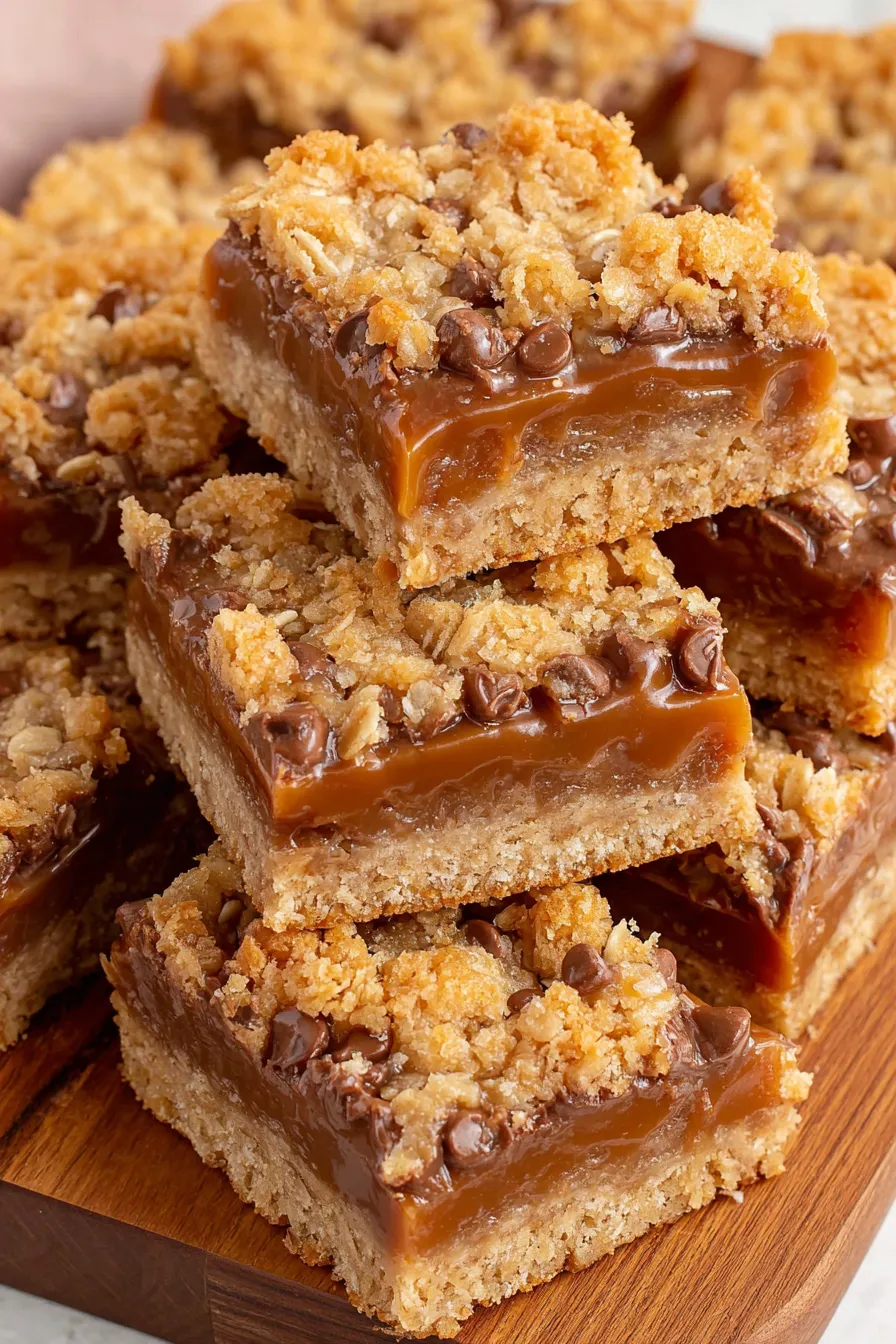
What makes these bars special is their approachable technique paired with a deeply nostalgic flavor profile. The recipe uses pantry-friendly ingredients, requires no special machinery, and yields 16 generous squares that keep well in the fridge for days. I love how the caramel layer puffs up slightly when you pour it, then settles into a glossy ribbon under a blanket of oats and butter. Those moments — taking the pan out of the oven, watching the top turn golden, and then waiting (impatiently) as the bars cool and firm up in the refrigerator — are small rituals that make baking feel both deliberate and celebratory.
On my first run I underbaked the top a touch and the bars were too fragile; after that I learned to watch for a golden-brown finish and a firm top while still allowing the caramel to stay soft. My niece declared them the best thing I’d ever baked, and my neighbor asked for them as part of a holiday cookie swap. They always disappear fast.
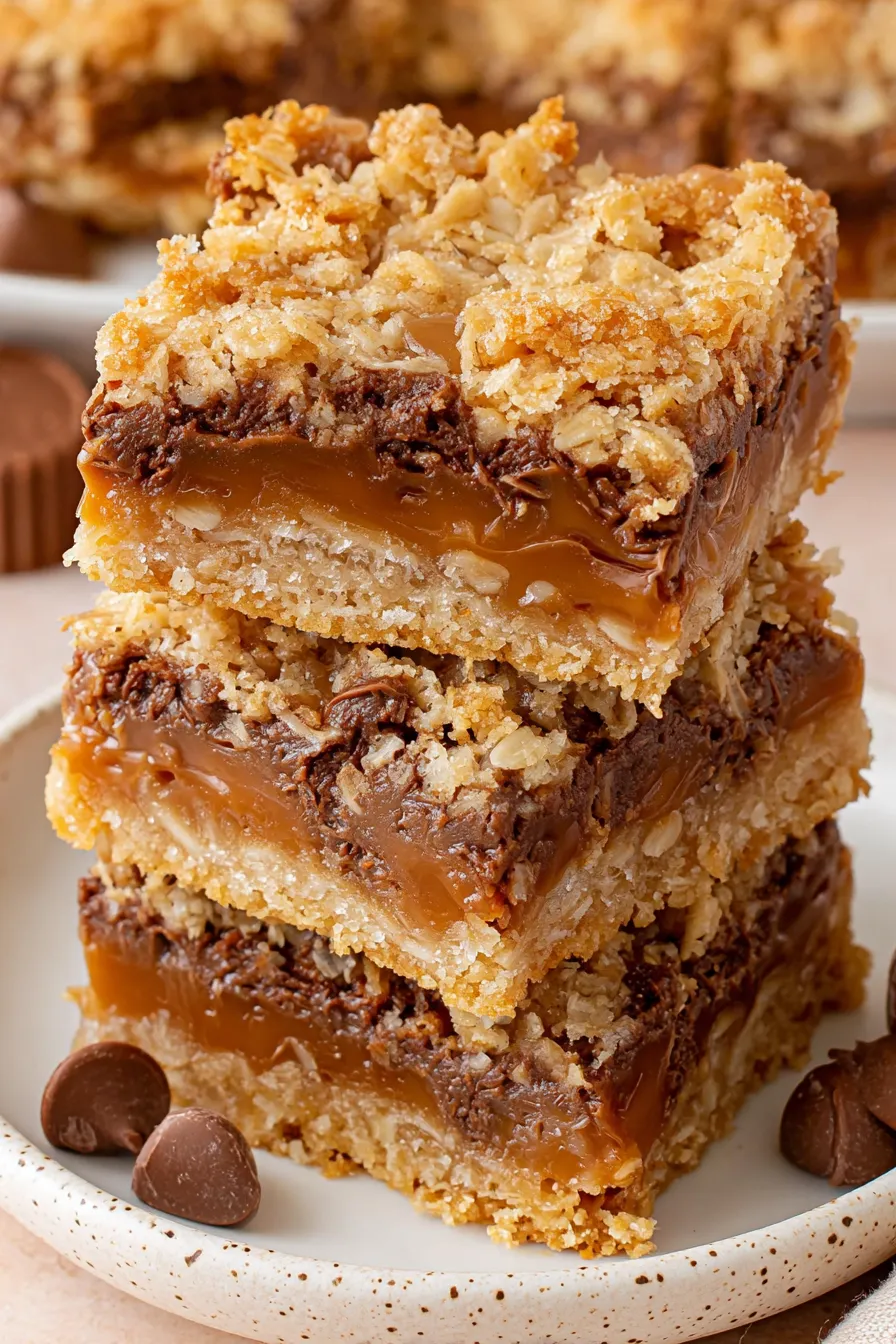
My favorite aspect is the contrast between the crisp toasted oat edges and the molten center. Over the years I've adjusted the chilling time and found that a full two hours in the refrigerator yields the cleanest slices while preserving chew. Friends say these bars have the nostalgic warmth of a bakery treat but with the honest, homemade texture that keeps them coming back.
Store cooled bars in an airtight container layered between pieces of parchment to prevent sticking. At room temperature they remain pleasant for 2–3 days; in the refrigerator they hold for up to one week. For longer storage, freeze individual slices wrapped tightly in plastic wrap and placed in a zip-top freezer bag; they’ll keep well for up to 3 months. To thaw, move bars to the refrigerator overnight or let them sit at room temperature for 30–60 minutes before serving. Reheat briefly in the microwave if you prefer the caramel softened.
Swap rolled oats for a 1:1 amount of quick oats in a pinch, though quick oats produce a finer texture and slightly less chew. Replace milk chocolate chips with semi-sweet chips if you prefer less sweetness; dark chocolate will produce a richer contrast. For a dairy-free version, use vegan chocolate chips and full-fat coconut cream instead of heavy cream, and vegan butter for the base; note the flavor will shift and the texture may be slightly firmer. If you need a lower-sugar option, reduce the chocolate chips to 1 cup and use a light caramel sauce, though the bars will be less sweet and the caramel may be thinner.
Serve Carmelitas slightly chilled or at room temperature alongside strong coffee or a cup of tea. For dessert presentation, add a dollop of lightly whipped cream, a sprinkle of flaky sea salt, or a drizzle of warmed caramel sauce. Pair them with fresh berries for acidity or a scoop of vanilla ice cream for contrast — the cold ice cream against the chewy caramel is irresistible. These bars also work well on a dessert board with nuts and dark chocolate squares for variety.
These bars draw from American pantry traditions where oats and brown sugar form the basis for many hand-held treats. The combination of an oat shortbread and a caramel-chocolate center evolved from classic dessert bars popular in North American bake sales and potlucks. While not tied to a single historical recipe, they echo the home-baking ethos of turning simple ingredients into an indulgent, shareable treat — a hallmark of community baking culture.
In autumn add 1/2 teaspoon ground cinnamon and a pinch of nutmeg to the oat mixture to evoke fall flavors. For winter holidays stir in 1/2 cup chopped pecans to the top layer before baking. In summer, serve chilled with a fruit compote to lighten the richness. For a festive twist, fold 1/4 cup crushed pretzels into the base for saltiness or top with toasted coconut in warm months.
To prep ahead, bake the slab and chill it fully, then slice and store in an airtight container. For grab-and-go breakfasts or snacks, portion into single-serve wraps and freeze — pull one out the night before for a quick breakfast. If you need to transport them, stack bars between parchment rounds in a sturdy container to prevent sliding and crushing. Label frozen portions with the date to keep track of freshness.
These Carmelitas combine ease with the kind of layered flavor that makes people linger. Whether you’re making a tray for friends, packing treats for school, or simply indulging at home, this recipe invites small rituals: the unwrapping of caramels, the audible crackle of a golden top, and the communal joy of sharing something homemade.
Press the base firmly into the pan with the bottom of a measuring cup for an even crust that holds together when sliced.
Chill the pan for at least 1 1/2 to 2 hours before slicing to get clean, neat bars and prevent the caramel from oozing.
If melting caramels on the stove, keep the heat low and stir constantly to prevent burning; use a heavy-bottomed pan for even heat.
Wipe the knife between cuts for clean edges; a warm, damp towel will remove sticky caramel residues quickly.
This nourishing carmelitas recipe is sure to be a staple in your kitchen. Enjoy every moist, high protein slice — it is perfect for breakfast or as a wholesome snack any time.
This Carmelitas recipe makes perfectly juicy, tender, and flavorful steak every time! Serve with potatoes and a side salad for an unforgettable dinner in under 30 minutes.
Preheat the oven to 350°F. Line a 9×9-inch baking pan with parchment paper leaving an overhang on two sides and lightly grease the parchment so the bars lift out easily.
Combine 1 1/2 cups flour, 1 1/2 cups oats, 3/4 cup packed light brown sugar, 1 tsp baking soda, 1/2 tsp kosher salt, 2 tsp vanilla, and 1 cup melted salted butter. Stir until just combined; avoid overmixing.
Press half of the mixture firmly into the prepared pan and bake for 10 minutes at 350°F until set and lightly colored. This gives the base structure to support the caramel layer.
Unwrap 11 ounces of caramels and melt them with 1/2 cup heavy cream over medium-low heat, stirring constantly until smooth. Alternatively microwave in 45-second bursts, stirring between intervals.
Sprinkle 1 1/2 cups milk chocolate chips over the hot par-baked base, then pour the warm caramel evenly over the chips. The heat will melt the chips slightly, creating a unified middle layer.
Sprinkle the remaining oat mixture over the caramel, pressing lightly in places. Bake another 20 minutes or until golden and firm to the touch. Cool and chill 1 1/2 to 2 hours before slicing into 16 bars.
Last Step: Please leave a rating and comment letting us know how you liked this recipe! This helps our business to thrive and continue providing free, high-quality recipes for you.
Leave a comment & rating below or tag
@forkelle on social media!

Thick, fudgy chocolate chunk brownies crowned with gooey mini marshmallows and a quick-set chocolate frosting for an irresistible, crowd-pleasing treat.

Buttery shortbread meets a gooey, brown-sugar pecan topping in these quick pecan pie bars. Just 10 minutes to prep and perfect for sharing.

Silky, crack-free pumpkin cheesecake with warm spice, buttery graham crust, and optional caramel and rum-kissed whipped cream. Your effortless holiday showstopper.
Leave a comment & rating below or tag @forkelle on social media!
Enjoyed this recipe? Share it with friends and family, and don't forget to leave a review!
This recipe looks amazing! Can't wait to try it.
Comments are stored locally in your browser. Server comments are displayed alongside your local comments.

Join to receive our email series which contains a round-up of some of our quick and easy family favorite recipes.
