
>>

No-bake peanut butter bars topped with a silky chocolate layer—easy to make, perfect for gatherings and holiday trays.
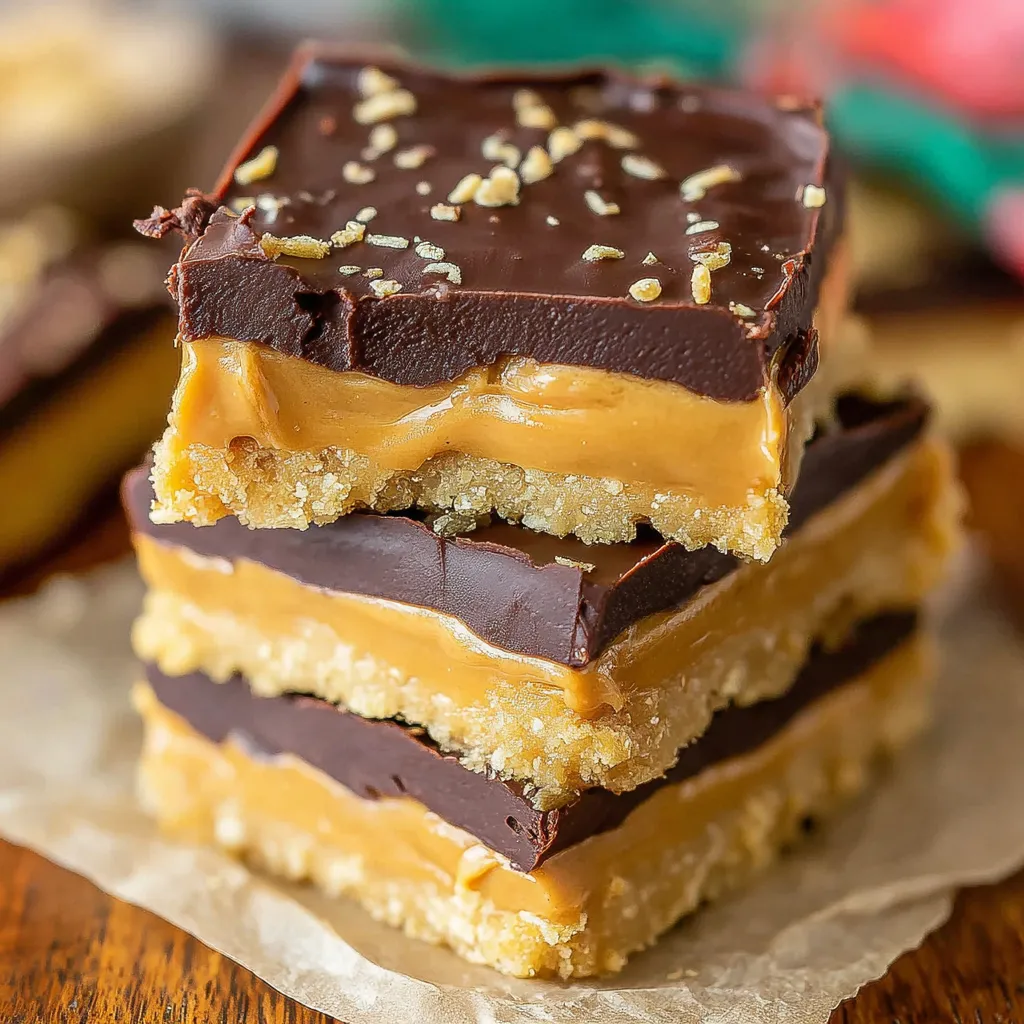
This is my go-to version of Buckeye Bars, a no-bake treat that always disappears at potlucks and holiday gatherings. I first made these on a snowy afternoon when I wanted something quick, nostalgic, and utterly satisfying. The combination of creamy peanut butter and a powdered sugar-sweetened base, capped with a shiny chocolate layer, hits every craving: sweet, salty, and creamy with that slightly crumbly peanut butter texture underneath. It’s the kind of bar that reminds me of family cookie exchanges and late-night snack raids when my kids were little.
I learned how to balance the sweetness and mouthfeel after a few experiments—using a stirred, slightly sweetened creamy peanut butter such as Jif or Skippy gives the right creaminess and a touch of extra sweetness that powdered sugar alone can’t achieve. The butter in the base adds richness and helps the mixture press firmly into the pan so the bars hold their shape when sliced. The chocolate top gives a professional finish and a satisfying snap when you bite into it. These bars are fast, forgiving, and ideal when you need a crowd-pleasing treat without turning on the oven.
I remember bringing these to my first neighborhood holiday open house and watching people come back for seconds. Even guests who said they didn't usually like peanut butter desserts were surprised at how light and balanced these bars felt. They’re simple yet feel special, and that combination is why I reach for this recipe again and again.
My favorite part of this treat is how reliably it wins over a crowd. I once brought a tray to a summer reunion and a friend who avoids sweets said these were the best thing on the table. The bars are straightforward to scale up for larger groups and travel well when packed in layers separated by parchment. Making them became my quick-pleasing contribution to every gathering that followed.
Store the bars in an airtight container in the refrigerator for up to two weeks. For longer storage, wrap the cut bars individually in plastic wrap and place them in a freezer-safe container; they keep well for up to three months. To serve from frozen, move to the refrigerator for 12 to 24 hours to thaw gradually so the texture softens without sweating. When reheating gently for a softer bite, allow bars to sit at room temperature for 10 to 15 minutes; avoid direct heat which can melt the chocolate top and make slices messy.
For a dairy-free option, swap the butter in the base for a plant-based spread and use dairy-free chocolate chips. If you prefer less sweetness, reduce the powdered sugar by up to 1/2 cup and add a pinch more salt to balance. Almond butter or sunflower seed butter can substitute for peanut butter; if using sunflower seed butter, the flavor will be nuttier and you may see a slight color change. Use dark chocolate for a less sweet topping or milk chocolate for a creamier finish.
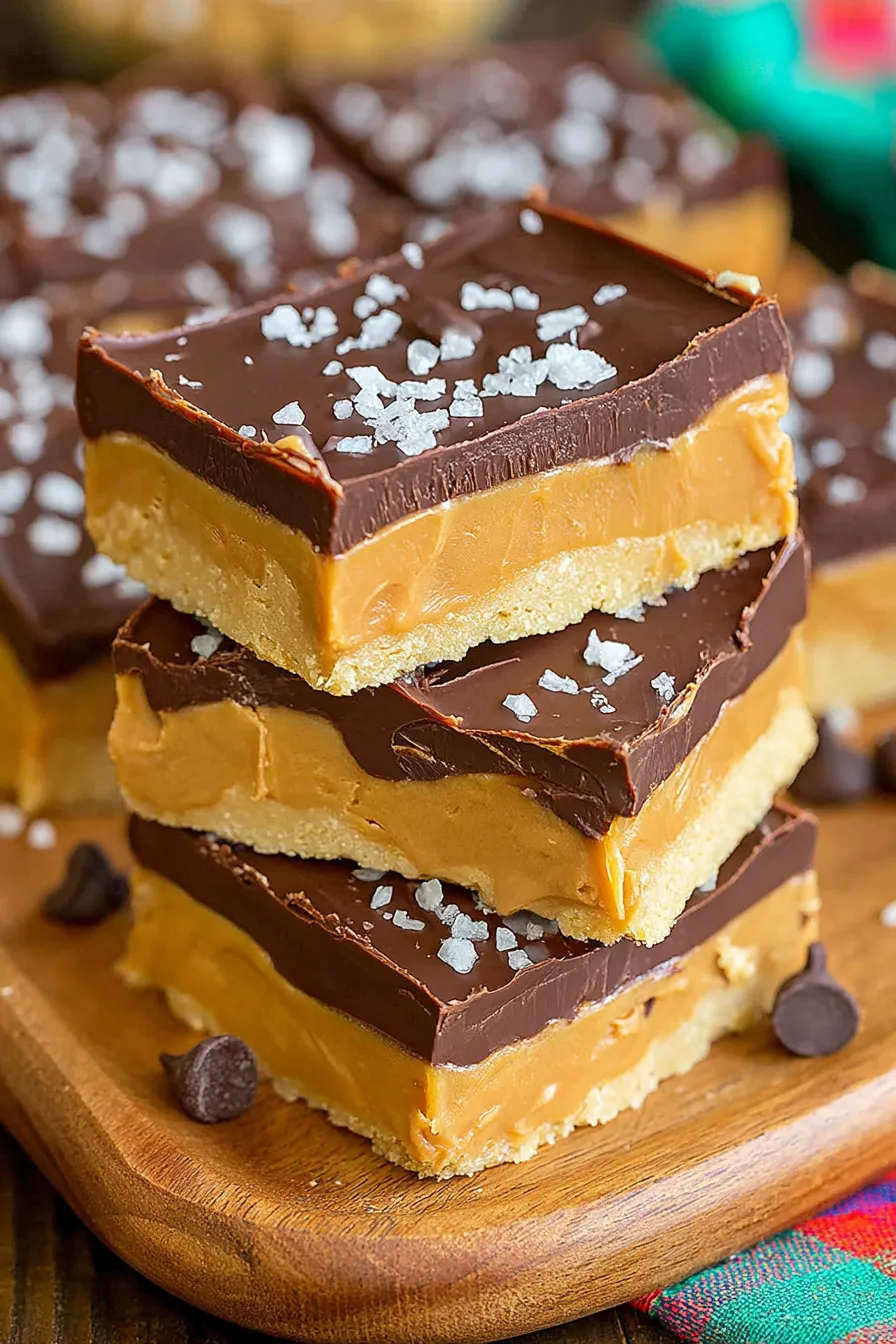
Serve these bars chilled or at cool room temperature alongside coffee or tea. Garnish with a light dusting of powdered sugar or a few flaky salt crystals on top of the chocolate before it sets for an elevated presentation. They make an excellent addition to dessert platters, cookie boxes, or as party favors. Pair with fresh fruit for contrast—sliced apples or berries cut the richness nicely.
The name evokes buckeye candies, a classic confection inspired by the Ohio buckeye tree nut and often made by piping chocolate over peanut butter centers. These bars are a tray-bake adaptation that captures the spirit of those candies in a simpler, sliceable form. The combination of chocolate and peanut butter is an American favorite with roots in candy making and home baking traditions. This format evolved as a no-bake, time-saving alternative that still offers the nostalgic flavors people associate with holiday tins and bake sales.
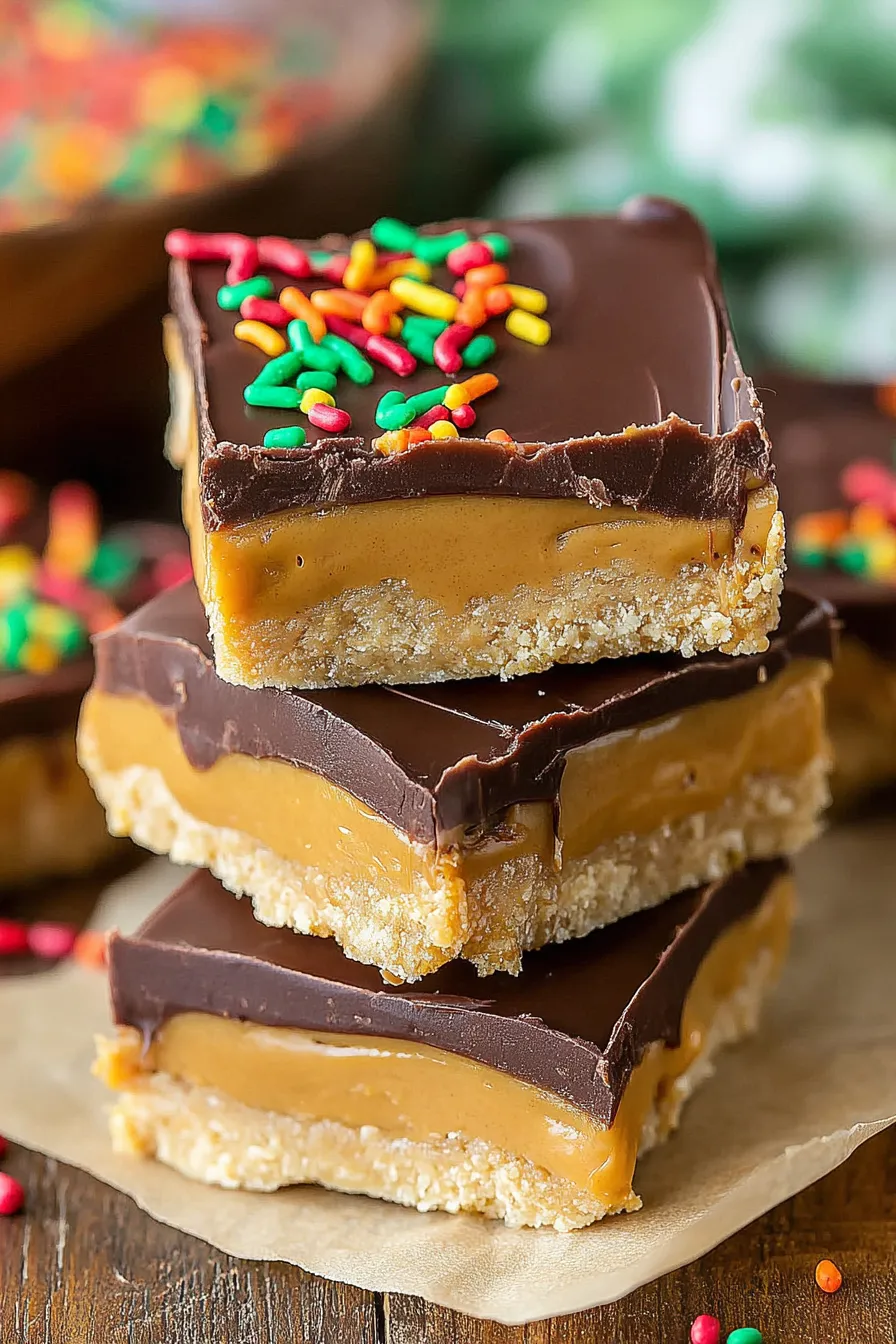
Adapt these bars for seasons and holidays by switching the chocolate topping and garnishes. For winter, add a tiny pinch of ground cinnamon or cardamom to the filling. For spring, top with a drizzle of white chocolate and sprinkle with freeze-dried raspberry powder. Around Halloween, add a few orange-tinted chocolate chips to the melted chocolate or swirl in peanut butter for a marbled look. These small changes make the same base feel fresh and festive.
To prep ahead, make the base and wrap it tightly in the pan with plastic wrap, then store in the refrigerator for up to two days before melting the chocolate and finishing. For larger batches, double the ingredients and use a half sheet pan; press evenly and adjust chilling time. For office-friendly portions, cut into smaller squares and place parchment between layers in your container to avoid sticking. Label containers with the date and any allergen notes to avoid surprises at shared events.
These bars are comforting, versatile, and always remembered. Whether you need a quick dessert for unexpected guests or a thoughtful addition to a cookie swap, they deliver on flavor and ease. Give them a try and make them your own with a small garnish or ingredient swap—the results are reliably delicious.
Press the peanut butter mixture firmly and evenly into the pan for bars that hold their shape.
Warm and dry your knife between cuts for neater slices of the chocolate topping.
If your peanut butter is oily, stir it first and add a tablespoon more powdered sugar if needed to reach the right consistency.
This nourishing buckeye bars recipe is sure to be a staple in your kitchen. Enjoy every moist, high protein slice — it is perfect for breakfast or as a wholesome snack any time.
Yes. Wrap bars individually and freeze in a single layer before stacking to prevent sticking. Thaw overnight in the refrigerator.
Use a warm, clean knife and wipe between cuts to get smooth slices. For the crispiest top, chill the slab briefly before slicing.
This Buckeye Bars recipe makes perfectly juicy, tender, and flavorful steak every time! Serve with potatoes and a side salad for an unforgettable dinner in under 30 minutes.
Combine softened butter, creamy peanut butter, powdered sugar, and vanilla in a large bowl. Beat until smooth and pliable, adjusting texture with small amounts of powdered sugar or milk if necessary.
Line a 9x9 inch pan with parchment or foil and press the filling evenly and firmly into the pan, smoothing the top for an even layer.
Melt chocolate chips with coconut oil in 30 second microwave bursts or over a double boiler, stirring until silky smooth and glossy.
Pour melted chocolate over the pressed filling, spread evenly, and allow to set at room temperature or refrigerate briefly to speed firming.
Lift the slab from the pan using the parchment overhang, slice with a warm knife for clean edges, and chill for about an hour before serving.
Last Step: Please leave a rating and comment letting us know how you liked this recipe! This helps our business to thrive and continue providing free, high-quality recipes for you.
Leave a comment & rating below or tag
@forkelle on social media!

Thick, fudgy chocolate chunk brownies crowned with gooey mini marshmallows and a quick-set chocolate frosting for an irresistible, crowd-pleasing treat.

Buttery shortbread meets a gooey, brown-sugar pecan topping in these quick pecan pie bars. Just 10 minutes to prep and perfect for sharing.

Silky, crack-free pumpkin cheesecake with warm spice, buttery graham crust, and optional caramel and rum-kissed whipped cream. Your effortless holiday showstopper.
Leave a comment & rating below or tag @forkelle on social media!
Enjoyed this recipe? Share it with friends and family, and don't forget to leave a review!
This recipe looks amazing! Can't wait to try it.
Comments are stored locally in your browser. Server comments are displayed alongside your local comments.

Join to receive our email series which contains a round-up of some of our quick and easy family favorite recipes.
