
Amish Chicken

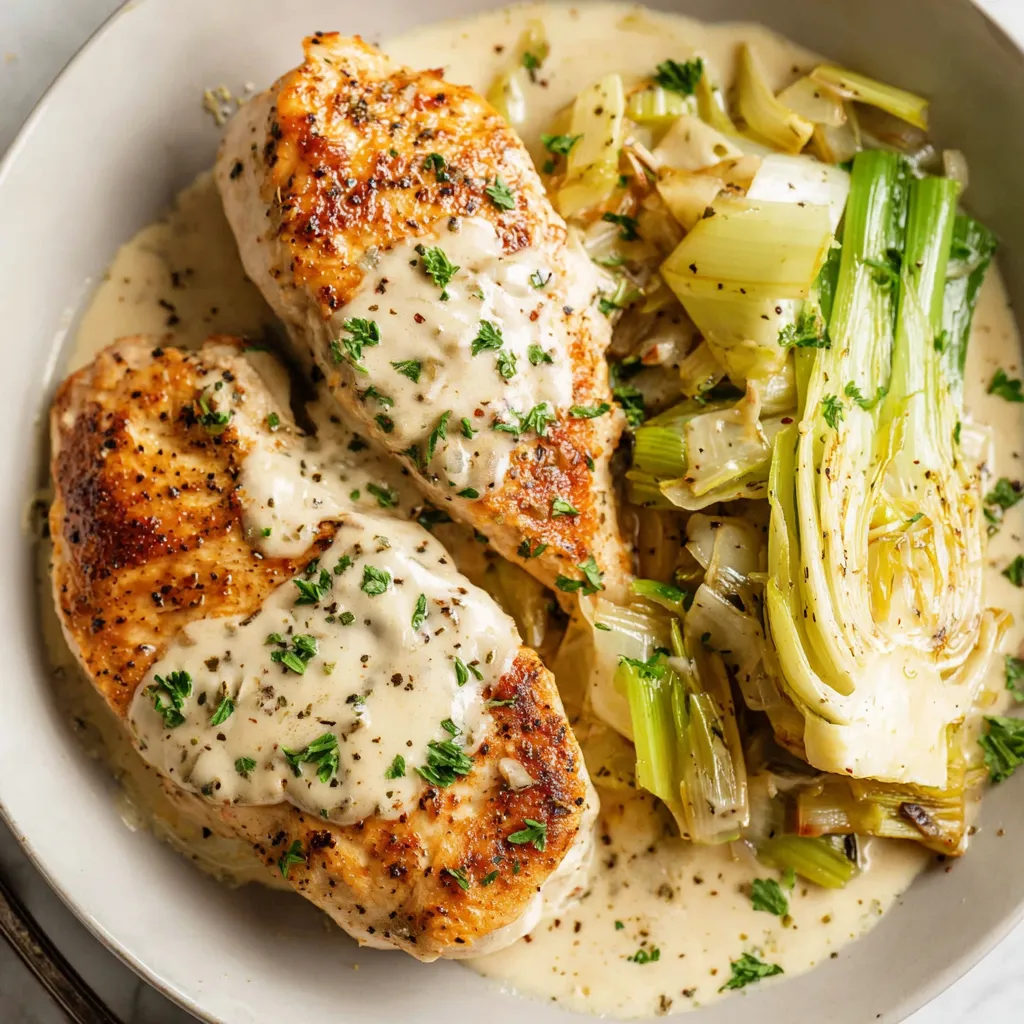
Comforting baked chicken thighs dredged in a seasoned flour crust and simmered in a rich cream-and-water sauce until golden and juicy—simple, nostalgic, and perfect for weeknight family dinners.
This Amish chicken has been a quiet star at my table for years. I first found this method tucked into a handwritten card from a neighbor who grew up in a small Pennsylvania town; it sat on my counter for months before I tried it on a rainy Sunday. The combination of a light seasoned flour crust and a gentle bath of heavy cream and water yields skin that browns beautifully while the meat stays tender and juicy. It’s not fussy, it’s deeply comforting, and it takes ordinary ingredients and makes them feel special.
What I love most is how reliably it delivers: golden-brown skin, a subtly seasoned crust, and a pan sauce that needs nothing more than a spoon. The texture is what sold me—the flour crust gives a slight crispness to the exterior while the steam from the cream keeps the interior succulent. Family and friends always reach for seconds, and it has become my go-to when I need a warm, satisfying meal that doesn’t demand hours of attention.
Why You'll Love This Recipe
- Minimal hands-on time: about 15 minutes of prep, then pop it in the oven for roughly 1 1/2 hours—perfect for busy evenings or when you want a no-fuss centerpiece.
- Pan sauce included: the cooking liquid becomes a simple gravy—no extra roux or separate steps needed—just whisk and serve.
- Pantry-friendly seasonings: uses staple spices like smoked paprika, garlic powder, and onion powder so you can make it year-round.
- Crowd-pleaser: bone-in, skin-on thighs stay juicy and are easy to plate for family dinners or potlucks; makes 8 pieces that serve well for 4–6 people.
- Make-ahead friendly: assemble the dish and refrigerate for a few hours before baking, or bake and reheat gently for leftovers.
- Accessible ingredients: no specialty items—just all-purpose flour, heavy cream, water, and basic spices.
When I served this to a group of friends once during a casual dinner, someone asked for the recipe so quickly I wrote it on a napkin. My kids always comment on the crispy skin and dip the meat in the creamy pan juices. It’s the sort of meal that pulls people to the table without fuss—simple, nostalgic, and honestly a little addictive.
Ingredients
- All-purpose flour (1 cup, spooned and leveled): The flour forms a light crust that browns in the oven and helps the cream cling to the chicken. I prefer King Arthur or a good-label all-purpose; spooning and leveling keeps measurement accurate.
- Kosher salt (1 tablespoon): Kosher salt seasons the flour and the chicken evenly. If you use table salt, reduce to about 2 teaspoons.
- Smoked paprika (2 teaspoons): Adds warmth and subtle smoky flavor; use Spanish pimentón if you can for a genuine, smoky depth.
- Garlic powder (1 1/2 teaspoons) & Onion powder (1 1/2 teaspoons): These dried aromatics give an all-around savory base—easy and shelf-stable.
- Fresh cracked black pepper (1 teaspoon): A little texture and brightness; freshly cracked gives more bite than pre-ground.
- Bone-in, skin-on chicken thighs (8 pieces): Thighs stay moist and offer great flavor under the crisping skin; pick evenly sized pieces for uniform cooking.
- Heavy cream (1 1/4 cups) + Cold water (1 1/4 cups): This equal mixture of cream and water creates a gentle poaching bath that yields a silky pan sauce when reduced. Use heavy cream from a trusted brand for best mouthfeel.
- Garnish - Fresh parsley (2 teaspoons, chopped): A quick sprinkle of parsley brightens the rich dish and adds a fresh, green note.
Instructions
Preheat and prepare the pan: Preheat your oven to 350°F (177°C). Lightly coat a 9×13-inch baking dish with nonstick cooking spray or a thin brush of oil to prevent sticking. A glass or ceramic dish works well here because it heats gently and helps the skin brown without burning. Allow the oven to come fully to temperature before baking. Mix the seasoned flour: In a medium shallow bowl, whisk together 1 cup all-purpose flour, 1 tablespoon kosher salt, 2 teaspoons smoked paprika, 1 1/2 teaspoons garlic powder, 1 1/2 teaspoons onion powder, and 1 teaspoon fresh cracked black pepper. Make sure the spices are evenly distributed so each piece of chicken gets the same flavor. Dredge the chicken: Pat the chicken thighs dry with paper towels; moisture prevents the flour from adhering and will steam rather than crisp the skin. Dredge each thigh in the seasoned flour, shaking off excess, and arrange them skin side up in the prepared baking dish in a single layer so heat circulates evenly. Combine the liquid: Whisk together 1 1/4 cups cold heavy cream and 1 1/4 cups cold water until smooth. Pour slowly and evenly around the thighs—aim for the liquid to come about halfway up the sides of the chicken, not covering the skin. This produces a moist cooking environment without sogging the skin. Bake until golden and cooked through: Place the dish uncovered in the preheated oven and bake for about 1 1/2 hours. Oven times vary—check for an internal temperature of 165°F (74°C) in the thickest part of the thigh using an instant-read thermometer. Look for golden-brown skin and clear juices running from the meat as additional visual cues. Rest and finish the gravy: Let the chicken rest in the baking dish for 5 minutes after removing from the oven. Carefully whisk the pan drippings and cream mixture to combine into a silky gravy; if you prefer a thicker gravy, simmer briefly on the stovetop in a small saucepan until reduced slightly. Garnish with 2 teaspoons chopped fresh parsley and serve with the pan sauce spooned over the chicken.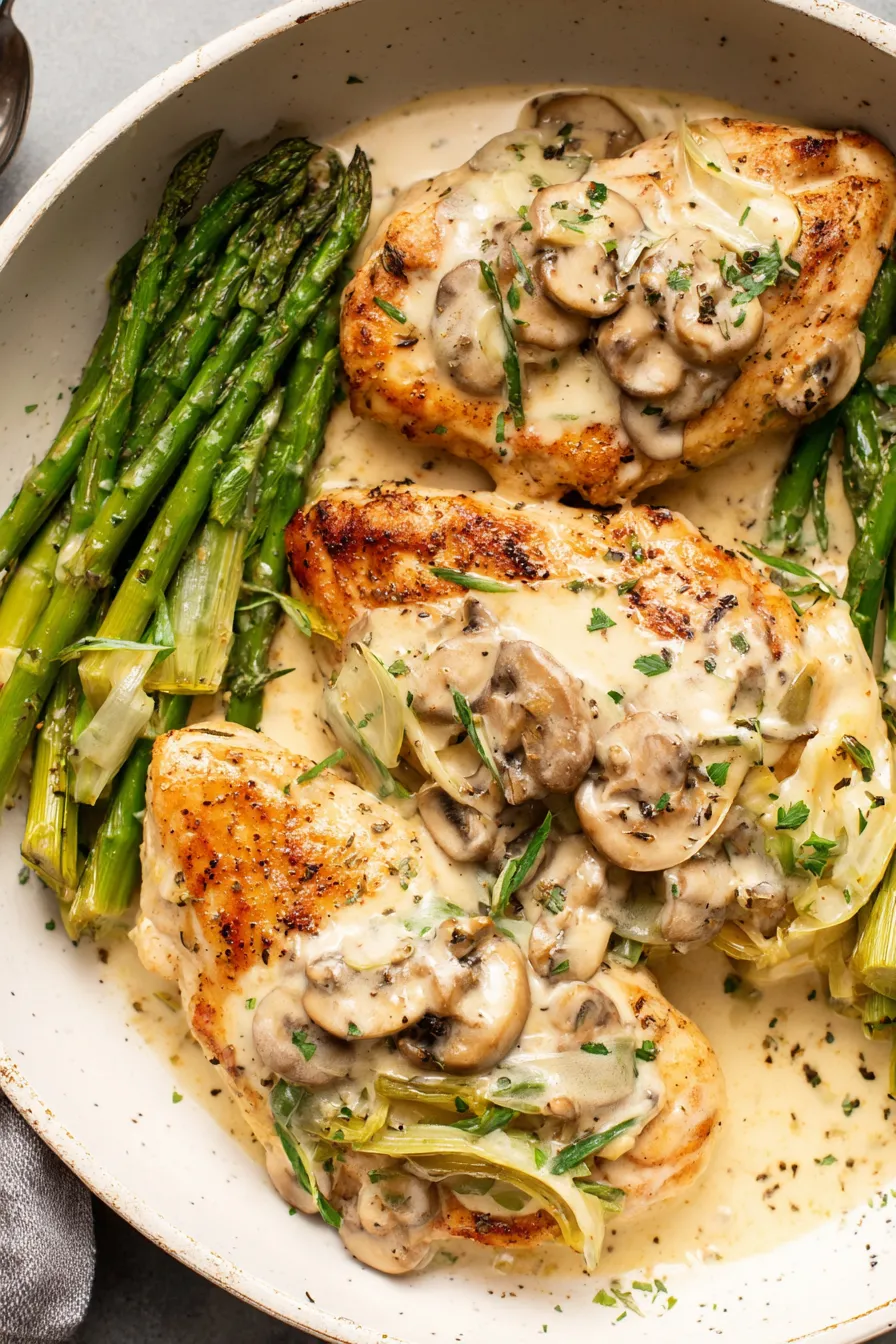
You Must Know
- High-protein and satisfying: each serving offers a generous portion of protein from the thigh meat, paired with energy-dense cream for a filling meal.
- Store leftovers in an airtight container in the refrigerator for up to 3 days; reheat gently to avoid drying the meat and to preserve the sauce texture.
- Freezing: cooked portions freeze well for up to 3 months—thaw overnight in the refrigerator and reheat covered at low oven temperature.
- Kitchen safety: always check internal temperature of bone-in poultry; 165°F is the safe minimum to ensure juices run clear.
- Note on sodium: kosher salt is measured by volume—if you switch to table salt, reduce the amount to avoid over-salting.
My favorite part is how the pan sauce rounds out the dish. Years ago I learned to whisk the drippings immediately while they’re still warm; it yields a glossy sauce that clings to the meat. The family memories tied to this dish are strong—neighbors, potlucks, and quiet Sunday suppers all made better by this simple, unfussy approach.
Storage Tips
Cool the chicken to room temperature no longer than two hours, then transfer to an airtight container and refrigerate. Stored properly, the dish will keep for up to 3 days. For longer storage, freeze individual thighs wrapped tightly in plastic wrap and placed in a freezer bag for up to 3 months. Reheat from thawed by covering with foil and warming in a 325°F oven until warmed through; spoon some reserved pan sauce over the meat to restore moisture. Avoid microwaving at high power, which can toughen dark meat.
Ingredient Substitutions
If you don’t have heavy cream, substitute half-and-half for a lighter result though the sauce will be thinner; reduce the water slightly (to about 1 cup) to compensate. For a gluten-free version, use a 1:1 gluten-free all-purpose flour blend, but expect a slightly different crust texture. If you’re out of smoked paprika, use sweet paprika plus a small pinch of cayenne or a touch of liquid smoke. For lower fat, use skin-on chicken breasts trimmed down, but monitor cooking time closely—breasts will cook faster and can dry out if left in the same duration as thighs.
Serving Suggestions
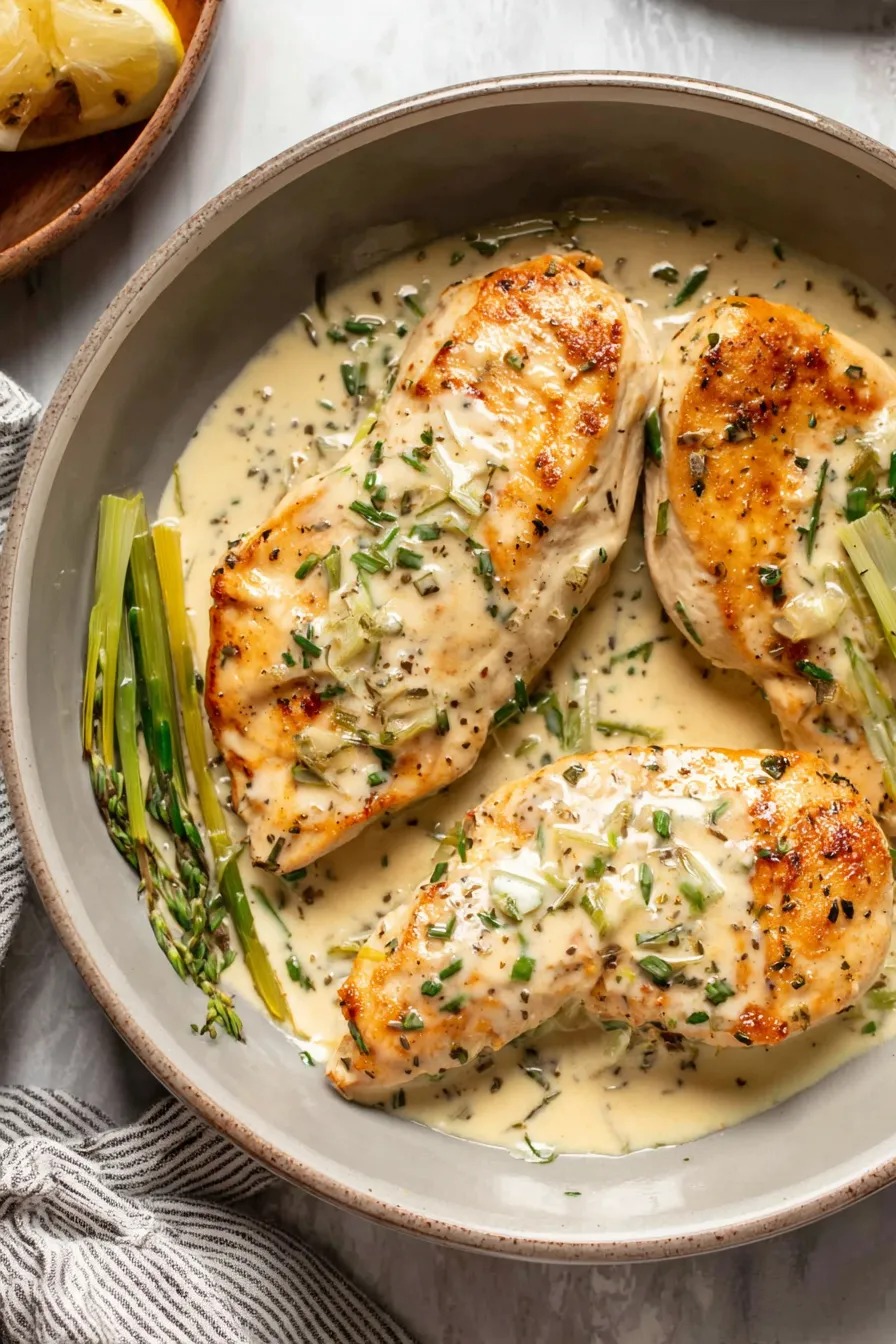
Serve with buttery mashed potatoes, egg noodles, or creamy polenta to soak up the pan sauce. A simple green vegetable—steamed green beans, sautéed spinach, or roasted Brussels sprouts—adds color and balance. For presentation, spoon the sauce around the chicken rather than fully covering the skin to keep it looking crisp; finish with a scattering of chopped parsley and a wedge of lemon if you like a bright finish.
Cultural Background
This preparation has roots in simple, resourceful country cooking common in Amish and broader Pennsylvania Dutch kitchens—techniques that prize flavor from humble storecupboard items. The method of gently cooking meat in a thin dairy-based liquid echoes slow, comforting dishes meant to stretch ingredients and feed families. The result is a homey, accessible centerpiece that honors seasonality and simplicity.
Seasonal Adaptations
In winter, add 1/2 teaspoon dried thyme or a bay leaf to the cream mixture for extra warmth; in summer, finish with fresh chopped basil or parsley and serve with a crisp, vinegary cucumber salad to lighten the plate. For holiday gatherings, double the recipe and roast alongside root vegetables in the same pan—carrots and parsnips will caramelize nicely in the drippings.
Meal Prep Tips
To streamline weekday dinners, dredge the chicken and place it in the baking dish covered with plastic wrap in the morning; refrigerate until ready to bake. Alternatively, bake everything, cool, then portion into microwave-safe containers for easy reheating. Keep a small portion of the pan sauce separately to refresh the chicken when reheating so it doesn’t dry out.
Make this your own—swap spices, change the side dishes, or scale the quantities. There’s a warm satisfaction in serving something both simple and memorable, and this classic method delivers time and again. Enjoy the cozy flavors and the ease of a dish that brings people to the table.
Pro Tips
Pat the chicken completely dry before dredging to help the flour adhere and the skin crisp in the oven.
Use an instant-read thermometer inserted into the thickest part of the thigh; 165°F ensures safe, juicy chicken.
Whisk the warm pan drippings and cream immediately after baking to create a glossy sauce; reduce slightly on the stovetop for a thicker gravy.
If using table salt instead of kosher, reduce quantity to avoid over-salting.
This nourishing amish chicken recipe is sure to be a staple in your kitchen. Enjoy every moist, high protein slice — it is perfect for breakfast or as a wholesome snack any time.
Tags
Amish Chicken
This Amish Chicken recipe makes perfectly juicy, tender, and flavorful steak every time! Serve with potatoes and a side salad for an unforgettable dinner in under 30 minutes.
Instructions
Preheat and prepare the pan
Preheat oven to 350°F. Lightly spray or oil a 9×13-inch baking dish to prevent sticking; allow oven to reach full temperature before baking.
Mix seasoned flour
In a medium shallow bowl, whisk together flour, kosher salt, smoked paprika, garlic powder, onion powder, and cracked black pepper until evenly combined.
Dredge the chicken
Pat chicken dry, dredge each thigh in the seasoned flour shaking off excess, and place them skin-side up in the prepared dish in a single layer.
Combine cream and water
Whisk 1 1/4 cups cold heavy cream with 1 1/4 cups cold water until smooth and pour slowly around the chicken so the liquid reaches about halfway up the pieces.
Bake until done
Bake uncovered for approximately 1 1/2 hours. Check with an instant-read thermometer; the internal temperature should read 165°F in the thickest part of the thigh.
Rest and make gravy
Allow chicken to rest in the dish for 5 minutes. Whisk the remaining pan juices and cream together to form a gravy, garnish with chopped parsley, and serve.
Last Step: Please leave a rating and comment letting us know how you liked this recipe! This helps our business to thrive and continue providing free, high-quality recipes for you.
Nutrition
Did You Make This?
Leave a comment & rating below or tag
@forkelle on social media!
Categories:
You might also like...

Marshmallow Frosted Chocolate Brownies
Thick, fudgy chocolate chunk brownies crowned with gooey mini marshmallows and a quick-set chocolate frosting for an irresistible, crowd-pleasing treat.

Buttery Pecan Pie Bars
Buttery shortbread meets a gooey, brown-sugar pecan topping in these quick pecan pie bars. Just 10 minutes to prep and perfect for sharing.

Failproof Pumpkin Cheesecake
Silky, crack-free pumpkin cheesecake with warm spice, buttery graham crust, and optional caramel and rum-kissed whipped cream. Your effortless holiday showstopper.
Did You Make This?
Leave a comment & rating below or tag @forkelle on social media!
Rate This Recipe
Share This Recipe
Enjoyed this recipe? Share it with friends and family, and don't forget to leave a review!
Comments (1)
This recipe looks amazing! Can't wait to try it.
Comments are stored locally in your browser. Server comments are displayed alongside your local comments.

Hi, I'm Abigail!
What's Popular

30-Minute Meals!
Join to receive our email series which contains a round-up of some of our quick and easy family favorite recipes.